12 Best Newborn Photography Props (Safe and Adorable!)
Discover 12 of the best newborn photography props for adorable baby photos! Find safe and cute photo props, backdrops, flokati, and more.
Choosing props for newborn photography is starts with creating a safe, supported environment where a baby can settle naturally and look peaceful in every frame. The right props shape the light, support the pose, and guide the tone of the gallery. The wrong props require constant adjusting, create unsafe angles, or distract from the baby’s features.
In professional newborn studios, props are selected for function first, aesthetics second. Soft knits that cradle the head without leaving marks, wooden bowls with wide bases that sit securely, and layers that add dimension rather than clutter, all of these choices allow the baby to relax and allow the photographer to work to deliver those beautiful images we all love.
The props in this guide are the ones used in real newborn sessions most often, there are versatile pieces that photograph beautifully and hold up to use. Each one is safe when used correctly, adapts to different lighting moods, and works with both wrapped and unwrapped poses.
I also recommend you watch my Newborn Photography Course, my Full Newborn Shoot Day Course, and my DIY Newborn Photoshoot Course to learn more about the art of maternity photography, lighting, props, posing and more.
How To Pick The Right Props For Safe And Beautiful Newborn Photos
Every pose begins as a safety plan. That means taking a beat before a single blanket is laid down. A newborn’s head is proportionally heavy with fragile airway dynamics, so the angle between chin and sternum is the first checkpoint. The prop, the posing table, the basket, the bowl, and the wooden bucket, must allow room for a gentle, natural curve. If the chin tucks too deeply, breathing becomes effort. If the angle opens too far, babies strain and fuss.
A well-chosen newborn photography prop acts like a quiet assistant. It cradles the pelvis to take pressure off the lower back, allows shoulders to slide down so the neck lengthens, and gives room for the cheek to rest where the light can touch it without scrunching. A tiny micro-pillow becomes the hero when placed under the wrist to bring the hand forward so fingers open. A rolled knit layer sits under the hips so the belly isn’t compressed. The poser tools are never visible, but they are doing all the invisible work that makes parents wonder how their baby is so relaxed.
During the setup, the support sequence is to stabilize the pelvis first, then the shoulders, then the wrists and ankles, and finally the crown of the head. Spotters (the hands that never leave) anchor at the shoulder girdle or hips while fabrics and layers are adjusted.
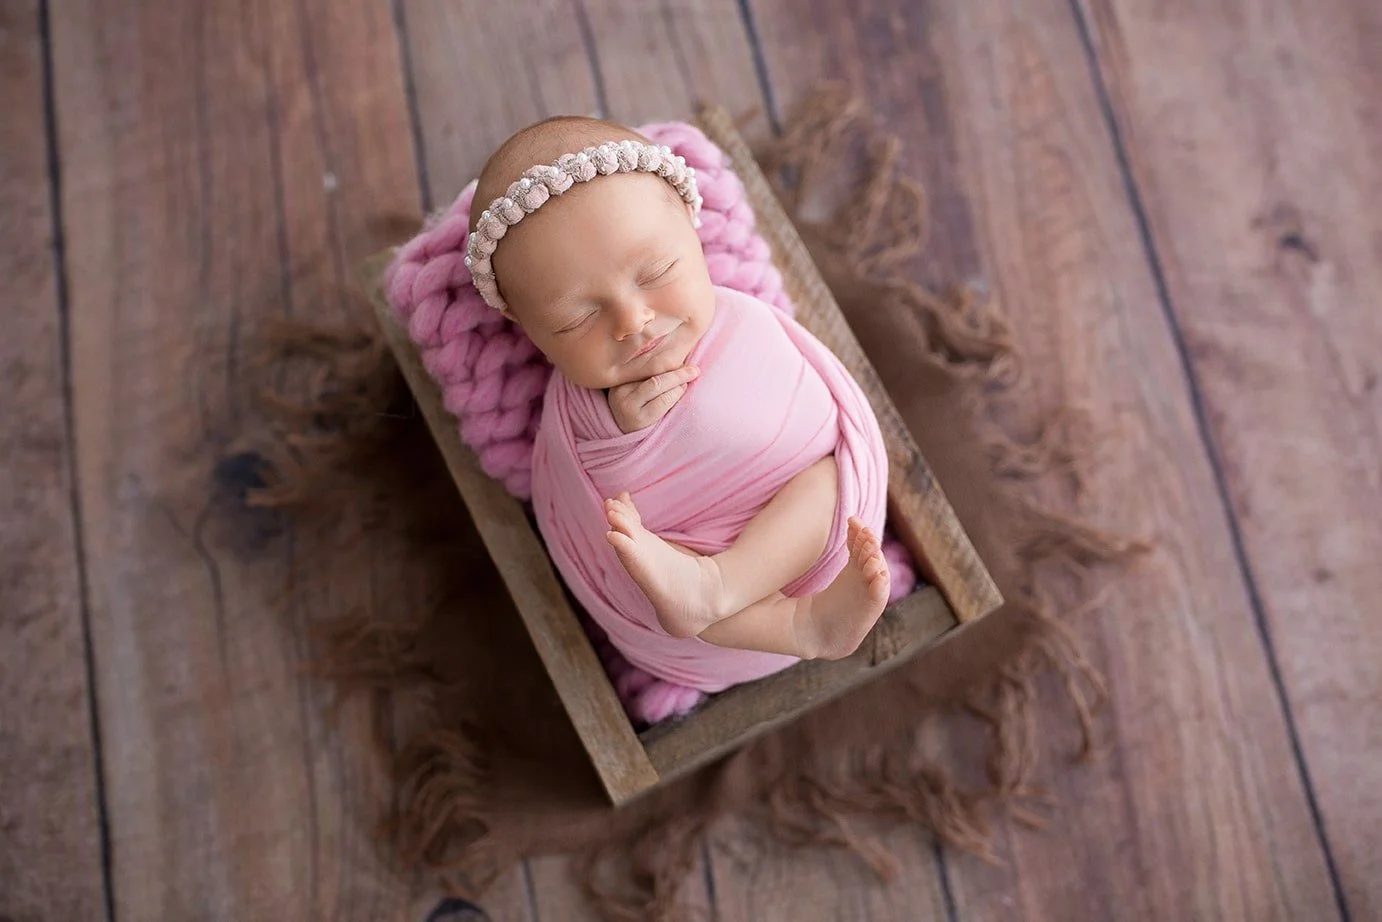
Prop #1: The Classic Wooden Bucket
A wooden bucket earns its spot in the collection because it mimics the gentle containment of being held without any hard edges touching bare skin. The perfect size sits in a sweet spot: deep enough to safely cradle the pelvis but not so deep that the shoulders disappear. The interior gets padded in layers that compress predictably, so the baby settles instead of sinking. The base is weighted. The floor beneath is nonslip.
The newborn photographer’s non-dominant hand guards the shoulder girdle while the other hand fine-tunes the cheek angle toward the key light. A tiny roll under the wrists keeps fingers relaxed, which prevents the claw hand that sneaks in when wrists are unsupported. If the baby stirs, the first adjustment is always at the hips. This lowers stress through the spine and resets the whole pose without waking them.
Styling The Bucket Setup For Different Moods
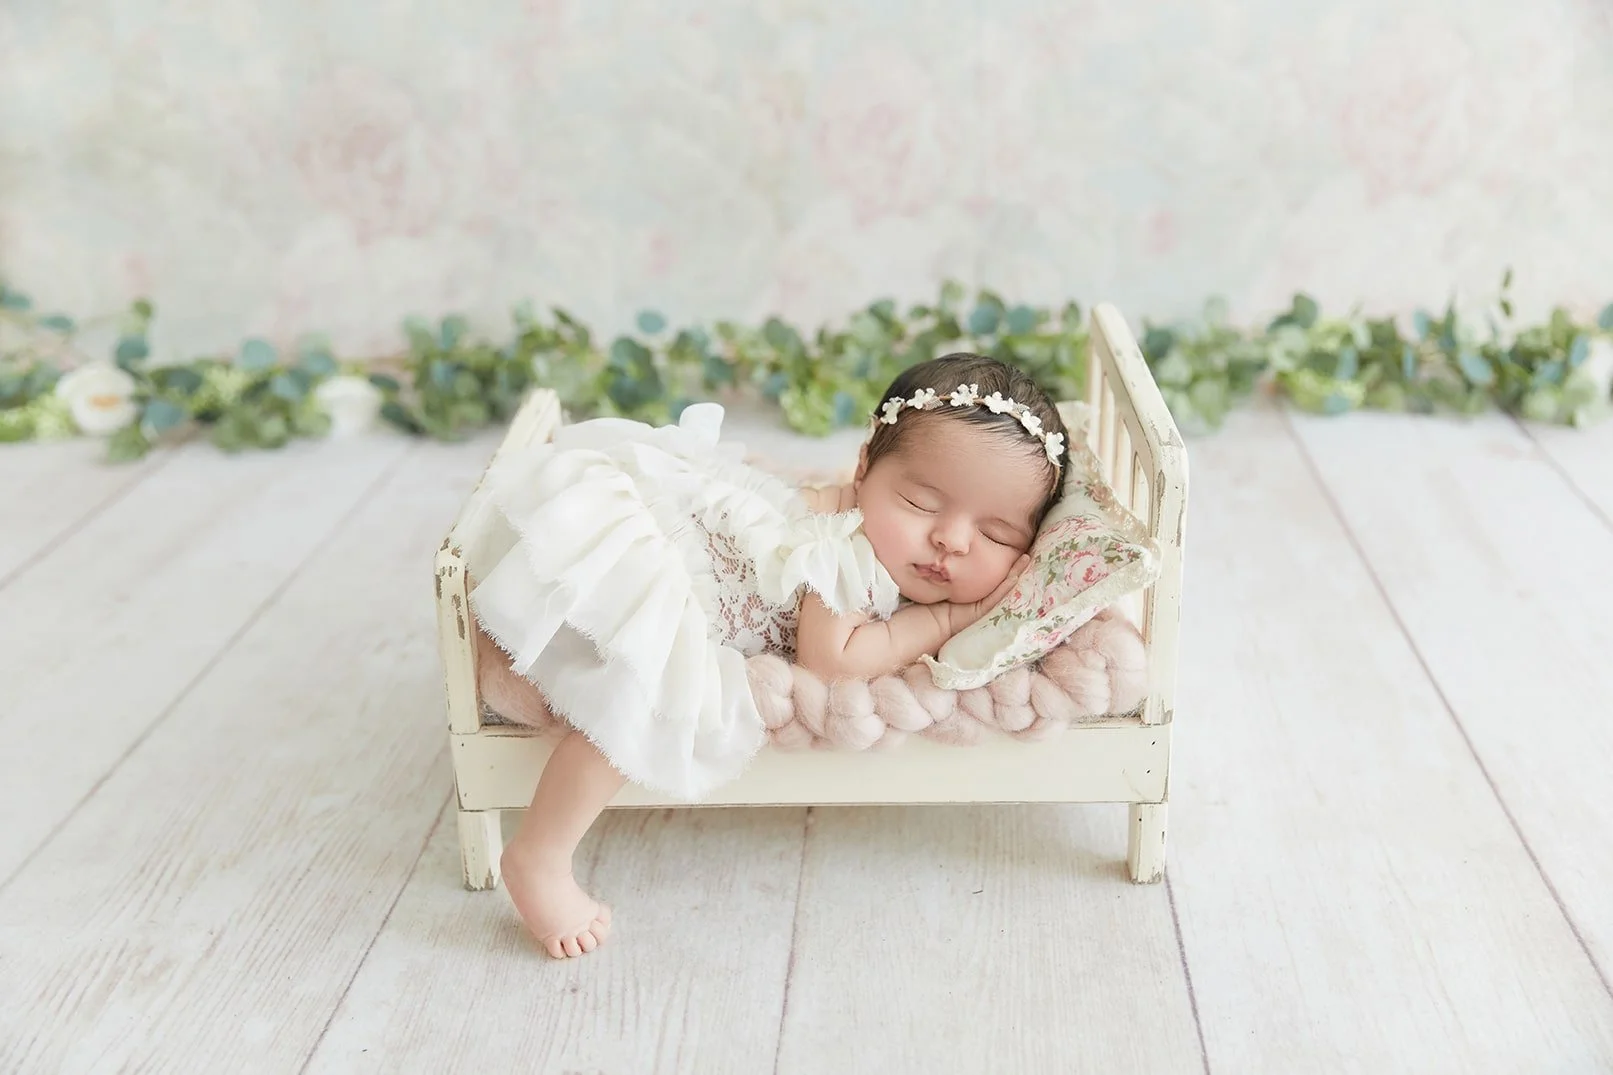
Personality comes from fabrics and layers. A knit fabric wrap in a warm oatmeal tone paired with a handmade bonnet turns the bucket rustic and cozy, especially when a willow accent or bamboo mat peeks through. Switch to a cream wrap with a delicate headband and the frame becomes timeless and airy, the kind of sweet newborn portrait that feels weightless on a wall. Flokati enters only as a topper. It never bears weight, never intervenes with support.
For a baby girl, a thin, barely-there headband sits above the soft spot, behind the ear plane, and is loosened a breath to prevent marks. For twins, a wider bucket or two coordinated buckets positioned together allow bodies to communicate, babies who napped shoulder to shoulder in utero settle faster when they can feel each other. The trick is to angle both faces toward the same light fall so skin tones remain consistent.
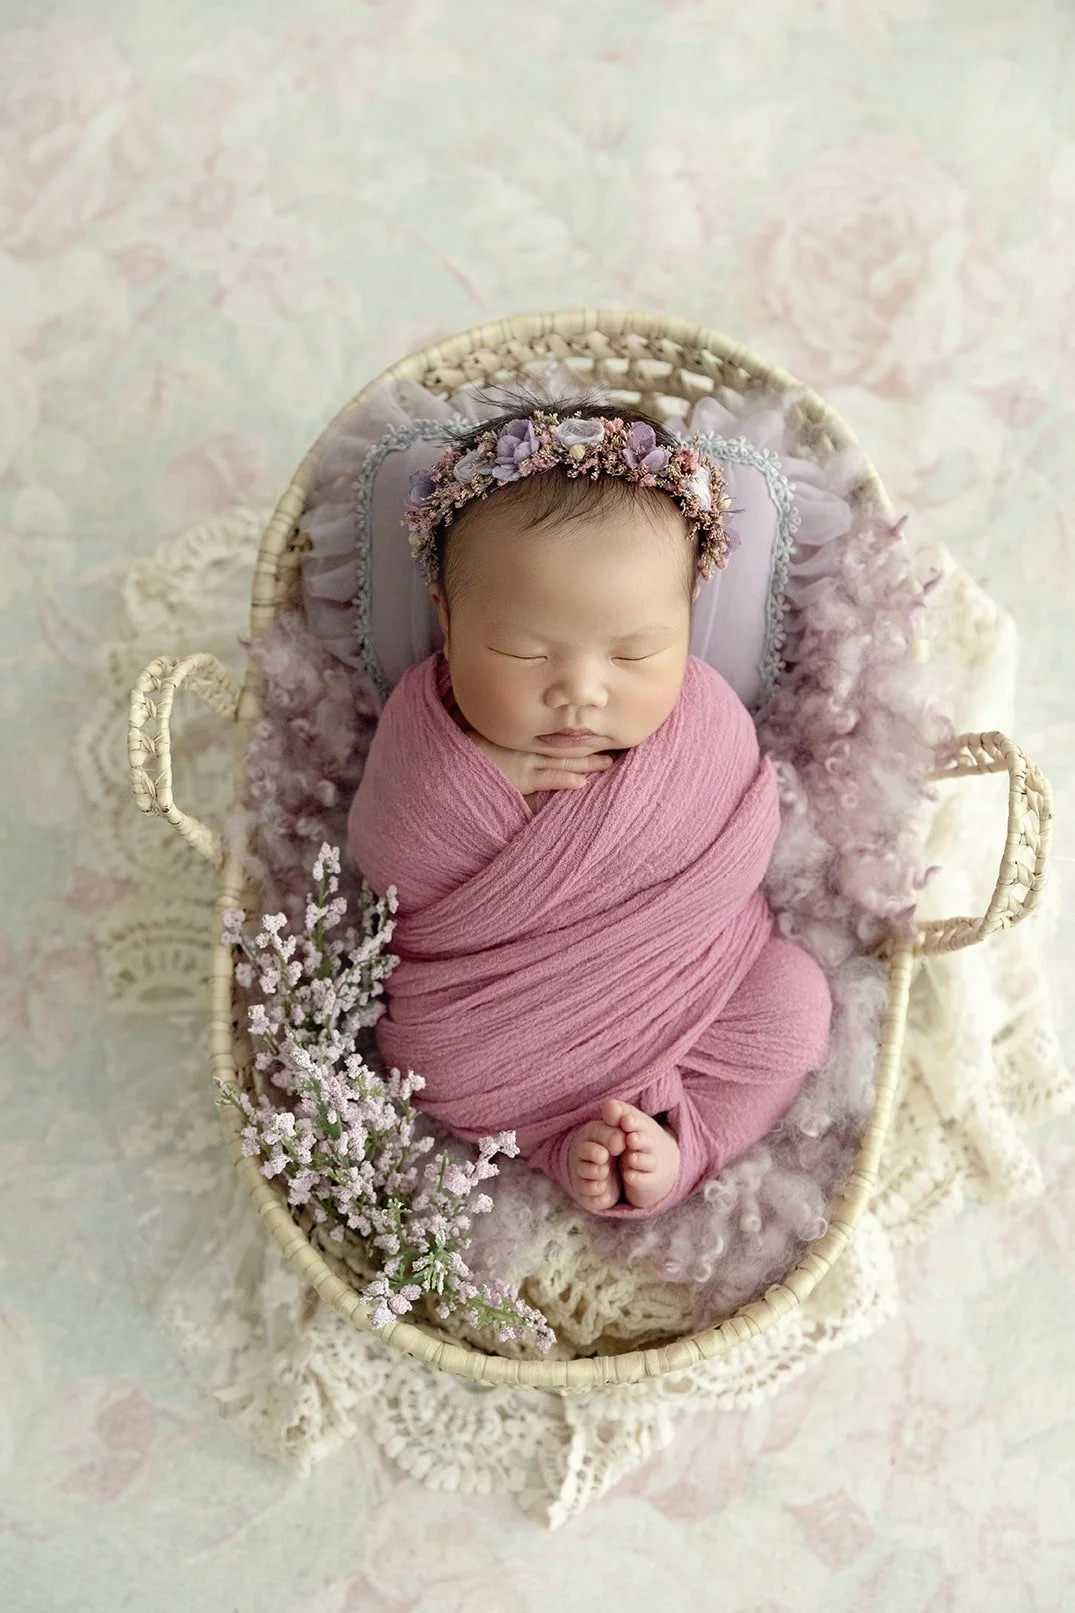
Prop #2: The Timeless Woven Basket
Baskets read soft and home-grown, but only the right ones. A shallow oval is perfect for an alert newborn who wants to stretch without rolling. A round with slightly higher walls suits a smaller baby who craves containment. The weave matters, no splinters, no loose fibers. Every edge gets checked against a cotton pad. If fibers snag cotton, they could irritate skin.
Depth is matched to the baby’s femur length so the knees can draw naturally. Too deep, and the chin tucks too far, too shallow, and the support has to be overbuilt. A fleece layer hides under the pretty topper so support comes from something that compresses predictably with heat. Predictability is the real safety feature of a great basket.
Layering Techniques For Comfort And Texture
Layering is where the basket turns into a tiny stage. A thin rubberized mat at the very bottom locks the layer stack in place. On top, a folded muslin creates a flat baseline. A rolled knit layer cradles the hips and another roll catches the shoulders, both invisible once the top textiles go down. A textured topper, think chunky knit, gentle rib, or the softest flokati fibers, adds dimension.
The baby is then wrapped loosely, leaving fingers visible near the cheek. Fingers tell the story of relaxation better than any smile ever could. If the baby flutters awake, a hand covers the chest and rocks at the same speed as their heartbeat. That’s the cadence newborns learned first. It settles them faster than shushing ever will.
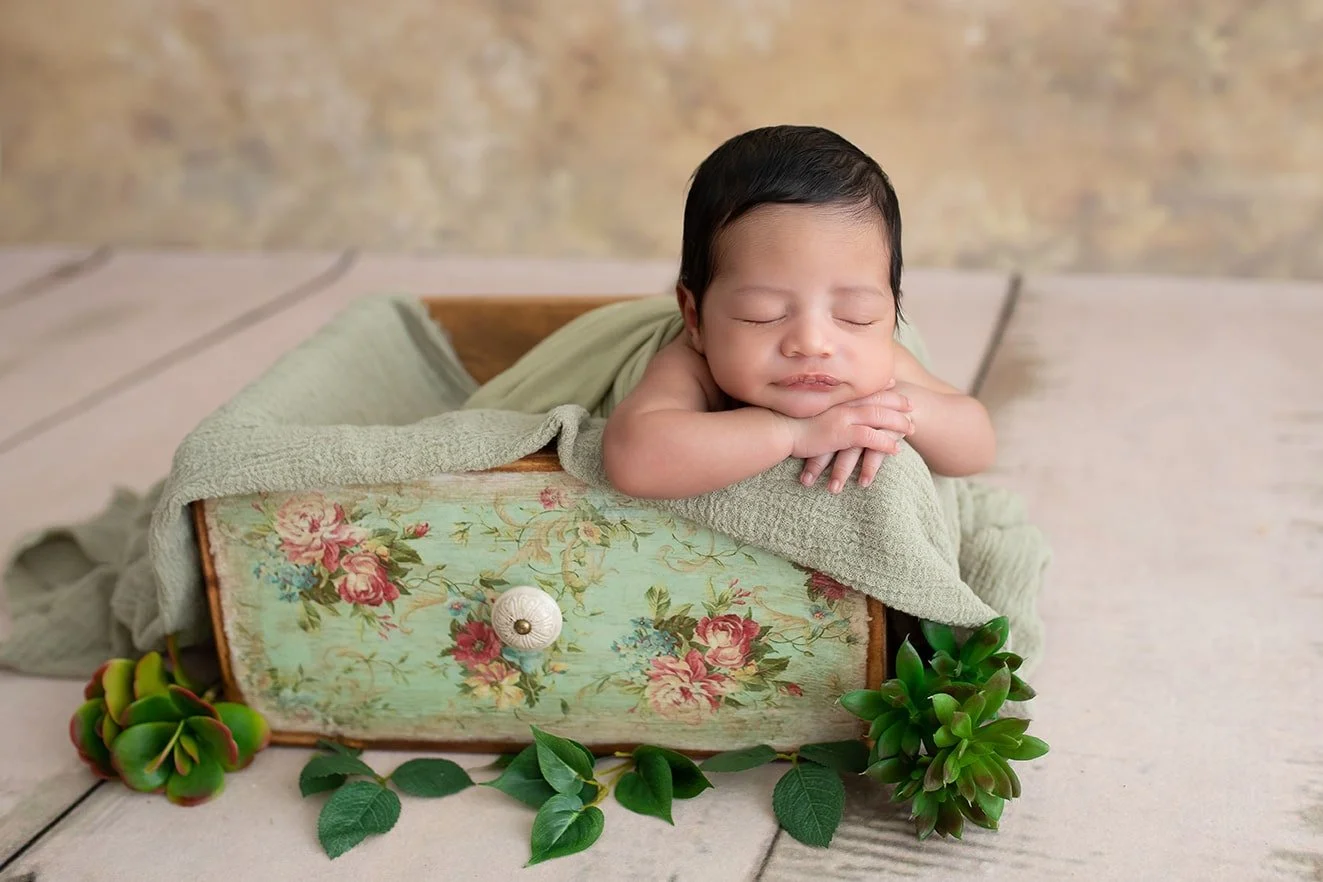
Prop #3: Handmade Bowls And Wooden Dough Bowls
Bowls win because of geometry. A newborn loves curves. A well-sanded wooden dough bowl with a slightly irregular rim looks one of a kind and photographs with subtle shadows that sculpt cheeks and lashes. The bowl is stabilized so it cannot rock, then lined with a compressible base, wool batting or layered fleece, before the pretty textiles go in.
The pelvis is anchored first, this takes pressure off the lower back and opens the space under the chin. Hips are angled to one side so shoulders can stack a touch, which turns the face toward the light without torqueing the neck.
Textural Contrast And Soft Fabric Backdrops
Contrast is where bowls shine. A matte fabric backdrop on a posing table behind the bowl separates textures so the prop reads as supporting actor. A knit wrap in a shade just warmer than the baby’s skin tone glows without reflecting color onto cheeks.
Pale olive complements pink undertones, warm stone pairs beautifully with babies who have a golden hue. If a parent loves color, the secret is to keep saturation in the textiles, not the prop. The bowl stays neutral and timeless, the color washes in through the wrap and bonnet.

Prop #4: The Posing Table And Poser Tools
The posing table is the anchor of a photography business that prioritizes consistency and safety. Height is set so shoulders relax and the back stays neutral during a long photo session. A firm, even surface under a stretchy fabric allows the newborn photographer to micro-tuck a roll under the hips or shoulder without creating lumps that telegraph under the fabric.
Backdrop stands are secured so nothing shifts when fabric backdrops are tensioned. The lighting stays constant relative to the table, which means exposure remains within a third of a stop even as the baby changes positions. That steadiness lets attention move entirely to the baby’s expression, breath, and micro-movements.
Using Poser Tools To Support Natural Curves
Poser tools are the difference between “posed” and “at peace.” A small bean under the shoulder rolls the chest open. A thin roll under the wrist opens the hand. A larger wedge under the hips puts the spine into a gentle C-curve, which is the position newborns find most familiar.
Each tool is placed with a fingertip and tested with the weight of that same fingertip before the baby is involved. Once the newborn is transferred, the tools allow tiny course corrections without lifting. This keeps the baby in a safe plane while the chin, cheek, and hand move where the light loves them most. It’s choreography at the scale of centimeters.

Prop #5: Fabric Backdrops And Knit Fabrics
The wrong sheen will bounce light and betray every fold. The right knit fabric swallows light just enough to make skin look creamy. Stretch matters more than thickness, stretchy fabrics pull taut without ripples and recover their shape between setups.
Ribbed textures add quiet depth. Patterns are chosen as whispers, not shouts, because the baby is the pattern everyone wants to read. Good fabrics live like athletes, washed on delicate, air-dried, and stored rolled so creases never turn into lines the retouching brush has to chase.
Coordinating Color Tones Across The Entire Setup
Color starts with the baby’s skin. Warm neutrals, oat, almond, sand, lend a subtle glow. Cool neutrals like porcelain and pebble feel editorial and airy. The wrap and bonnet coordinate, not match, so there’s a subtle tonal conversation happening in the frame. A newborn photographer who understands undertone can rescue a session when a parent arrives with a saturated outfit by building the rest of the setup with fabrics that neutralize the cast.
See my Newborn Photography Course to learn more.
Prop #6: Wraps (Soft, Stretchy, Snug, And Safe)
Wrapping is a skill. There’s the containment wrap for the overtired baby who needs boundaries, the open-hand wrap for the baby with expressive fingers, the cross-chest wrap that anchors the startle reflex without pinning the shoulders, and the hips-first wrap that preserves hip health by allowing external rotation and flexion.
The difference between snug and tight is simple, snug means the baby can expand the chest and belly fully, tight means the fabric fights the breath. Watch the breath pattern, if the breath never deepens after the wrap, loosen by one hand’s width at the chest. That one adjustment transforms a fussy newborn into a sleeping one in less than a minute.
See my full course on Newborn Wraps here.

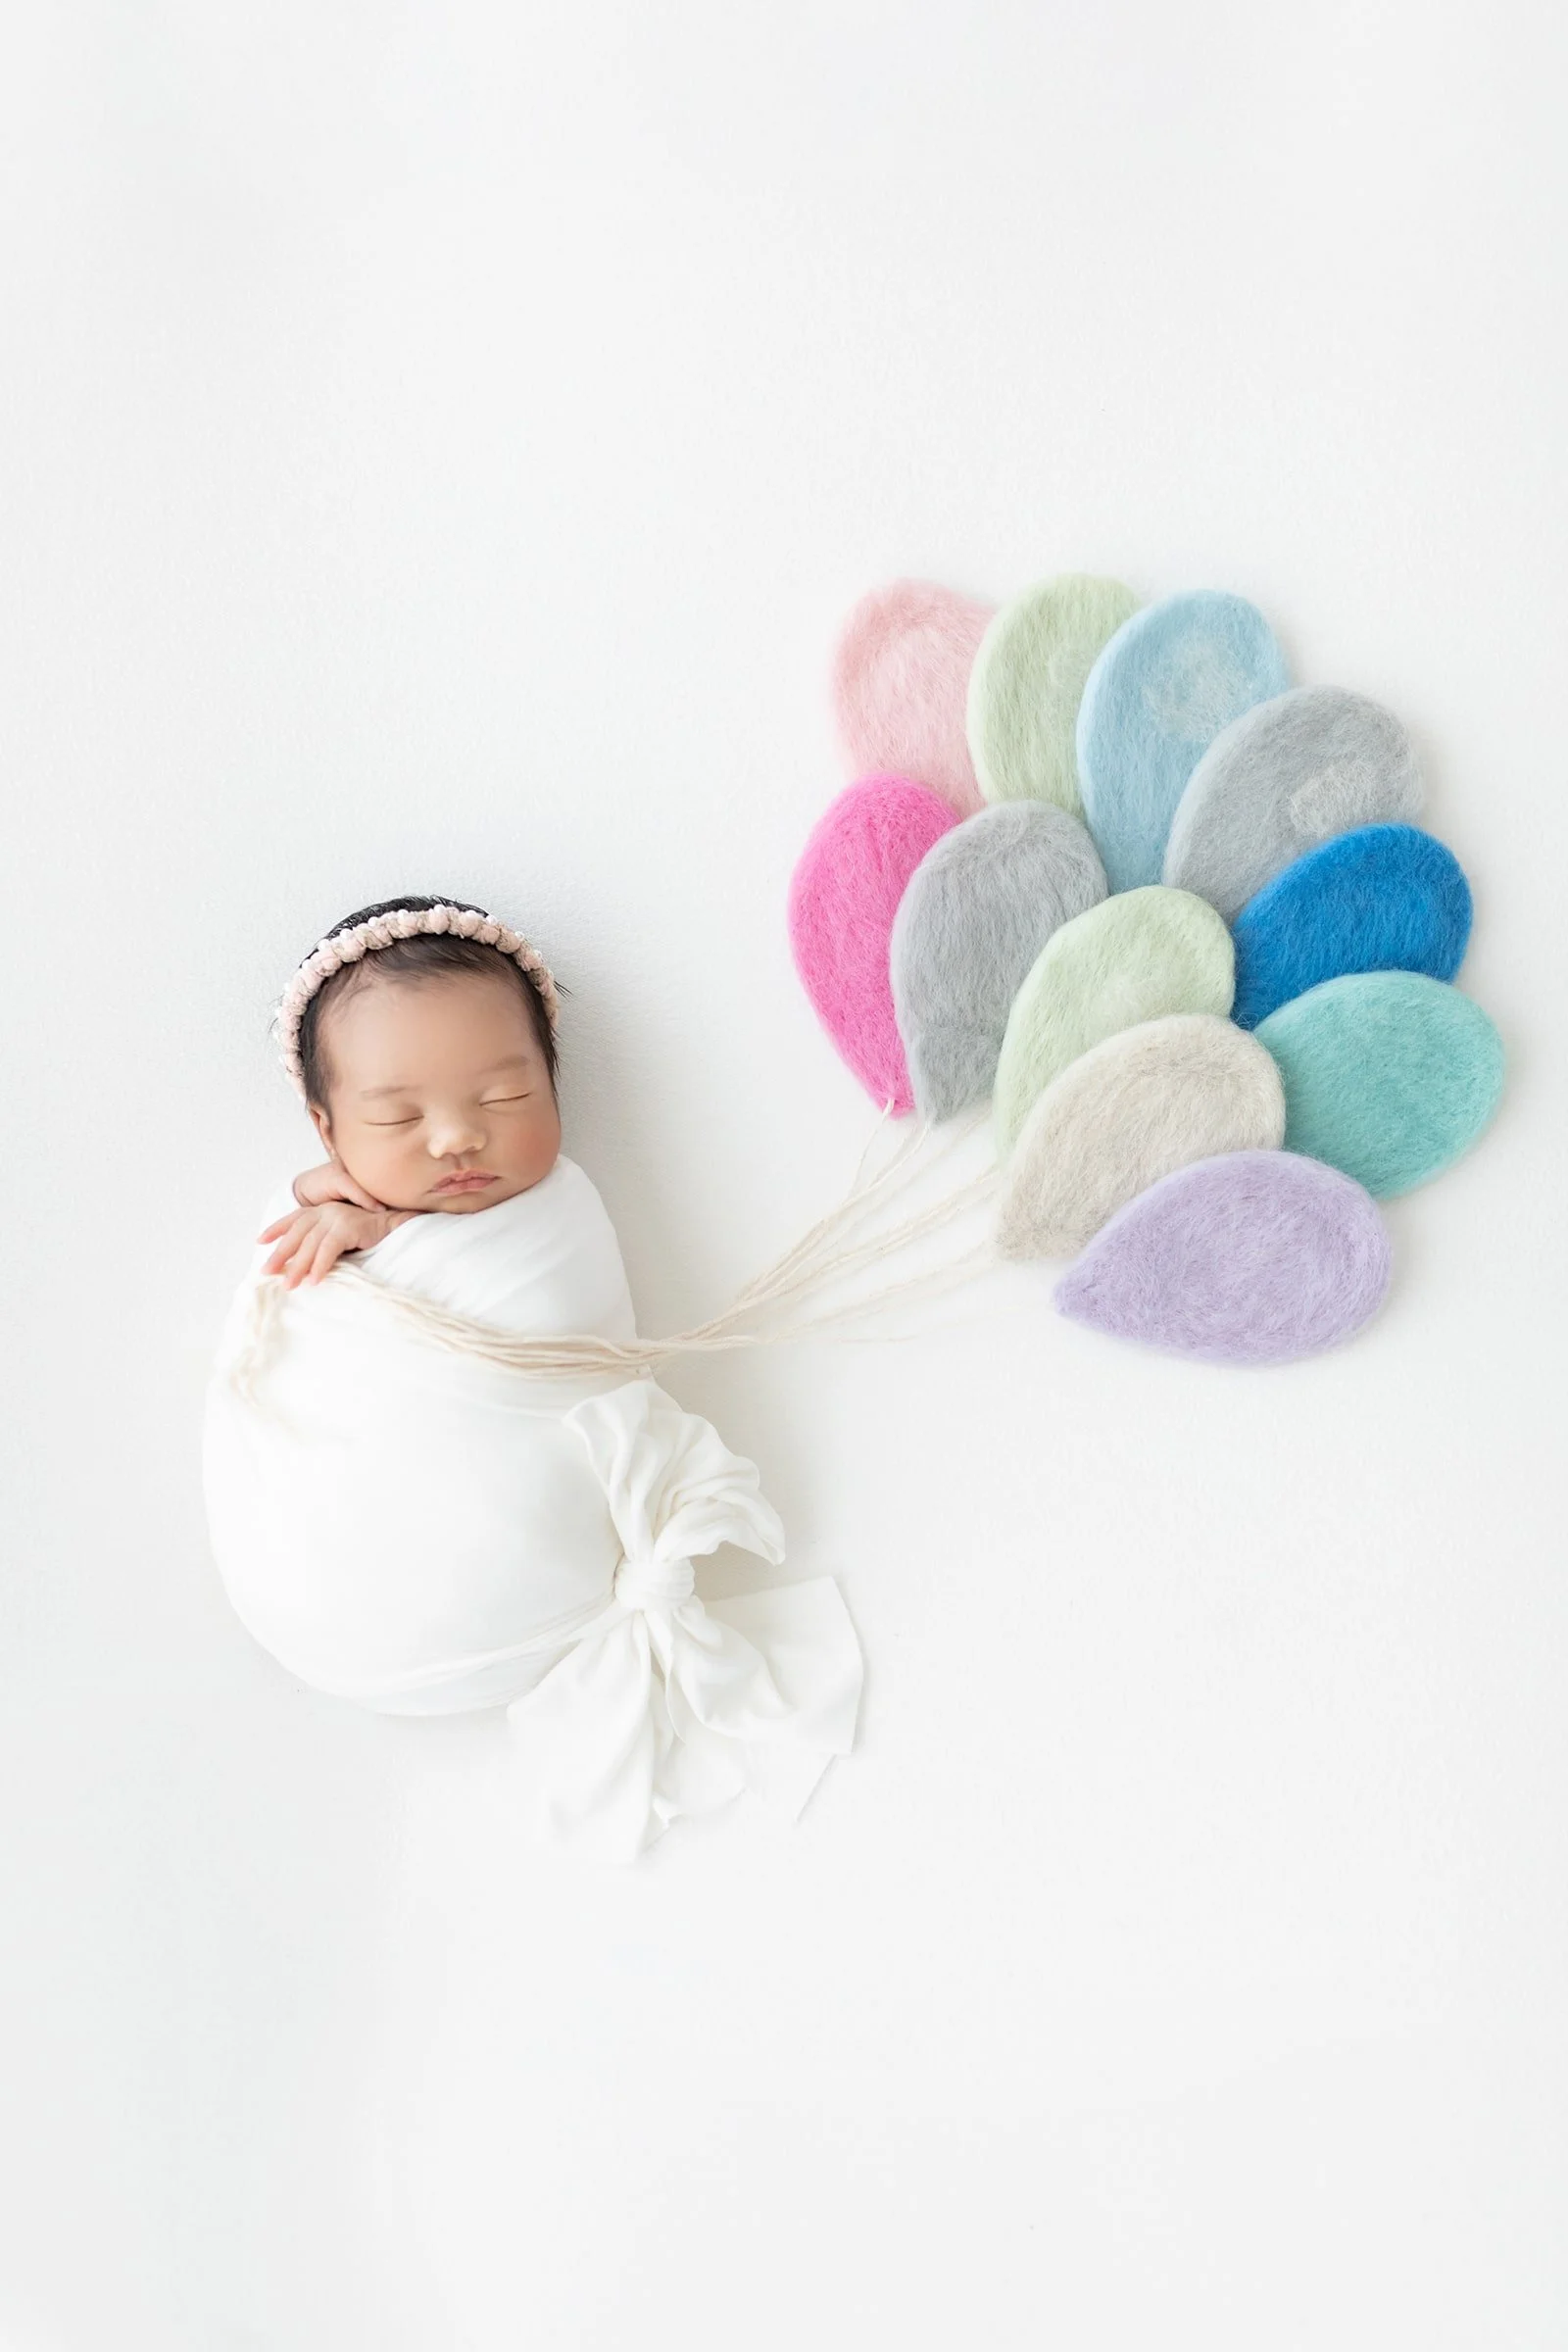
Prop #7: Layers (Rugs, Flokati, Chunky Knits, And Textured Bases)
Layers make depth, clutter steals it. A layer stack is built like a recipe. The base adds stability, the middle layers provide the contouring, and the top adds the flavor. Flokati is sprinkled like salt at the end. It never carries weight because its pile compresses unpredictably. A chunky knit adds the cozy factor, but only when the loops are tight enough that tiny fingers won’t snag. Rug textures are chosen to read beautifully at shallow depth of field; large loops blur into soft geometry.
Understanding Texture In Neutral Photography
Neutrals are never boring when texture does the talking. Matte knits drink light while brushed cottons disperse it, pairing the two creates a gradient without changing color. That’s how a monochrome setup still feels dimensional. A newborn photo becomes art when two textures meet at a diagonal line guiding the eye toward the lips or lashes.
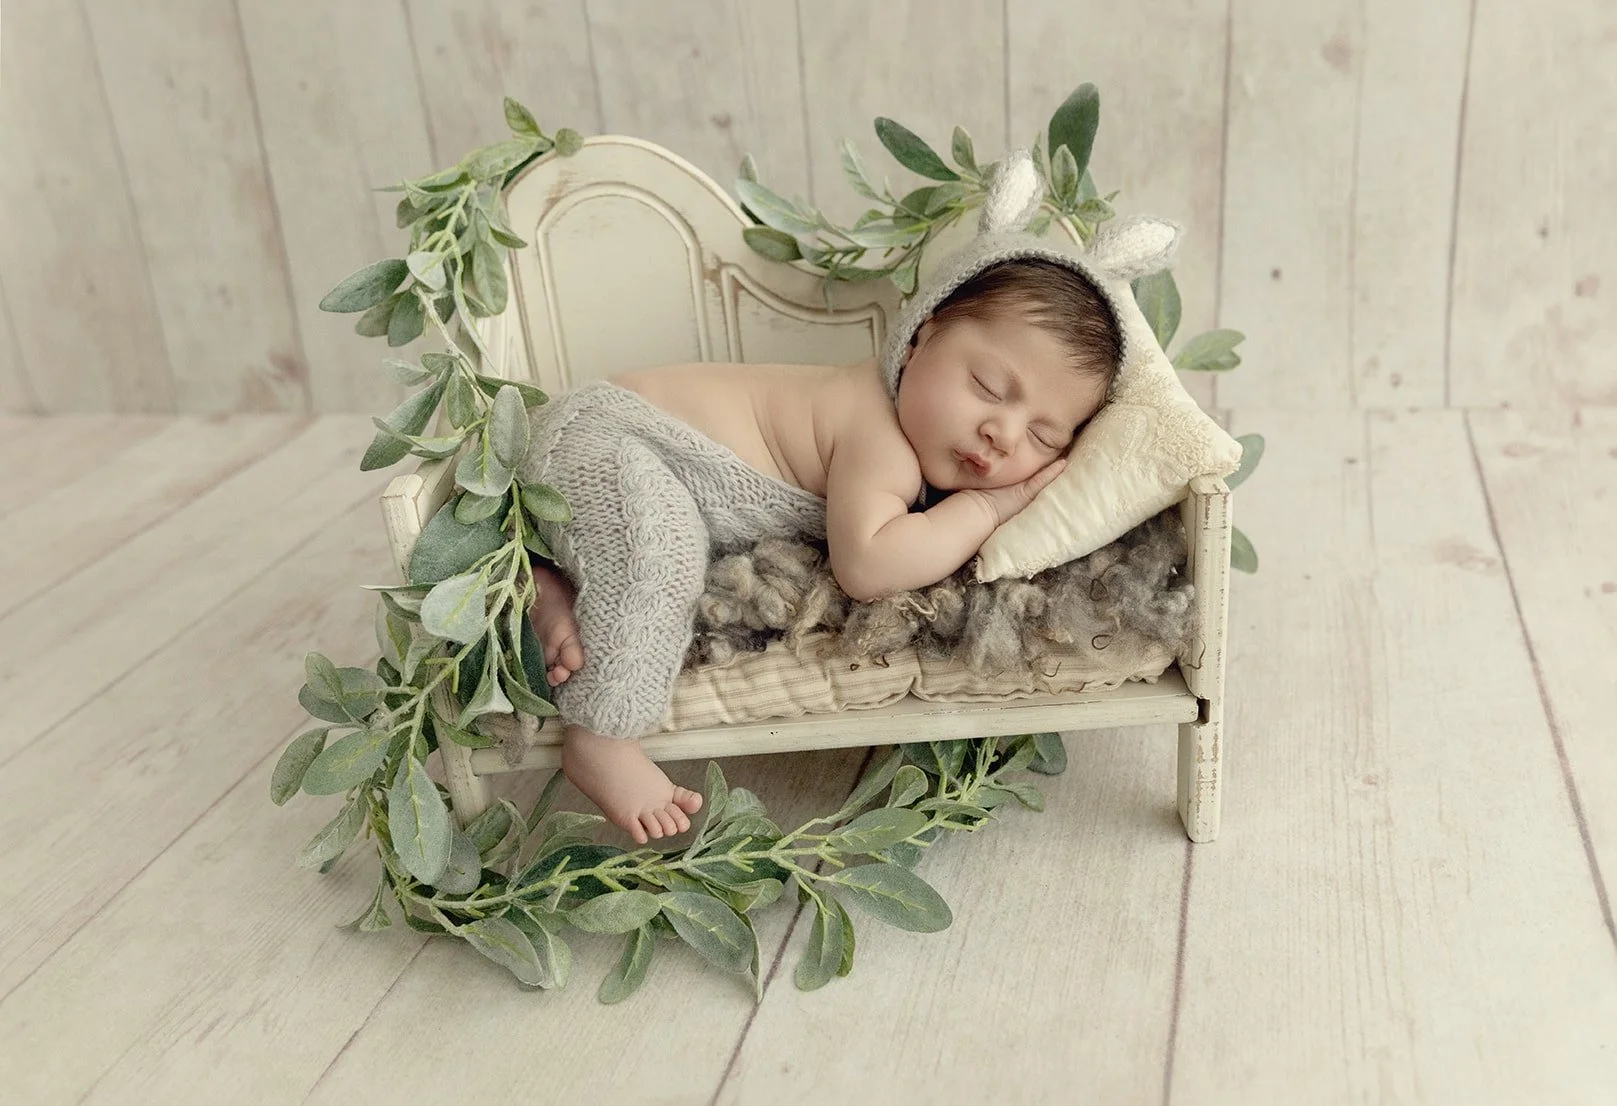
Prop #8: Bonnets And Knit Hats
The right bonnet aside from being adorable, softens the frame and hints at a story, grandmother’s handiwork, a handmade Etsy treasure, a one of a kind knit from a favorite seller. Size is everything. A bonnet that extends too far forward shades the eyes and makes pupils vanish under the brow. A perfect fit frames the face like a halo and allows light to reach the lashes. Fibers matter too, matte alpaca or brushed mohair read creamy and soft, while shiny acrylic glares and creates hot spots. When a bonnet and wrap coordinate without matching, the photo feels designed rather than decorated.
Headbands For Baby Girls
Headbands live by the barely there rule. The band disappears into hair or blends into skin tone, while the tiny centerpiece sits above the ear plane, not across the forehead. This keeps facial proportions and avoids pressure marks.
Prop #9: Mini Pillows And Posing Cushions
Mini pillows are the quiet geniuses of posing babies. One under the wrist opens the hand and reveals tiny fingernails. Another at the shoulder lifts the cheek into the light while preserving the airway. A wedge behind the back prevents a roll that could collapse a pose. Each is filled to a different density.
Prop #10: Bamboo, Willow, And Rustic Wooden Props
Organic materials create a timeless language. A bamboo cradle with a soft arc lets a newborn stretch into a gentle pose that photographs beautifully. Willow frames a basket so it reads earthy without showing a single twig edge in the final shot. Rustic wooden props are sealed with baby-safe finishes and sanded until a silk scarf glides across every surface.
The prop never touches bare skin; a soft layer always intervenes. The look feels “handmade” because it is, but the safety is pure engineering. Stability is tested with an empty prop first, push, pull, wobble, repeat, before a single layer goes in.
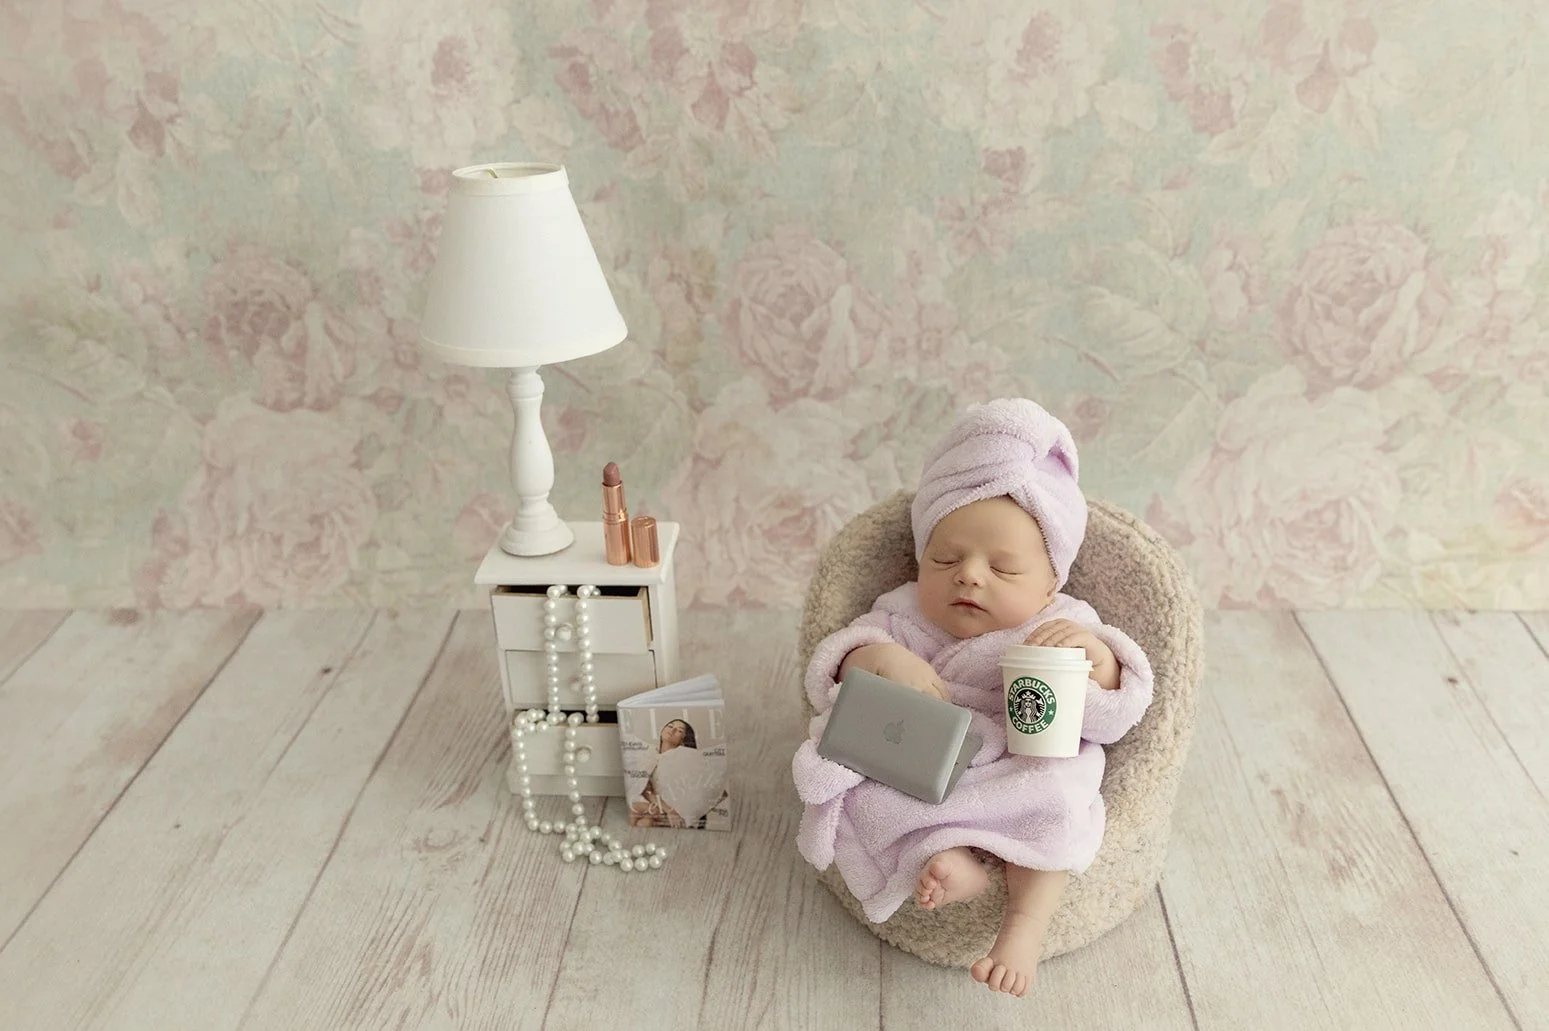
Prop #11: One Of A Kind Handmade Props
One of a kind pieces like toys, hand-carved mini beds, knit bonnets dyed in exclusive colorways, build a collection that parents can spot across a city.
Etsy is a treasure map for unique baby photography props when the listing includes scale measurements, fiber content, and maker photos of the prop in use. Scale is checked against existing pieces to ensure the perfect size, a prop that looked dreamy online can swallow a newborn if the interior dimensions aren’t right.
Curation beats accumulation. The collection grows slowly, intentionally, with the same restraint used to keep a frame clean.
See my DIY Newborn Photoshoot.
Prop #12: The Simple Stretch Swaddle On A Posing Table
A simple stretch swaddle on a posing table is the essence of newborn photography. The pose looks like nothing, and that’s everything. The setup removes distractions, leaving only breath, lashes, and the curve of a cheek. The wrap holds the startle reflex so the hands rest open, fingers relaxed near the face. The backdrop falls away. Parents see their baby the way they do at 2 am, warm and drowsy, safe and close.
For those who want to see me work behind the scenes, the Full Newborn Shoot Day Course walks through the process exactly as it unfolds in the studio.
The Hidden Techniques That Keep Newborn Props Comfortable And Safe
What never shows on Instagram is the calibration. The heater sits far enough to warm air, not skin. A small fan circulates so a newborn’s head never beads with sweat. A damp muslin waits nearby to cool cheeks subtly before a close-up so skin reads fresh.
Every prop that touches a baby is washed and sanitized between sessions, wool pieces are steam-cleaned and air-dried to preserve fibers while eliminating anything that shouldn’t be there. Posing tools live in labeled bins so the right density is always at hand, because rummaging breaks the calm feeling babies trust.
How A Prop Becomes A Photograph Parents Love
The journey from object to image goes through fit, light, and emotion. Fit means the prop’s interior dimensions and compressibility match the baby’s body and weight. Light means the prop’s texture and color play well with a key light and its fill, no sheen that throws specular highlights, no color that casts onto skin.
Emotion means the prop disappears emotionally so all attention rests on breath, lashes, and the tiny, sleepy smile that arrives once in a session if the room is quiet enough.
Lighting, Lenses, And The Way Props Read In Camera
Props don’t sit in a vacuum, they live under light and in front of glass. Side light at about forty-five degrees builds dimension across knits and wood grain without throwing heavy shadow across the nose. Fill is lifted just enough to keep eyelashes defined while preserving the roundness of cheeks.
A 50mm or 60mm macro captures details like a knit headband’s tiny stitch, while an 85mm flattens perspective for the full setup. How the prop reads in camera guides finishing choices. Wood grabs light and grows contrast, fabric drinks it and softens contrast. When a setup includes both, exposure is nudged to favor skin and recovered in the raw file with a subtle curve.
Posing Table Sequences That Guarantee A Full Gallery
A reliable newborn session in a photography studio follows a sequence that respects the baby’s energy. Start with the swaddle on the posing table for quick wins and an immediate calm. Move to the bucket or bowl while the baby is in their deepest sleep.
Save the open basket for when they stir and need room to stretch. Slip in a parent shot, wrapping the baby against a neutral fabric backdrop that matches the earlier setups so the gallery hangs together. Finish with a headband or bonnet change for subtle variation.
This sequence, repeated session after session, will get you sweet baby photos that feel varied and coordinated without ever rushing a newborn or gambling with a complicated pose when the energy is dipping.
For a full walk-through of an entire day, from warming the room to the final frame, my Full Newborn Shoot Day Course shows the exact flow, step-by-step, including real-time adjustments.
Conclusion
The best newborn photo props are the ones that let a baby feel held. Wooden buckets and woven baskets, handmade bowls and bamboo cradles, posing tables dressed in matte knit fabric, wraps that breathe like a lullaby, headbands and bonnets scaled to the tiniest faces, each plays a part in a gallery that feels like home.
What matters most is not owning everything you find cute on Etsy, it’s knowing exactly how to use what’s in the room so a new baby can exhale into sleep and a family can exhale into trust. That trust is the heartbeat preserved in every image.
For photographers who want to sit beside the studio light and watch the whole process unfold, ROXAMINA Photography Academy opens the door. My Newborn Photography Masterclass breaks down safety, posing, wrapping, and styling with hands-on demonstrations.
The Full Newborn Shoot Day Course lets you shadow an entire session, including the calm pivots when a plan needs love. The Sitter Session Course carries families forward when little ones sit up and grin at the world.
The DIY Newborn Photoshoot Course gives new parents guidance to create sweet baby photos at home with safe, simple setups.

About Ramina Magid
Ramina Magid is an award-winning newborn photographer, celebrated for her organic, timeless approach to capturing life’s earliest moments. Originally from Baku, Azerbaijan, Ramina built her dream newborn photography studio in Beverly Hills, where she has photographed more than 800 newborns and families over the past eight years.
Her gentle, safety-focused style and natural light aesthetic have made her one of the most sought-after newborn photographers in California. In 2024, her work was recognized with awards for Best Newborn Photographer in both Beverly Hills and Los Angeles. Ramina’s portraits have reached millions worldwide through social media, admired for their warmth, simplicity, and emotional honesty. See her courses here.


Source: Ramina Magid