Hair and Makeup Tips for Maternity Photoshoots
Get picture-perfect maternity photos! Discover hair and makeup tips to help you look radiant in your maternity photoshoot. Full guide for maternity photographers.
Professional hair and makeup do more than polish. They help you look and feel your best. Hair and makeup done with intention can relieve worry, settle nerves, and create a feeling of ease that shows up in every frame. The camera loves confidence, and small choices like where to place blush, how to keep curls soft, or which concealer to choose, quietly build that confidence long before the shutter clicks.
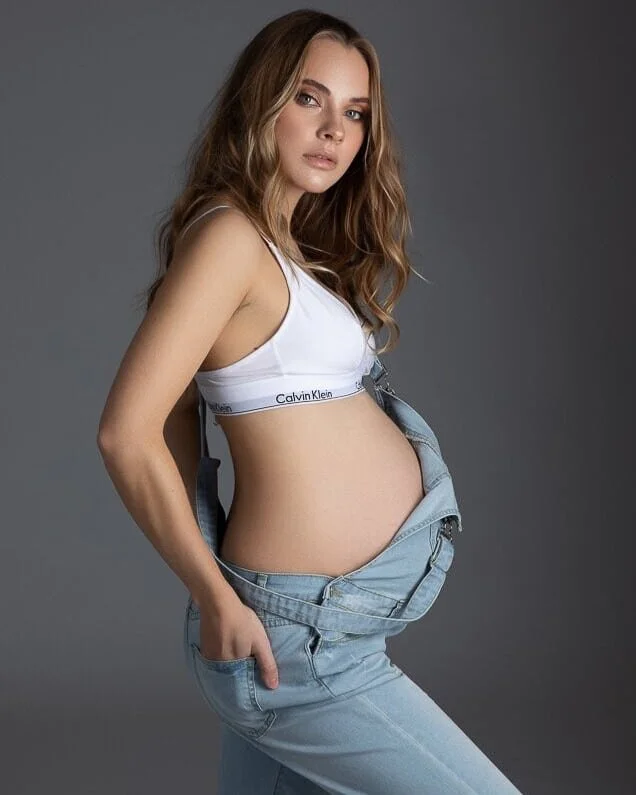
Hair and makeup for a maternity session should enhance your natural features, not change them. The goal is to look like yourself, well-rested, polished, and softly luminous. Professional styling helps the skin photograph evenly, keeps hair shape stable through posing and movement, and reduces the need for heavy retouching.
This guide focuses on how to prepare skin, which makeup textures photograph best, and how to style hair so it holds shape without looking stiff so you can feel confident and camera-ready.
Preparing The Skin Before The Maternity Photoshoot
Skin behaves differently during pregnancy, sometimes more hydrated, sometimes more sensitive, sometimes both. The goal is to create a smooth, calm surface so makeup sits evenly and the skin looks natural under soft or studio lighting.
Two days before the maternity session, keep exfoliation extremely gentle. A soft enzyme cleanser or a delicate microfiber cloth used with zero pressure is enough. Over-exfoliating can trigger redness that reads aggressively in natural light.
The night before, use a light moisturizer or gel-cream depending on your skin type, then finish with a hydrating mist. This prevents foundation from catching on dry areas. Avoid strong acids, retinoids, heavy oils, or new products you haven’t used before.
Morning-of routines should be comforting and simple. Rinse with cool water, press in a hydrating serum, and end with a hydrating mist again. Avoid heavy oils that sit on top of the skin and refuse to play nicely with makeup. For redness-prone complexions, a thin veil of green-tinted moisturizer under the makeup can reduce the need for heavy concealer later, keeping that natural look intact.
Skin preparation isn’t only topical. Keep water intake steady the day before, and have a light snack before your maternity shoot to keep blood sugar even. Heat, hunger, and a belly that’s growing by the day can make anyone dizzy. Stable blood sugar keeps your complexion even and helps you stay relaxed during posing.

The Art Of Enhancing Natural Beauty
The base should look like skin. The right foundation depends on the lighting environment. For outdoor natural light, choose a breathable, buildable formula that sets without looking flat. For studio lighting, avoid formulas with heavy SPF or reflective particles, which can cause a grey or overly bright flash response. Match the foundation to the neck and chest, not just the face, to keep tone consistent across camera angles. Always test the match in natural window light and under studio light if possible, adjust tone with a small amount of undertone mixer rather than relying on bronzer later.
Concealer should correct, not lighten dramatically. Use a shade only slightly brighter than the foundation to avoid the white under-eye look in photos. Apply a small amount at the inner corner, blend outward, and lightly diffuse at the outer eye to soften smile shadows. For blemishes, use a high-pigment concealer, let it set for 20–30 seconds, then blend only the edges. This gives coverage without texture buildup.
Contour for maternity photography should create lift and warmth rather than sharp definition. A cream contour placed high under the cheekbone and blended well into the hairline and jaw keeps the result natural.
Bronzer ties the face to the body, especially important if shoulders are visible. Blush should sit slightly higher than everyday placement to lift visually on camera. Choose shades that mimic a natural flush rather than trendy tones.


Eye Makeup That Frames Without Overpowering
Eyes carry so much of the story in a maternity portrait and eye makeup should define the eyes without becoming the focal point. Select tones based on your skin undertone. Warm skin tones look balanced in peach, caramel, and soft brown. Cool or neutral tones do well with taupe, rose-brown, and muted purples. Prefer satin or matte finishes over shimmers that can reflect unpredictably under studio lights.
Mascara is waterproof to prevent transfer. Apply in thin layers, focusing at the lash roots to give depth without clumping. For added fullness, use lightweight half-lashes or small clusters at the outer corners. They lift the eyes without weighing down the lid. Brows should be softly structured, light, hairlike strokes and a clear gel are usually enough. Avoid heavy, filled brows, they distract in close-up portraits.
If the eyes are hooded or deep-set, avoid placing shimmer in the crease. Instead, use a small amount of light-reflective satin on the center of the lid and inner corner to open the gaze. Always do a quick check on camera or video to confirm blend and color balance.
Blush, Bronzer, And The Dewy Finish
A dewy finish photographs beautifully when controlled. Keep the center of the face softly set with powder to prevent shine while allowing the tops of the cheeks to hold natural glow. If skin becomes oily during the session, blot first, then re-apply a small amount of powder. Applying powder over shine without blotting leads to texture buildup.
Use cream blush first, then set lightly with powder blush for longevity. Choose tones that complement your gown and setting. Peach and apricot tones work well outdoors, rose and terracotta look flattering under studio light. Blush placement slightly above the apples lifts the face in photos.
Use bronzer to unify face, neck, and shoulders rather than to tan. If the chest is warmer than the face, lightly dust bronzer across the collarbones and upper shoulders for consistency. For gowns that expose the upper body, a subtle, non-glitter body luminizer on the shoulders and arms adds shape without shine.
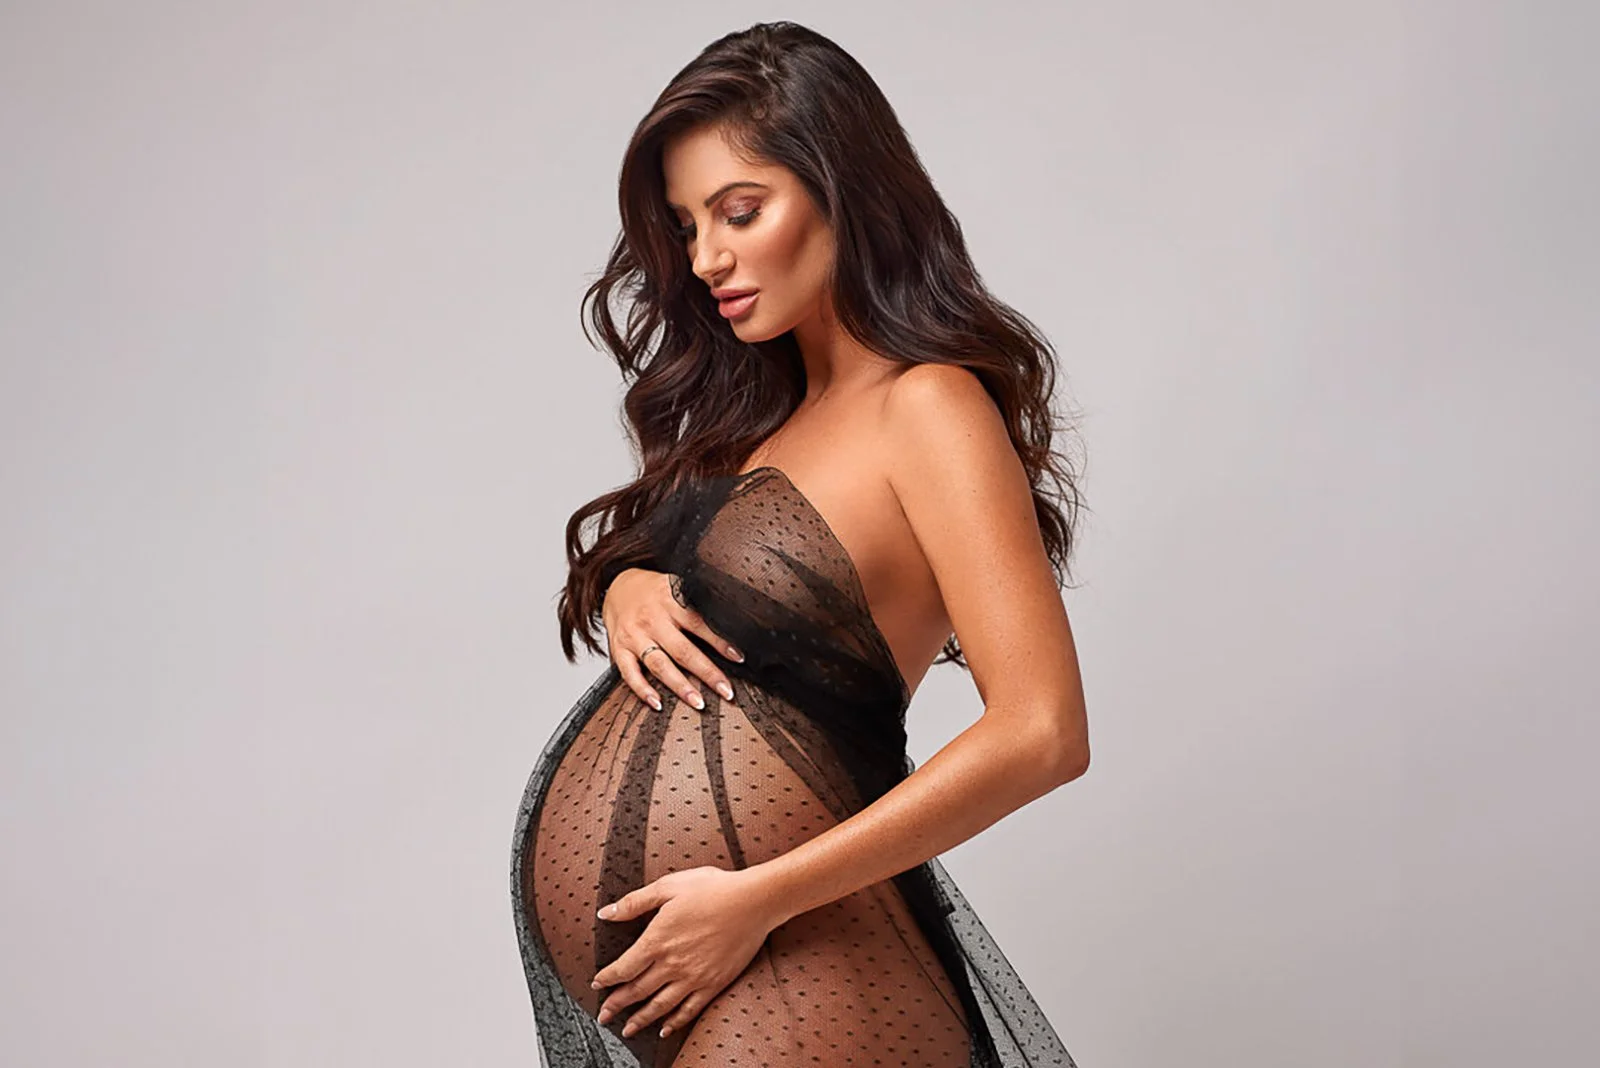
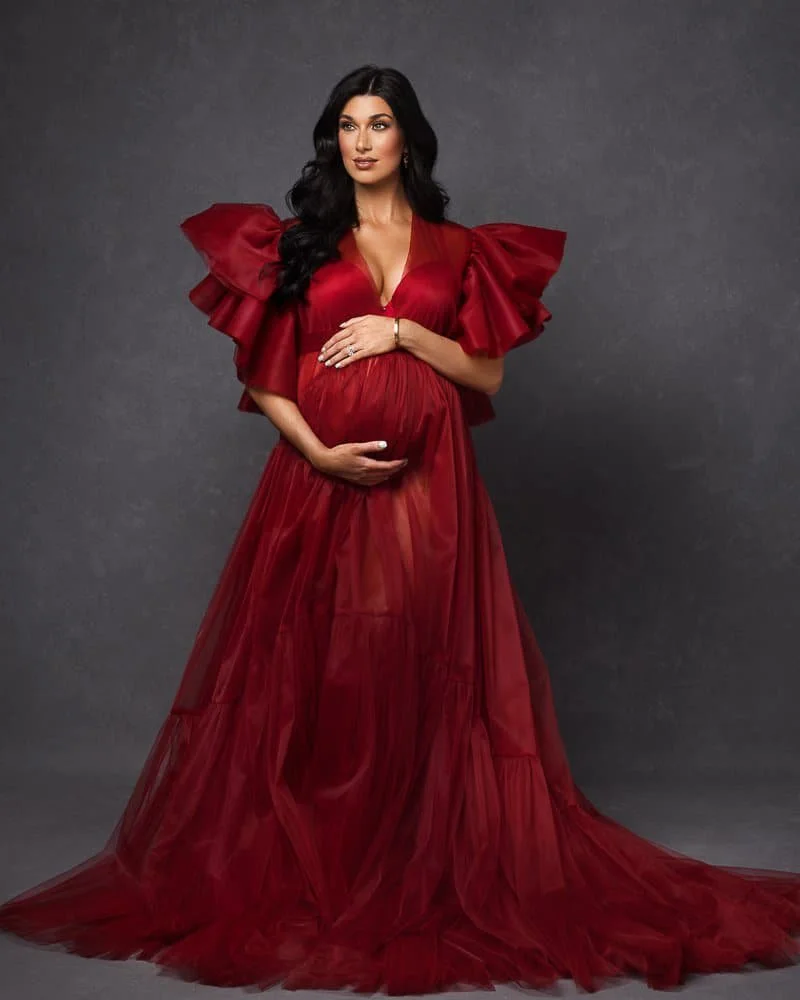
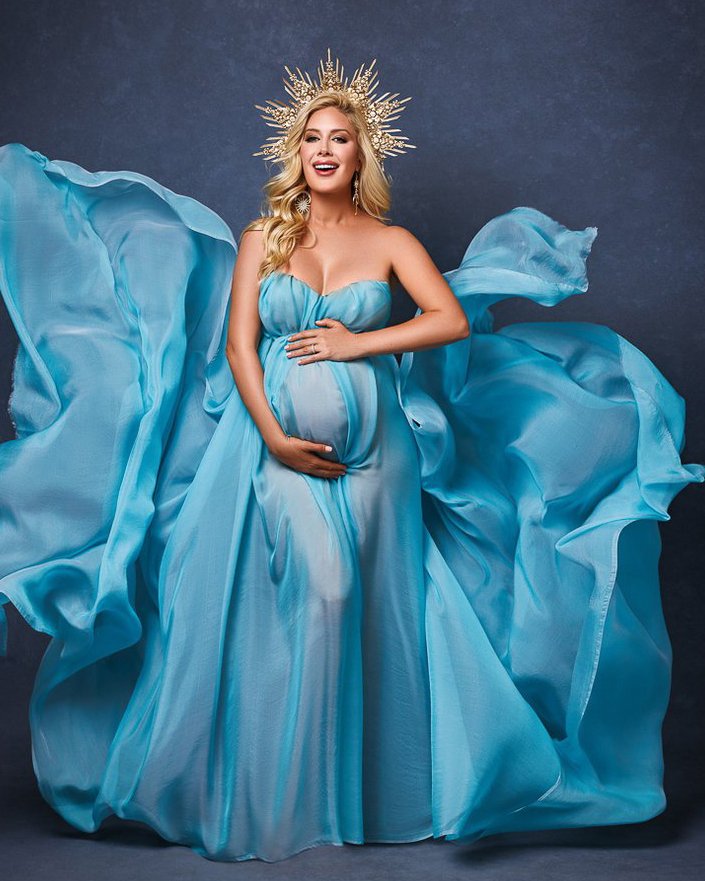
Professional Hair Styling For Timeless Maternity Photos
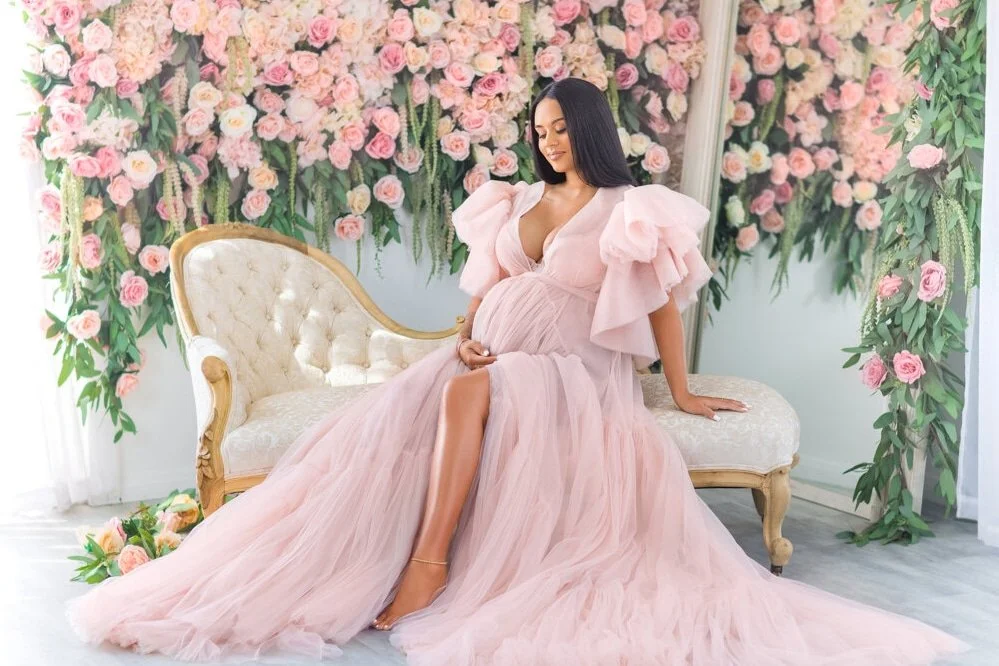
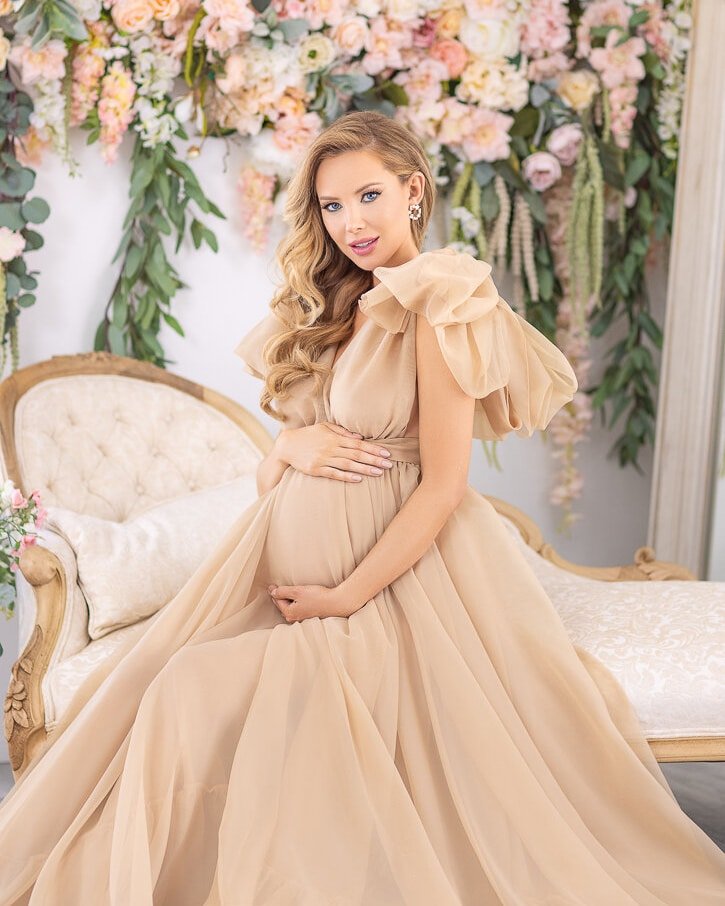
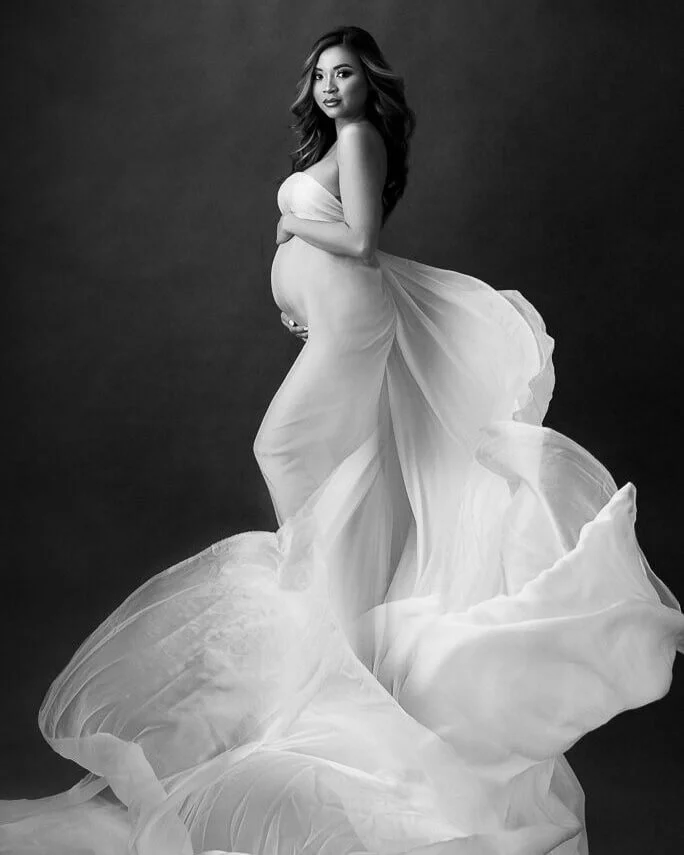
Hairstyles anchor the mood of a maternity session. Loose waves that move in the breeze feel effortless and romantic, a polished low bun with a relaxed face-framing curl reads chic and timeless, a high, soft pony with volume can feel youthful and powerful. Professional hair is about ensuring your hair behaves. The camera magnifies little things, flyaways, collapsed roots, curls that never set fully, so we prepare the hair to be cooperative all day.
The secret starts with clean, fully dry hair and the right prep. A light volumizing mousse at the roots and a heat protectant through the lengths set the stage. The curl itself matters. Wrap hair away from the face on a one-and-a-quarter-inch iron for most textures, then pinning each curl to cool completely. Hair that has cooled in shape holds. If we rush and brush while curls are still warm, they relax before the first setup.
After the pins come out, let them rest for a minute, spray a flexible hold, then brush through with a soft boar bristle to create that expensive, airy wave. If your hair is fine, avoid heavy oils that congest the open hair shaft. A dry texture spray at the roots and mid-lengths gives lift without weight. If your hair is thick or naturally curly, respect the pattern, define it, and only add heat where needed to polish.

During the maternity session, keeping hair fresh becomes a dance with the environment. Outdoors, wind can be a friend if hair is set to move, it becomes a problem only when bangs whip across lashes, so we secure the shortest front pieces back with an invisible pin during gusty moments. Humidity wants to eat volume, so tuck a mini brush and a small flexible hairspray into the kit.
Every fifteen minutes, a quick sweep at the crown and a pinch at the ends brings life back. If we’re changing gowns from a lace bodysuit to a dramatic silk drape, we adjust the part slightly to keep the look evolving without restarting styling. On long sessions, a second style is my favorite trick. We begin with the hair down, then sweep into a low twist or pony for the final look. It feels like a cinematic finale and keeps the images from feeling repetitive.
One last thing, ensure your hairline is quietly refined. Baby hairs near the ears and temples can either be charming or distracting. Tame them with a clear brow gel on a clean spoolie rather than heavy hairspray, which can flake. And if you prefer natural hair in its true texture, lean into that beauty with moisture, definition, and shine.

Personalized Makeup Tips For Different Skin Needs
Skin can change throughout pregnancy, and the goal during a maternity session is to work with the skin you have that day. If your skin becomes oily as the session progresses, apply mattifying primer only to the spots that typically shine, such as the sides of the nose, the center of the forehead, and the tip of the chin.
During touch-ups, always blot before adding powder. Press powder in with a puff rather than sweeping it on with a brush. Sweeping can move the base and exaggerate texture. A quick phone camera check in front of a window will show shine more clearly than a mirror and helps you adjust early rather than after the skin becomes reflective.
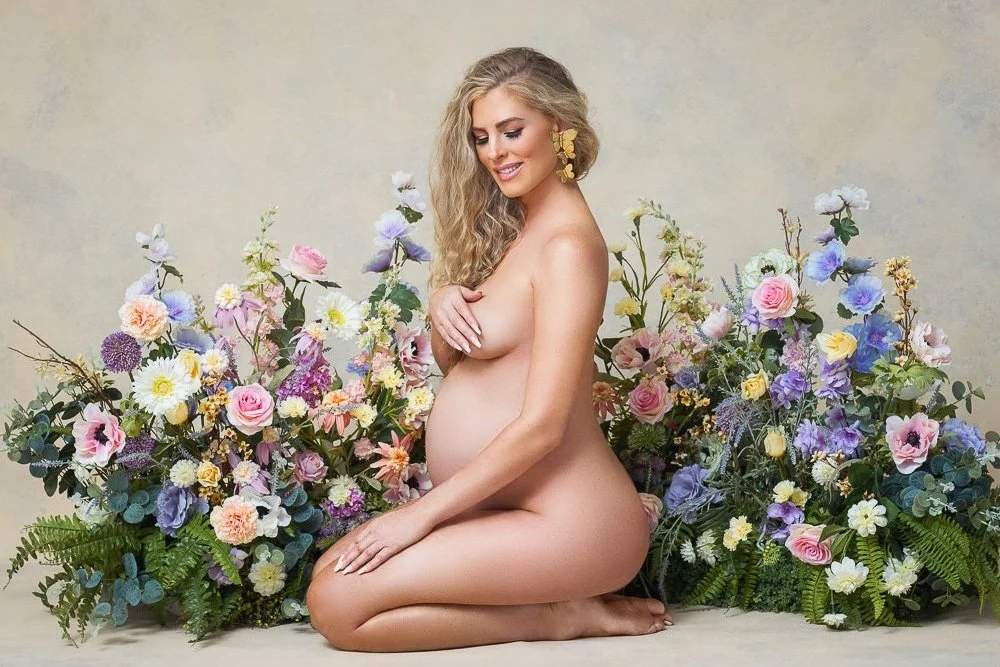
For dry skin, layering is essential. A hydrating serum followed by a moisturizer, with a short pause before applying foundation, creates a smooth surface. Applying foundation too quickly on damp moisturizer can lead to pilling, which shows as small flakes in high-resolution images. If the under-eye area is dry, warm a tiny amount of eye cream between your fingers and press it in before concealer. Choose a creamy, light-reflecting formula and set with only a trace of powder so the finish stays natural.
If melasma or pigmentation appears on the forehead or cheeks, use a peach-toned corrector under foundation so the base remains thin and even. Heavy coverage is not necessary when the discoloration is neutralized first. If flushing appears during the shoot, a cool compress or roller during a short break lowers heat in the skin without disturbing the makeup. Skin that is calm photographs more evenly and requires less retouching.
Coordinating Hair And Makeup With Wardrobe
Hair and makeup should support the wardrobe and lighting environment. In soft, even studio light, a slightly stronger contour and well-balanced blush keep the face defined. In directional or dramatic studio light, such as strong side lighting, highlighter should be reduced so the cheekbones do not appear overly reflective. In natural window light, a dewy finish works well because the softness of the light maintains a gentle glow without exaggerating shine.
Mixed lighting setups require more control, avoid base products with heavy SPF or reflective particles and add a little more color to the cheeks and lips so features stay present on camera.
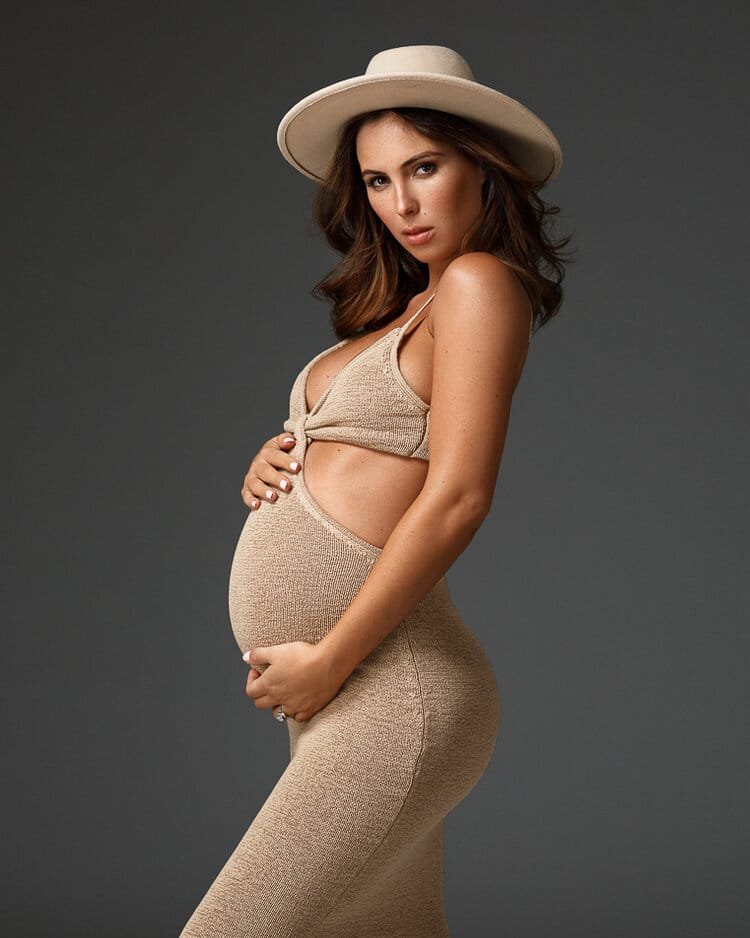
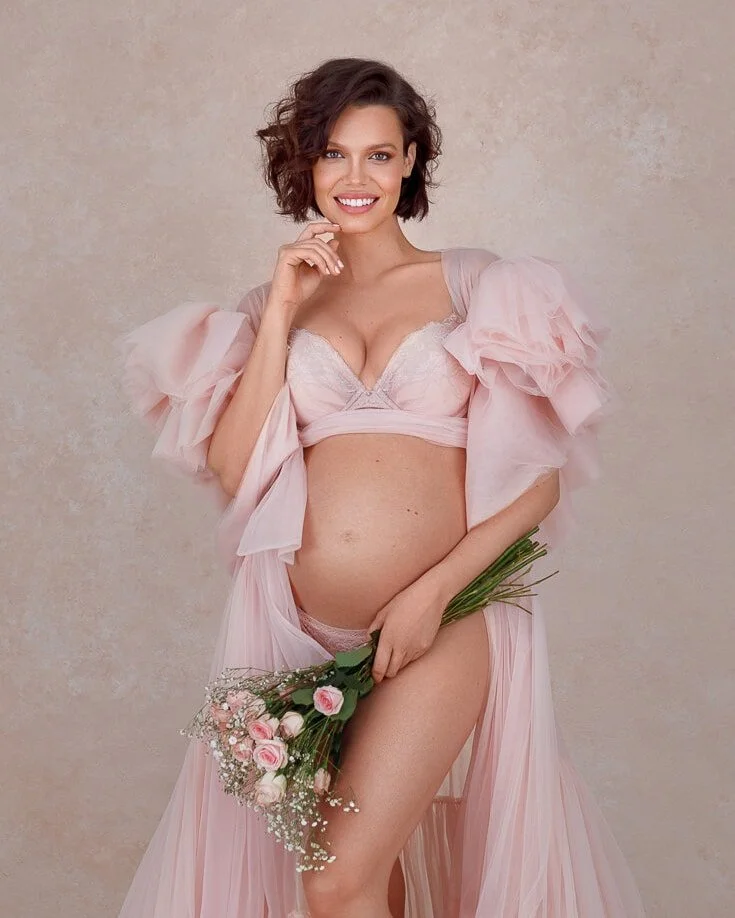
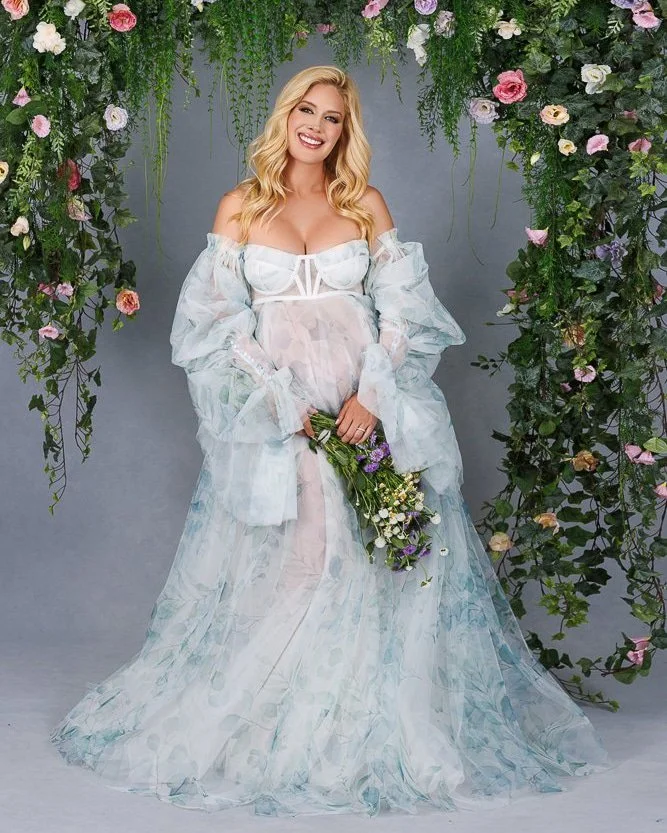
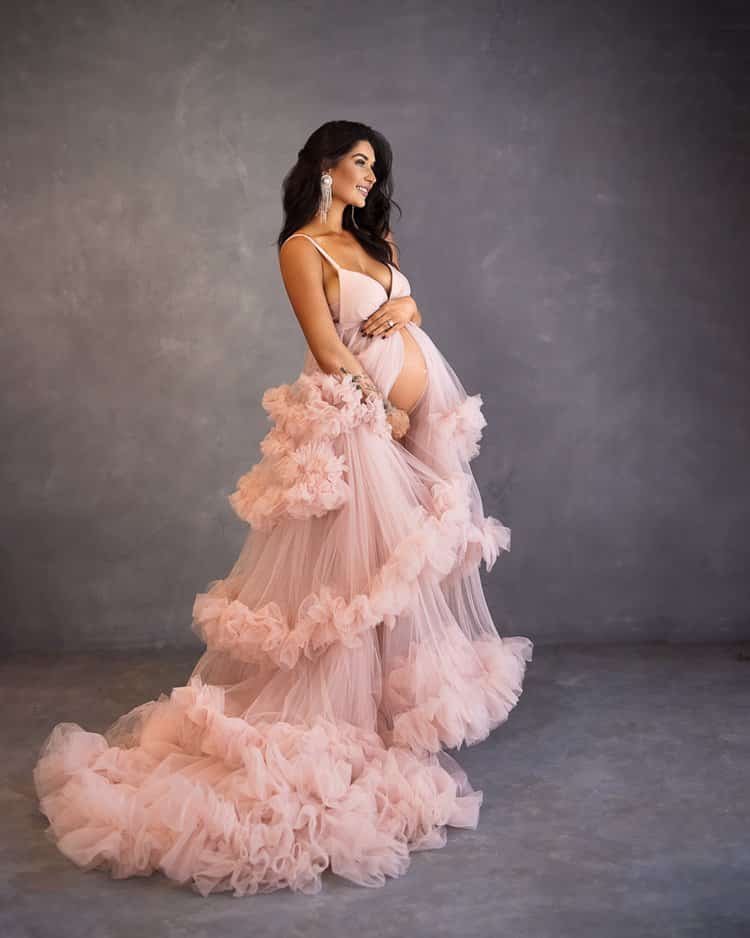
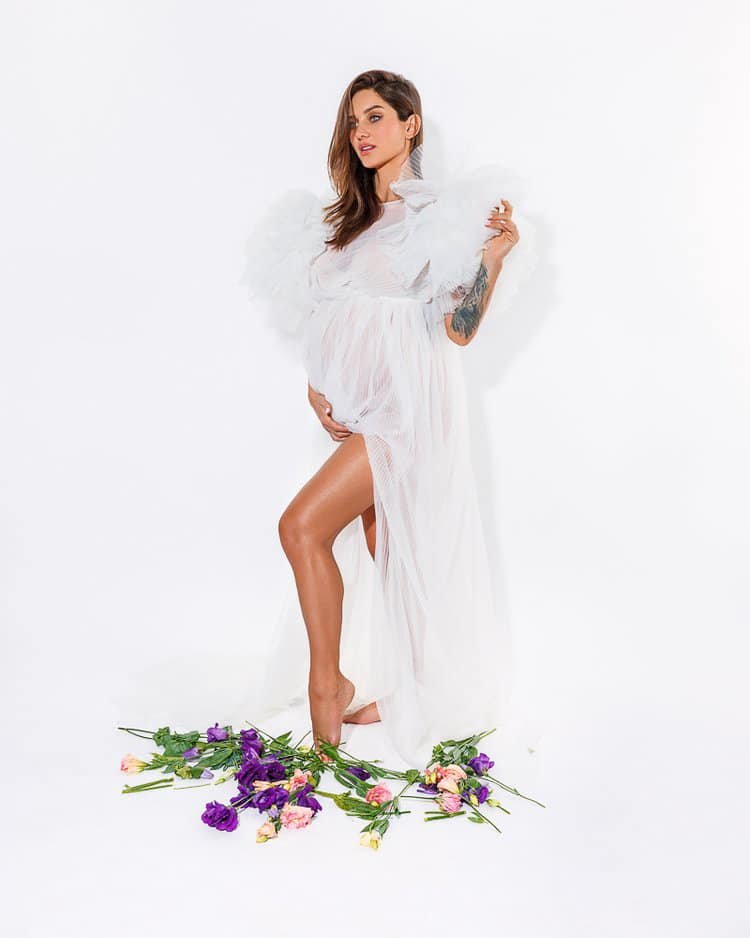
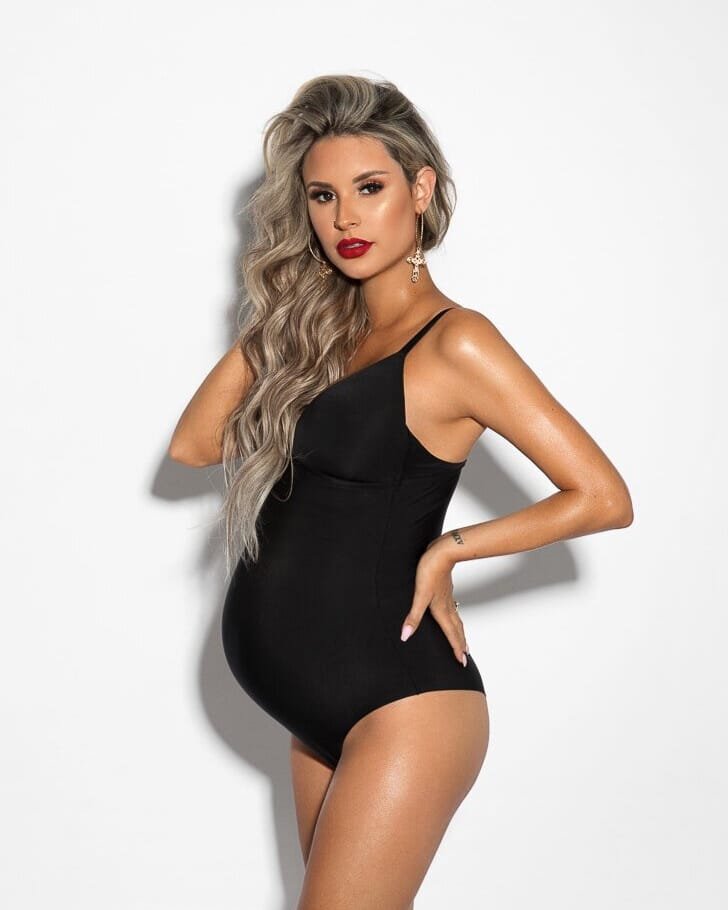
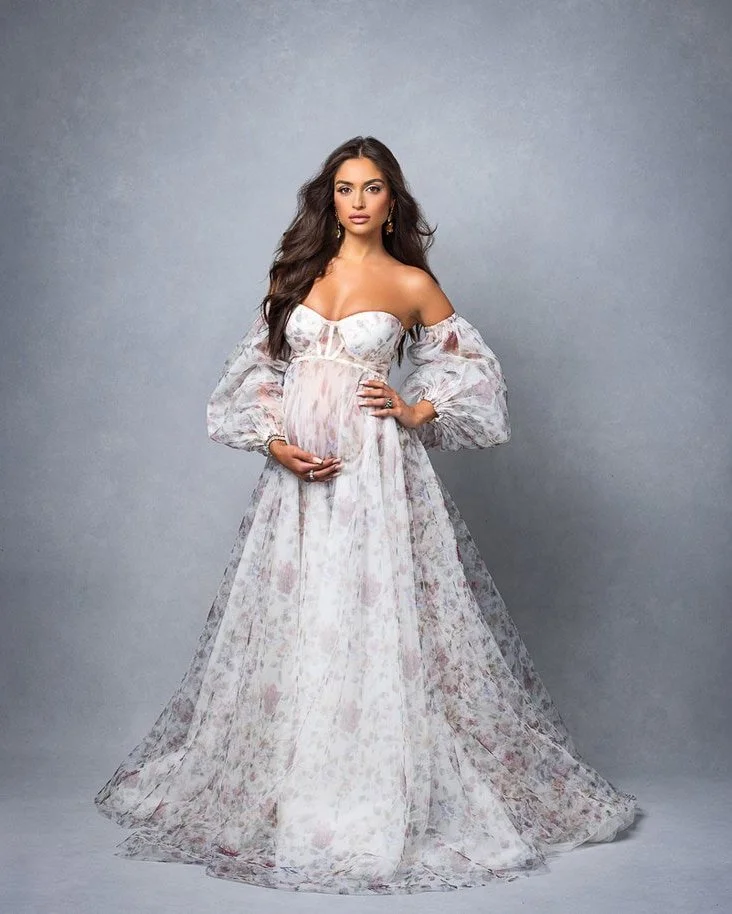
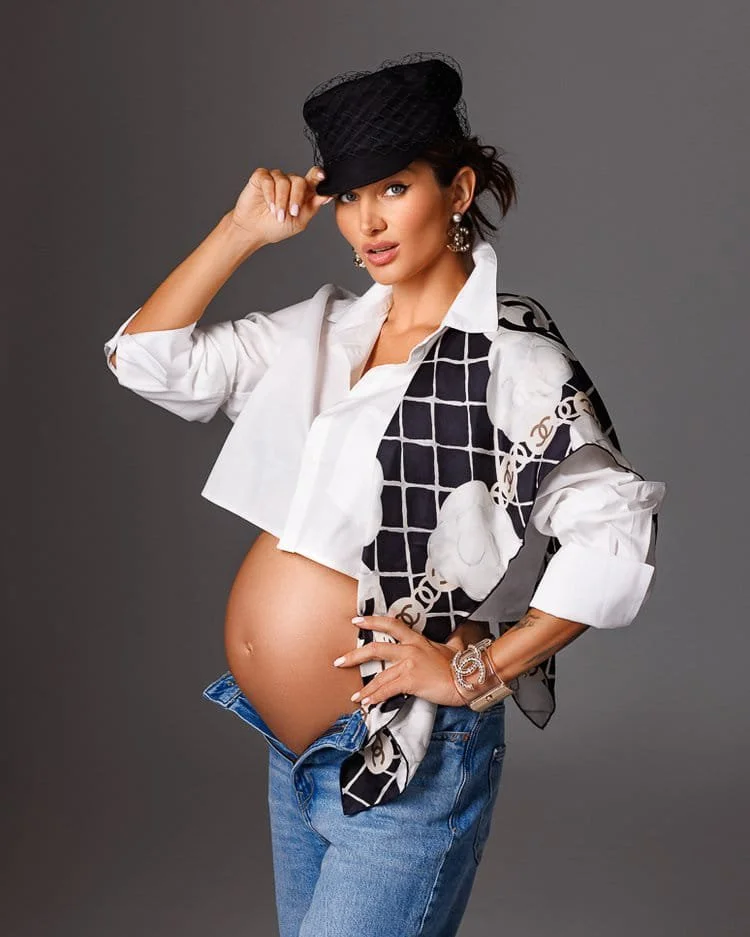
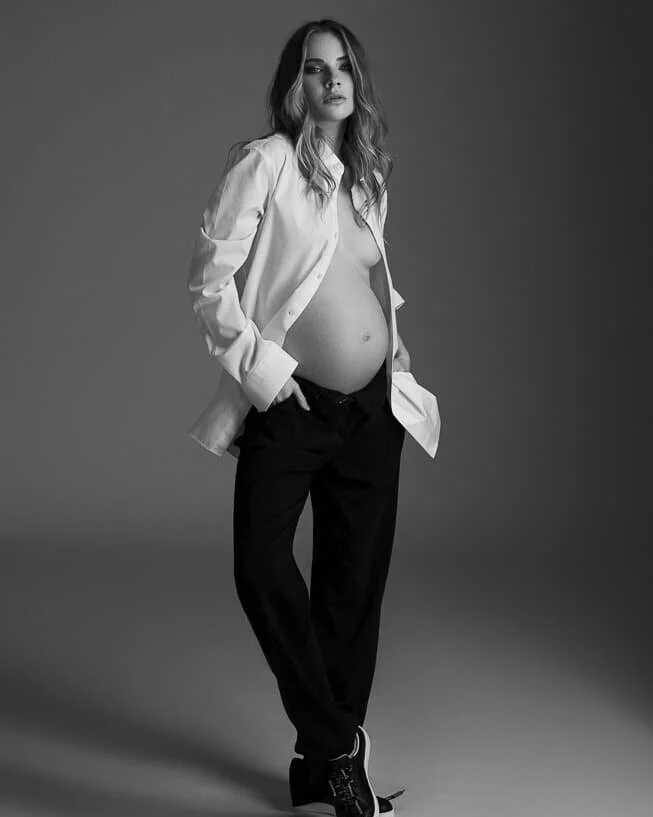
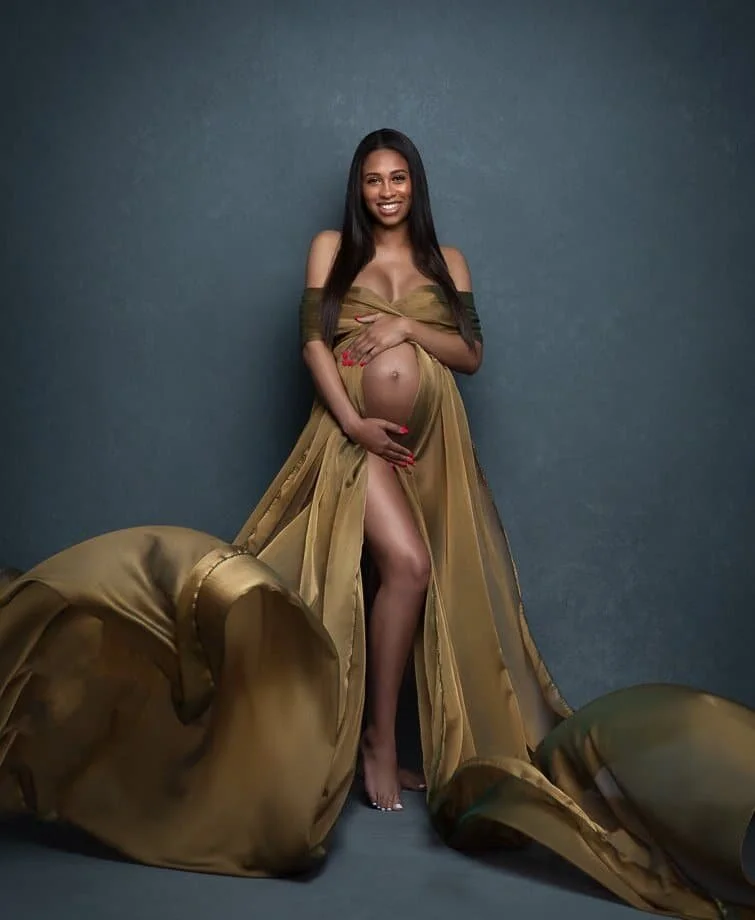
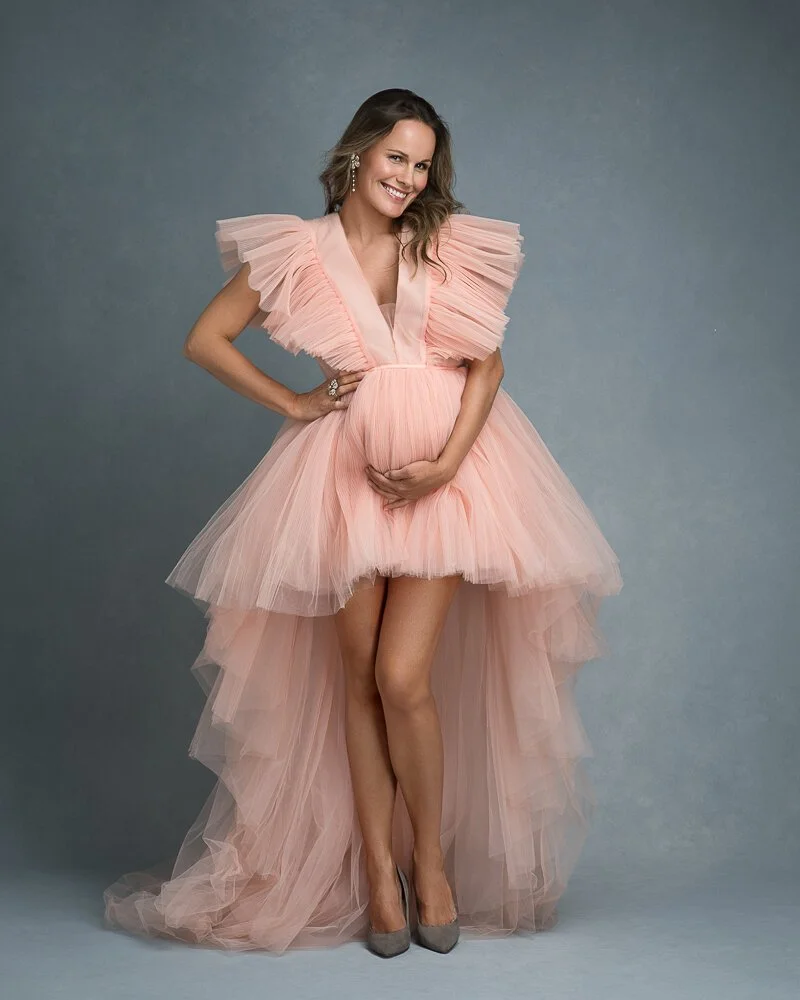
Wardrobe influences styling choices as much as lighting. A silk or ivory gown suits soft blush and understated lips. A black or deeper-toned gown supports slightly richer eye definition. Dresses with heavy detail near the shoulders or neckline pair best with hair that is sleek or placed lower so that texture does not compete with fabric. Strapless gowns or off-the-shoulder draping require bronzer that connects face, neck, and shoulders so everything reads as a cohesive tone.
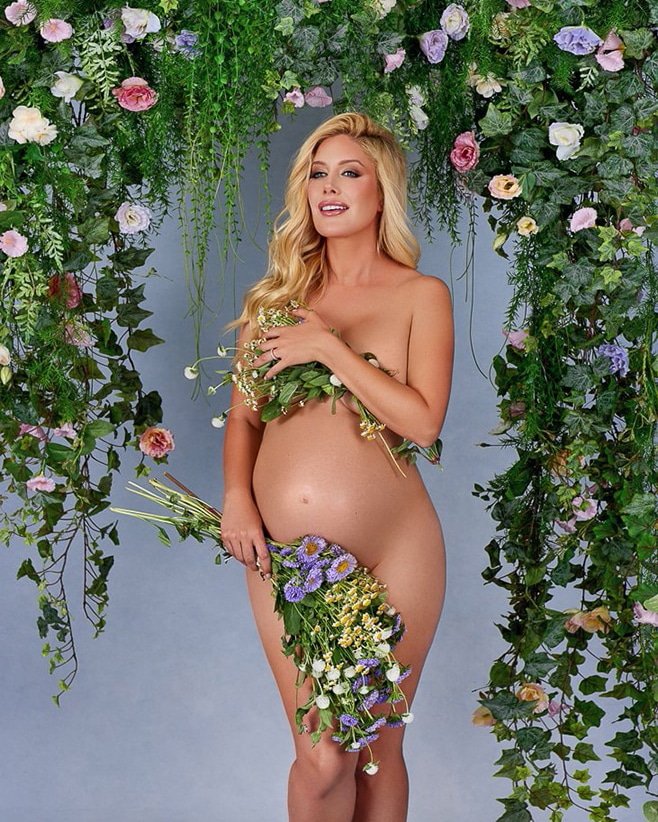
Location influences hair choices as well. By the ocean, set curls thoroughly so natural texture that develops in the breeze looks intentional. On rooftops or windy outdoor locations, polished ponytails, twists, or structured waves hold their shape. In gardens or natural environments, soft waves and a natural eye are often the most balanced option.
Always make final adjustments once the gown is on and test the overall look on camera. The camera reads contrast and color differently than the mirror, and small refinements at this stage make the greatest visual difference.
If you’re a photographer refining the relationship between styling and lighting, my Natural & Mixed Light Course inside the ROXAMINA Photography Academy goes deep on how different light qualities interact with skin textures and makeup finishes.
Working With A Professional Hair And Makeup Artist
A professional artist understands how makeup responds to lighting and how hair behaves over the length of a session. The best collaboration comes from describing how you want to feel in your photographs, rested, polished, soft, or elegant, rather than using style labels. Bring reference images that reflect tone and finish rather than exact shapes or features.
Hair and makeup should be completed before stepping into wardrobe, with a few minutes reserved for a final adjustment once you are dressed. Necklines affect the balance of warmth and contour, so the finishing steps are most accurate when the gown is already in place. If possible, having the artist stay during the beginning of the session allows for small refinements while the styling settles. A slight adjustment to root lift, a light blot around the nose, or a subtle powder press often prevents unnecessary editing later.
Comfort and communication are part of the process. If something feels off, a lash lifting, lips becoming dry, or hair shifting, say so. The session naturally includes pauses for wardrobe, posing, and lighting adjustments, and these are the ideal moments for quick touch-ups that keep the look consistent throughout the session.
Outdoor Vs. Indoor Maternity Photoshoots
Outdoor maternity sessions work with living elements like changing light, breeze, and movement. When the hair is prepared to move, wind becomes part of the story rather than something to fight. Secure the smallest face-framing pieces so they lift softly instead of whipping across the eyes. Apply mascara mainly at the roots so the tips don’t clump if the air gets humid. Warm weather can bring shine, so lightly set the center of the face in advance and keep blotting papers close. Shine is removed first, then a small touch of powder is pressed in to restore balance. Lips outdoors look best with something that has moisture but not stick, so hair doesn’t catch on gloss.
Indoor sessions are shaped by lighting. Studio lighting is precise and can emphasize texture more than daylight, so foundation needs to match the skin perfectly and avoid heavy SPF or reflective particles that flash back. In the studio, a low bun or soft wave holds its shape and photographs beautifully. I check the T-zone periodically under studio lighting because small adjustments during the session prevent larger corrections later. Everything happens at a slower, more controlled pace indoors, allowing the hair and makeup to look polished and intentional.

The Lip Story
Lips can quietly define the entire mood of a maternity portrait. A soft rose balm says tenderness. A polished purple says elegance. A cinnamon nude with a glossy finish says warmth and earth. The secret is balancing color and comfort. Pregnancy can dry lips, deeply matte formulas exaggerate lines. Prep with a light sugar-free balm, blot, then apply color. If longevity is crucial, press a tissue against the lips and apply a second thin layer. This set and refresh technique outlasts heavy matte options and still looks like lips. If the gown color is bold, the lip must either echo its warmth or stay neutral enough not to compete. Test in the camera because what looks subtle in the mirror can pop under natural light.
Between setups, a quick check is easy. A swipe of balm on top of lipstick brings back life without thickening. If hair is down outdoors, avoid sticky gloss that catches strands. In studio, a hint of shine looks lush.
Hands, Shoulders, And The Often-Forgotten Details
Close-ups in a maternity session rarely stay at the face. Hands cradle the bump, shoulders peek from silk, collarbones curve in graceful lines. These areas deserve the same attention as the complexion. I keep a rich but fast-absorbing hand cream nearby so skin looks hydrated without glare. Nails photograph best when clean, even, and in tones that harmonize with gowns, soft pinks, milky neutrals, or classic reds, depending on the wardrobe story. Shoulders and collarbones love a whisper of body luminizer blended with moisturizer, too much turns sweaty in natural light. A tiny dab on the tops of the shoulders and the center of the collarbone is enough.
If the session includes silhouette shots, reduce body shine so the outline reads crisp. For backlit belly frames, soften any dry patches with a quick lotion massage. Stray deodorant marks on black dresses vanish with a clean microfiber cloth. These details feel small in the moment and enormous in the final gallery.
Keeping Makeup In Place From First Frame To Finale
Makeup lasts longest when applied in thin, blended layers. Setting spray helps maintain that finish without making the skin appear matte or heavy. Throughout the session, shine is always blotted before powder is added. Touch-ups are timed naturally during wardrobe changes or posing transitions so the emotional flow is never interrupted. If a gown change shifts the overall color balance, we revisit the lip or cheek color slightly so the entire look remains cohesive.

DIY-Friendly Notes For Mothers Shooting At Home
Not every maternity photo shoot happens in a studio. Some mothers prefer a DIY maternity shoot at home with a partner, a friend, or a remote trigger. The same principles apply, just simplified. Choose a window with soft, indirect light and face it at a forty-five-degree angle so the cheekbone catches glow. Keep the base thin and even, select a concealer close to your skin tone, and remember to blend under natural light, not the bathroom mirror. Curl lashes, apply mascara at the roots, and place blush slightly higher than everyday makeup so it lifts in photos. Set the T-zone, keep a tissue nearby to blot the excess oil if it appears, and refresh lips with balm between shots. Keep hair soft and movable, and let it cool fully after curling so it lasts.
My DIY Maternity Photoshoot Course inside the ROXAMINA Photography Academy walks through easy at-home setups step by step, from lighting to styling and posing that honors your natural look.
Conclusion
A maternity photoshoot is a beautiful way to capture how this season feels and professional hair and makeup will help you look and feel your best while staying yourself. Every choice, selecting the right makeup for maternity skin, knowing when to contour and when to simplify, choosing hairstyles that flatter and last, remembering to blot the excess before powder, understanding how natural light and studio flash change the rules, serves one purpose: to enhance your natural glow and give you maternity photos that feel powerful and timeless.
If you’re a photographer building a practice that honors mothers with technical excellence and emotional care, keep learning the language of light and styling. The Maternity Photography Lighting Course Bundle inside the ROXAMINA Photography Academy pairs perfectly with these hair and makeup foundations.
My Signature Maternity Style Lighting Course refines your studio craft so makeup reads as skin and hair holds shape.
The Posing Couples in Maternity Shoots Course bridges styling and connection so partners look natural and close. For families and playful energy, the Family Maternity Photography Course and the Mommy & Me 4 Years and Mommy & Me Twins deepen the toolkit with gentle, practical guidance.

About Oxana Alex
Oxana Alex is a Los Angeles–based fine art and maternity photographer known for her signature couture studio style. Over the past decade, she has photographed more than 3,000 maternity sessions, creating timeless portraits that celebrate strength, beauty, and the magic of motherhood.
Her work has been featured in Elle, Harper’s Bazaar, and L’Officiel.
Through Roxamina Photography Academy, Oxana teaches parents and photographers around the world how to master lighting, posing, and creative direction in maternity photography.


Source: Oxana Alex Photography