Best Lighting Tips for Stunning Maternity Photos
Learn how to use light beautifully in maternity photography to create radiant, flattering pregnancy portraits with depth, glow, and emotion.
Maternity photography is one of the most poetic forms of portraiture, and light is the brush that paints the emotion. Light can make a maternity photo feel ethereal, strong, romantic, bold, tender, or majestic. It can honor the shape and celebrate the journey, but only if we learn to shape and guide it intentionally.
For more than a decade, I have photographed thousands of maternity sessions in my Beverly Hills studio, and one thing has remained constant, when the lighting is right, the image feels alive. When the lighting is off, everything else struggles to compensate.
This article is designed to take you inside the world of maternity lighting. This is a full, heartfelt masterclass, not the one-size-fits-all setup you may have tried a dozen times. It’s everything I wish someone had handed me when I photographed my very first maternity shoot.
Start by Aiming the Light with Intention
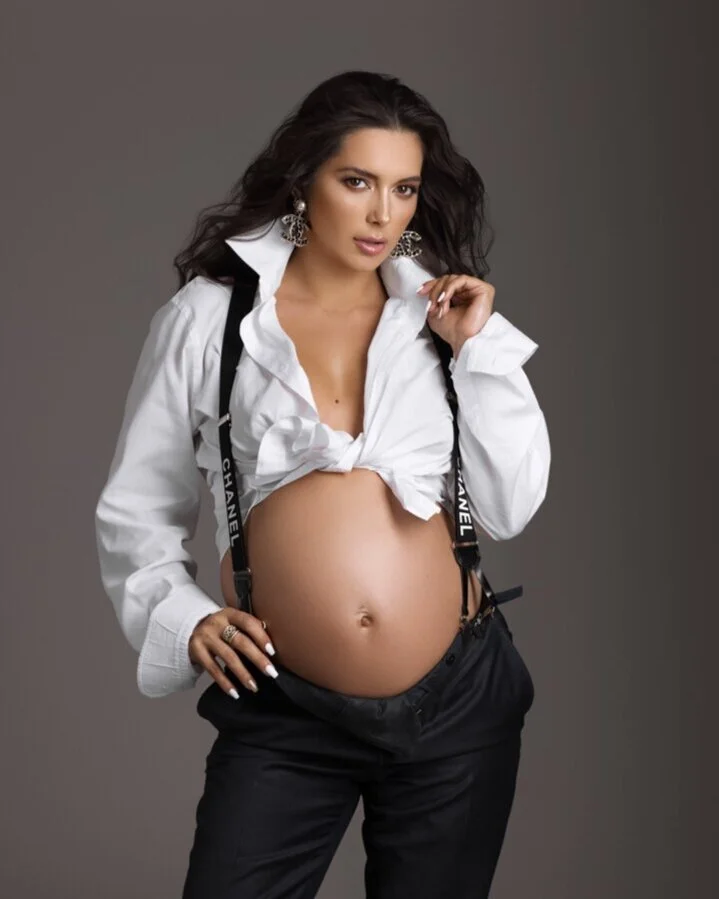
Lighting for pregnancy is different because the subject is different. The pregnant form asks the light to move, not just land. The belly is round and forward, the ribcage may be a touch wider, the shoulders may subtly roll, the hands often find their way to the curve without thinking. Light needs to meet that softness with the same intention. When I build a scene, I first ask myself where I want the viewer’s eye to rest. If the answer is the belly, then I build a gentle gradient of brightness that skims from cheekbone to collarbone to bump. If the answer is connection between a couple, I shape the light so the hands and faces carry the brightest detail while the dress and background whisper rather than talk. The trick is focusing with light rather than with a zoom ring. Even in a full-length portrait, light is how we compose.
Softness is not the same as flatness. Soft light means transitions between highlight and shadow are slow and kind, flat light means those transitions never arrive. The belly wants softness because the roundness looks elegant when highlights glide and shadows sigh.
The face wants shape, because a little structure along the cheek and jaw reads as confidence and vitality. So the direction that flatters most mamas is somewhere between straight-on and full side-light. I often start with the light just off to one side, tipped slightly downward so it grazes cheekbones and shoulder. From there, I decide how much of the opposite side I want to keep in play. If I need depth, I bring in black negative fill on that side to drink in extra light.
If I want airy, I bring a white V-flat to bounce a little glow back in, the kind of glow you see in dreamy maternity pictures that feel like a cloud you can walk into.

Understanding the Pregnant Form in Light
When light hits a sphere, the brightest point sits a little off-center, when the subject rotates, that bright point travels. Pregnancy gives us a living sculpture to shape with highlight placement. Place your main light so that the brightest point rides along the front third of the belly rather than the center. This keeps the bump looking three-dimensional without ballooning wide. A quarter turn of the body changes everything. A tiny angle inward toward the light makes the belly read as full and lifted. The same turn away can make it vanish into shadow.
When a client worries that the bump doesn’t show, the very first fix is rotational, ask for a slow, small pivot and let the highlight roll until the curve gets pronounced.
Also, don't forget that hands tell the story. Hands under the belly lift the line and give the highlight somewhere to rest, hands on top lengthen the torso and calm the fabric. If the dress is flowy, a subtle pinch of fabric between the fingers creates a valley for light to slide through. If the outfit is a fitted dress, a soft press of the hand at the side seam creates a clean edge that light can trace. For clients who feel a little swell in the face near the end of the session, I lift the main light slightly, letting it graze downward. It’s a small shift, but it opens the eyes and carves a gentler cheek.
The Best Time to Schedule and Why It Changes the Light
Great lighting begins long before anyone steps into the studio. The best time for a maternity shoot is usually late second trimester through early third, when the bump is round and high and the mama still feels comfortable moving. There’s flexibility here, because every pregnancy is its own story, but I encourage clients to book ahead of time so we can plan wardrobe, undergarments, and hair and makeup with breathing room.
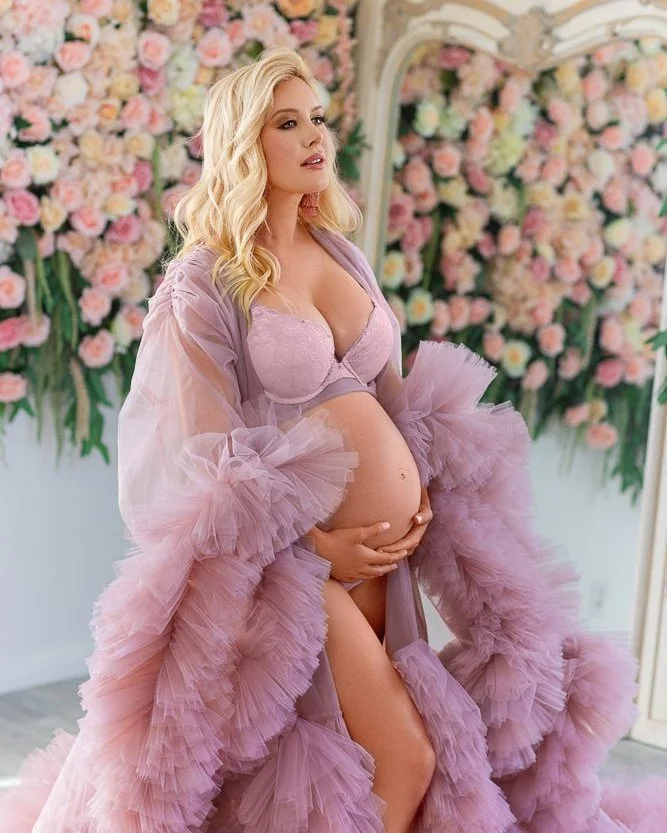
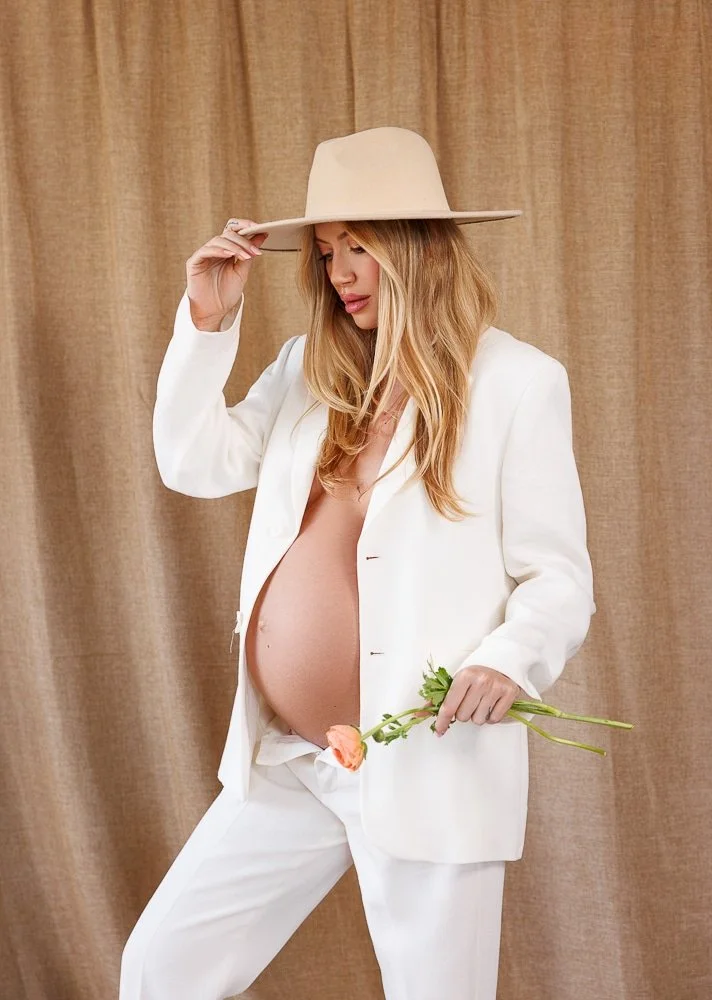
Planning early also lets me build a lighting approach that matches the outfits. A sheer lace dress invites backlight and translucent glow, a clean, fitted gown asks for shape and side sculpting, a top with jeans look wants lively, friendly window light that feels like home. When the schedule is a rush, good lighting becomes harder only because choices are rushed. When we plan ahead, light becomes a calm conversation rather than a last-minute scramble.
Use Window Light For Your Maternity Photo Session
In a studio-only practice like mine, window light is still a beloved collaborator. Los Angeles gives us bright, generous sun, but the studio walls and sheer curtains do the real work by shaping it. Watch the height of the highlight in the eyes first. If the light is too horizontal, the face can flatten. If it’s a touch higher, the cheekbones wake up. I angle a white V-flat opposite the window to keep the far side of the face quiet and clean, not too contrasty, and I leave a gap if I want a slice of shadow to draw the face narrower.
For airiness, I’ll feather a translucent scrim in front of the window just enough to soften, never enough to remove the life of it.
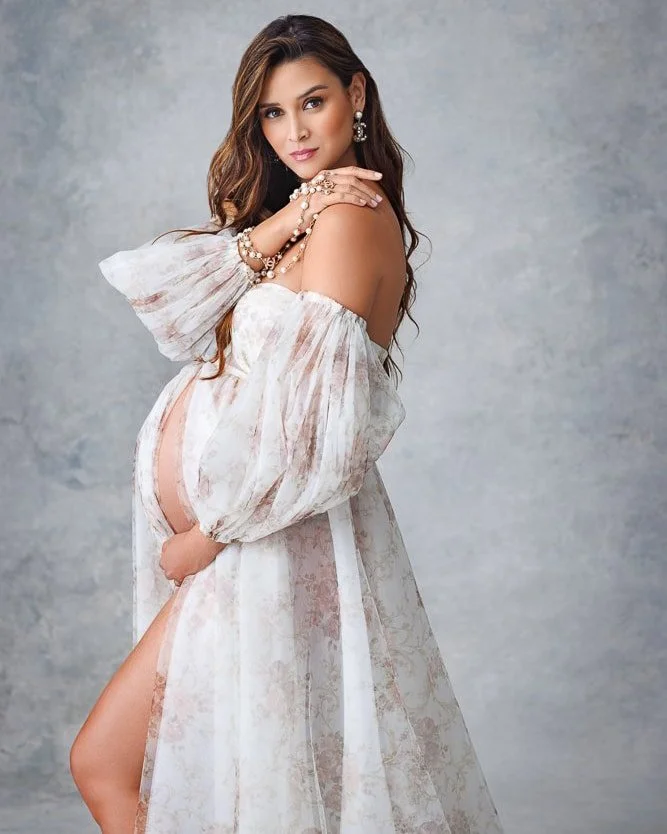
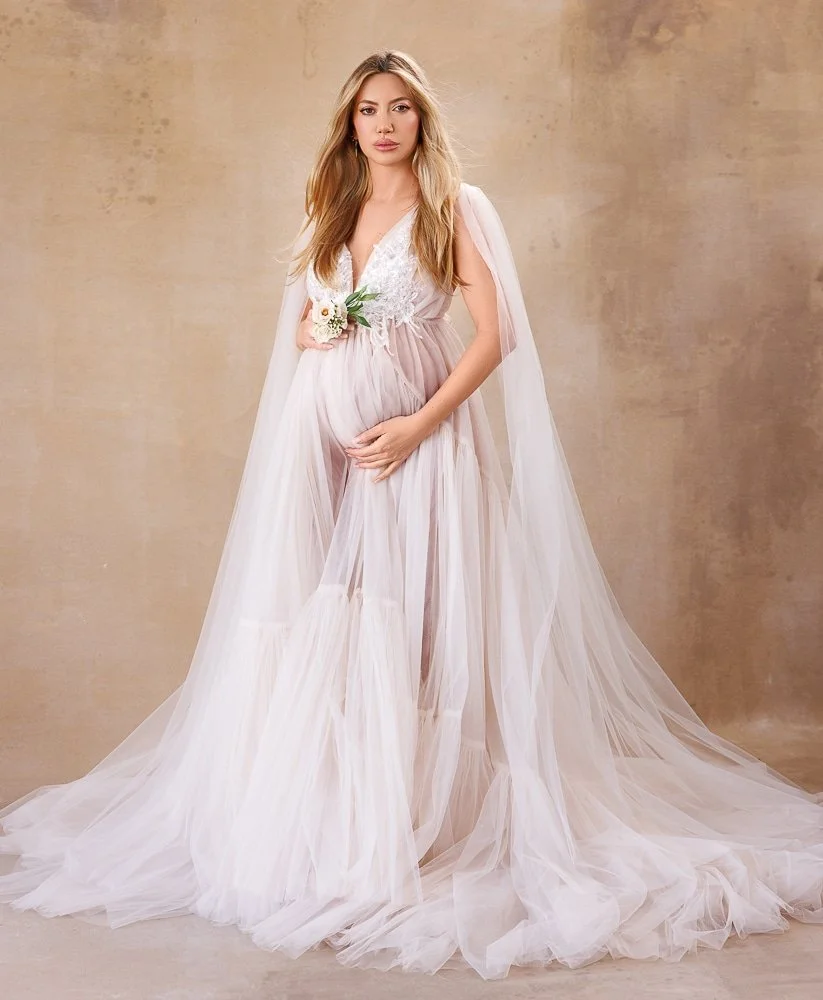
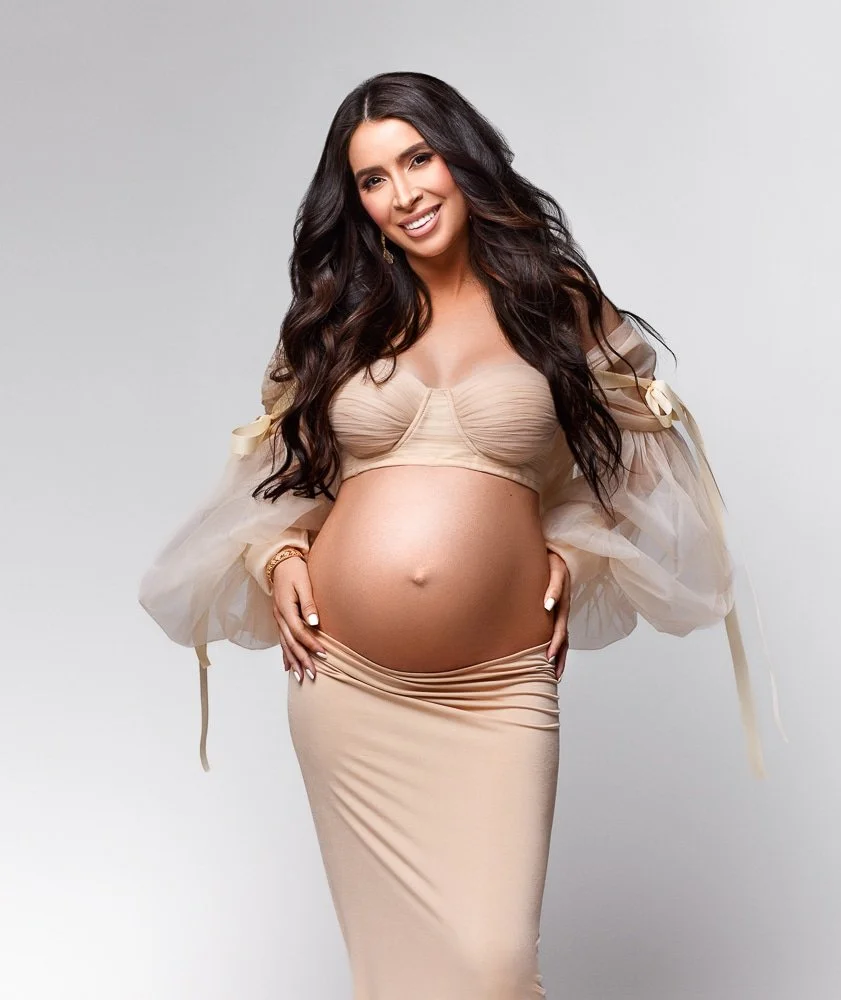
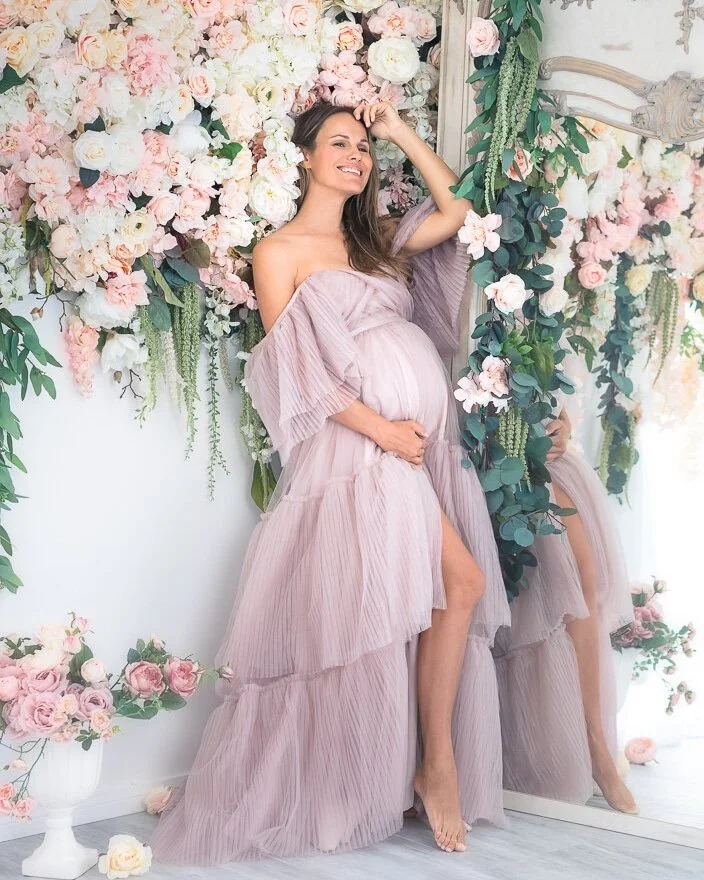
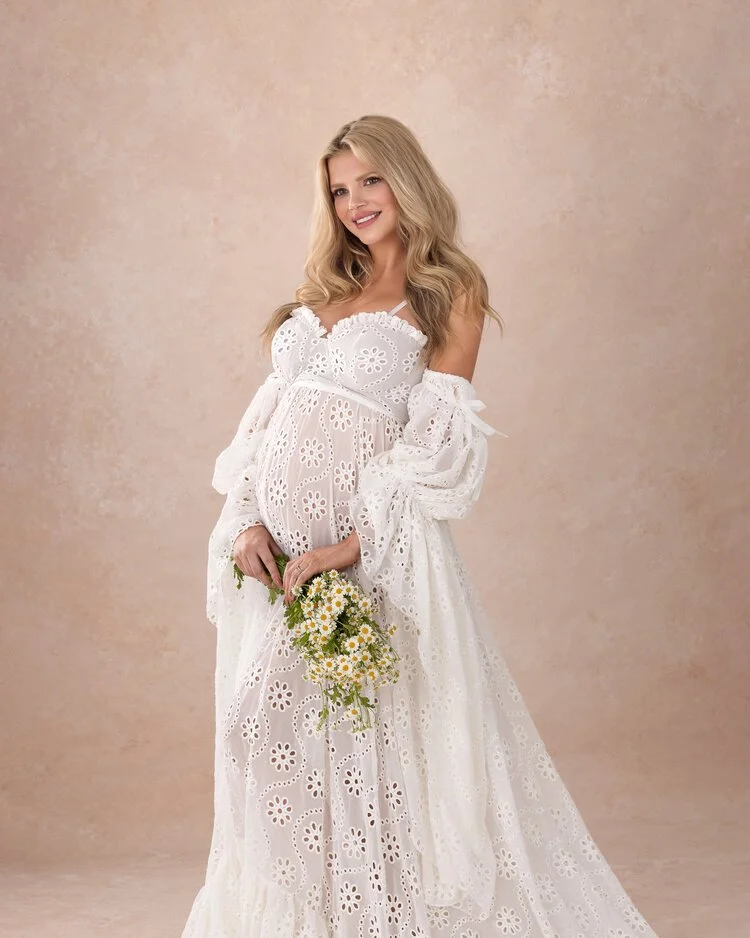
Window light and flowy fabric are best friends. A sweep of chiffon caught by a little breeze reads as dreamy because the fabric becomes a moving reflector, bright on the curves and a shade darker where folds deepen. If the client chooses lace, I’ll add a touch of backlight so the pattern glows around the bump like embroidery, then I’ll tame the front with a gentle fill so the face stays soft.
This entire approach, shaping natural light with bounce and negative fill and integrating it with flash when needed, is what my Natural & Mixed Light Course is all about.


Build a Signature Studio Style
Studio lighting is my daily language. The goal is a glow that looks expensive but never loud. My baseline is a tall, soft source that is slightly narrower than a big umbrella, because a slimmer source paints a longer, more elegant highlight down the belly. Think of it as a gentle brushstroke rather than a flood. I angle the light so its center is not aimed at the nose but at the cheekbone and front shoulder, which lets the lower portion of the beam glide across the bump.
Then I decide how much I want the opposite side to speak. If I want a sculpted portrait, I bring in a black V-flat to drink light and pull a delicate shadow line along the waist, which slims and adds depth without harshness. If I want luminous and airy, I use a white V-flat and occasionally a large bounce card at knee height to bring a whisper of light up into the eyes and collarbone.
Hair light is an accent, not a siren. I keep it subtle and high, never letting it blow out the texture, especially with dark hair, because a bright rim above a modest key steals attention from the belly and from the face. If I feel the need to separate dark fabric from a dark background, I will tilt the hair light backward a touch and skim it over the crown rather than the shoulders, which keeps shoulders slim and leaves the shape of the bump to the key light where it belongs.
For a full behind-the-scenes with, see my Signature Maternity Style Lighting Course, where you'll learn editorial maternity lighting without complexity or guesswork.
Control Contrast with V-Flats
V-flats are my non-negotiable. White opens shadows gently, black sculpts them decisively, and together they give you more control than a second light most days. Place white close to the subject and you’ll see the far cheek wake up with a soft sheen, tip it away and a sultry shadow returns. Place black along the camera side and you carve a slim line down the outer arm, especially helpful when a mama wears a sleeveless dress and wants tone without tension. Use black behind the legs to deepen the negative space between calf and background; use white to clean up under-chin shadows softly when posing on a stool with a slight chin tip.
Sometimes I build a bounce box, with two white V-flats and a ceiling bounce so the light becomes tender and directionless except for a little negative fill on one side to keep shape. That boxed bounce creates the creamy, sculpted look that makes skin look like porcelain and lace look like a whisper.
I demonstrate that full build-out in my Lighting Scene 4 lesson inside the Maternity Photography Lighting Course Bundle, where the point is to teach you how small adjustments create big changes.
Blend Natural Light + Flash
When I blend natural light and flash, I begin with the window as the painter and the flash as the editor. The window sets the mood. The flash quietly corrects exposure and color when the clouds play games, or when I want the belly and face to sit at the same brightness while keeping the airy background. If the window runs cool and the room leans warm, I’ll gel my flash lightly so skin tones stay cohesive, then I’ll angle the flash into a white V-flat rather than at the client so the fill looks like more window, not a second sun.
I also love a mild backlight layered behind window light to halo hair and outline the bump through sheer fabric, but the backlight power sits low, just enough to outline, never enough to shout. Everything must feel like it belongs together.
This exact blend, window lead, flash as soft fill, custom silver/white V-flat to add glow, is is detailed in my Lighting Scene 5 Course and also in the Natural & Mixed Light Course.
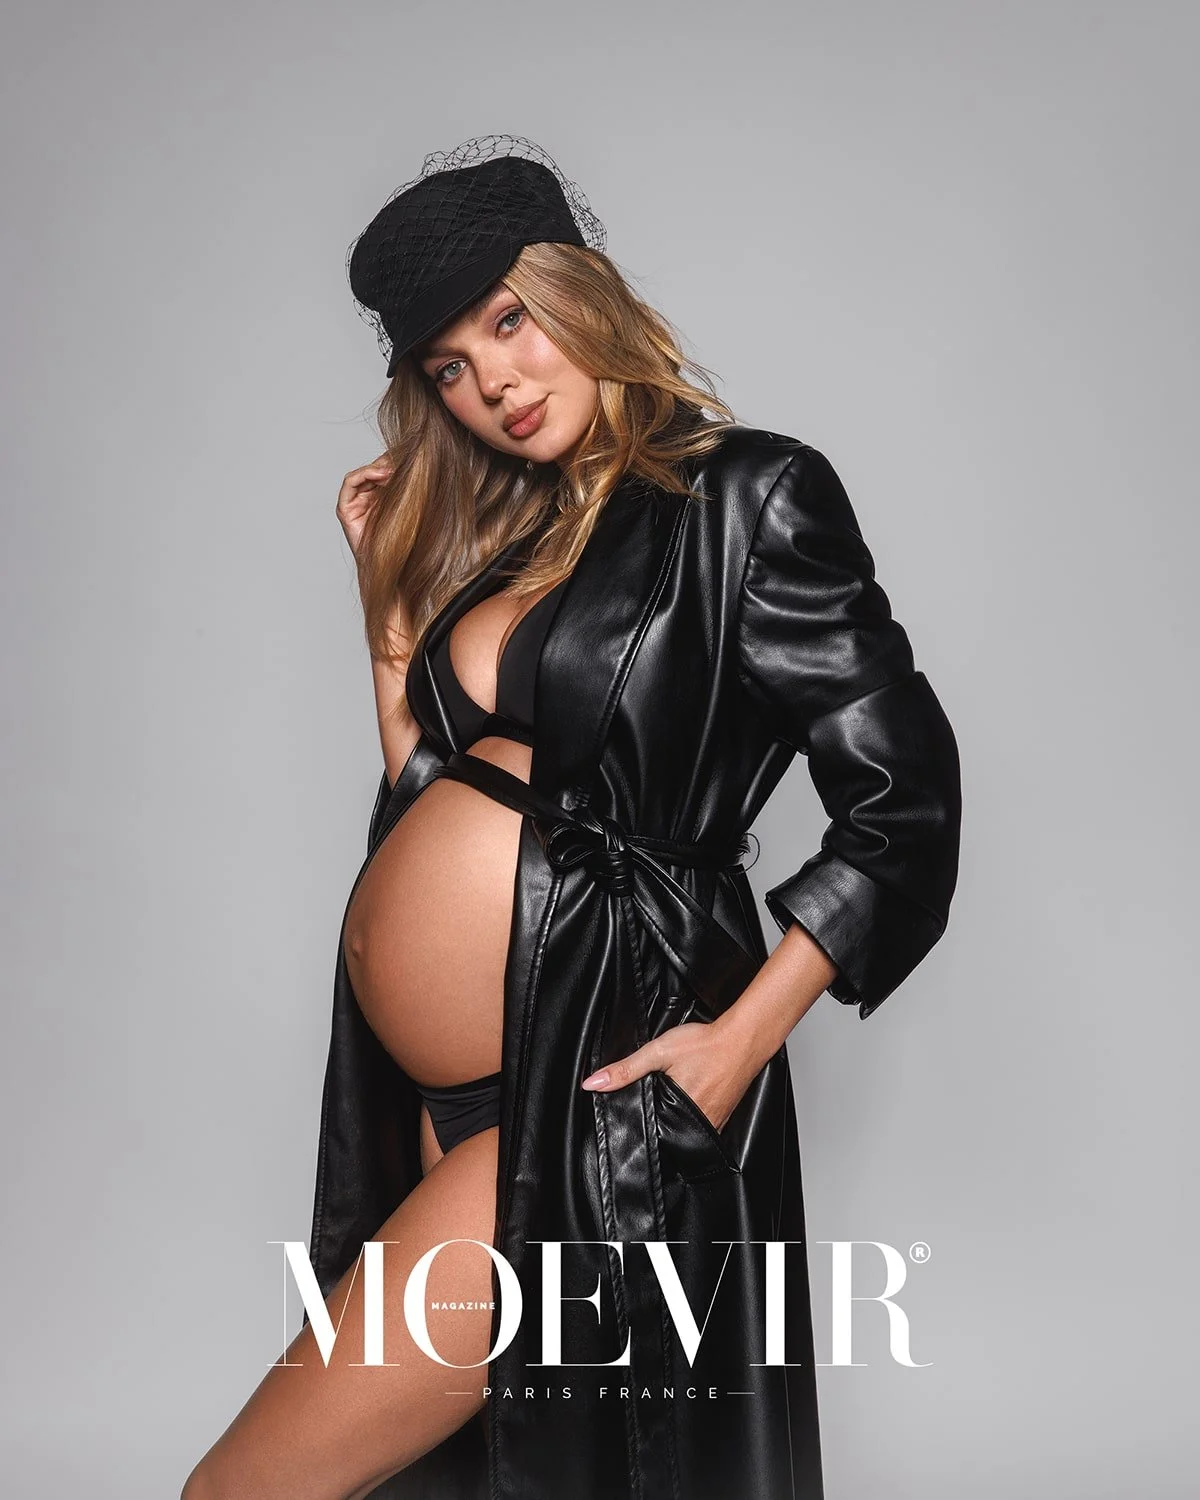
Dramatic Light for Powerful, Sculptural Portraits
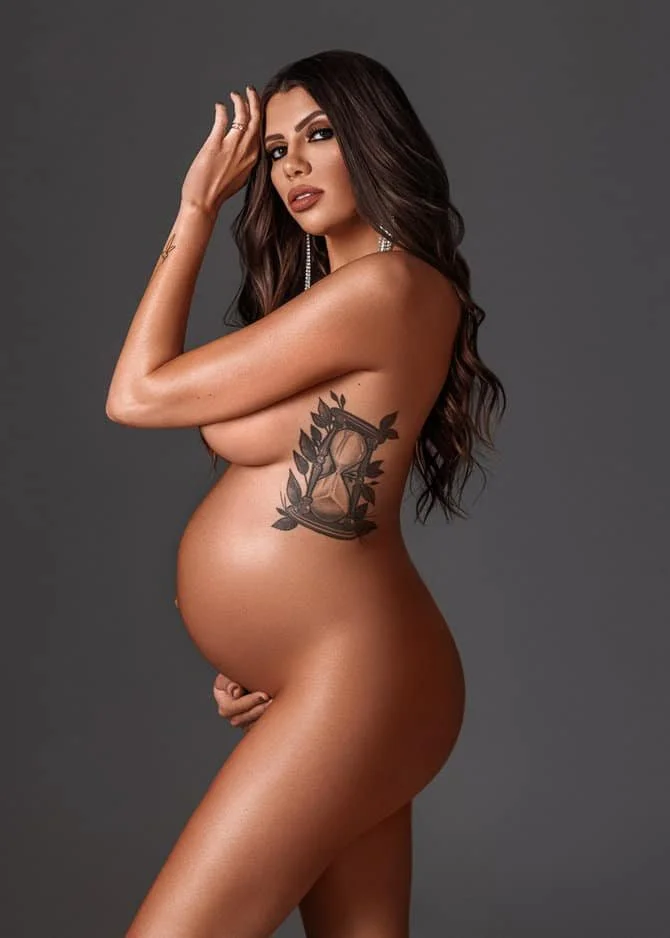
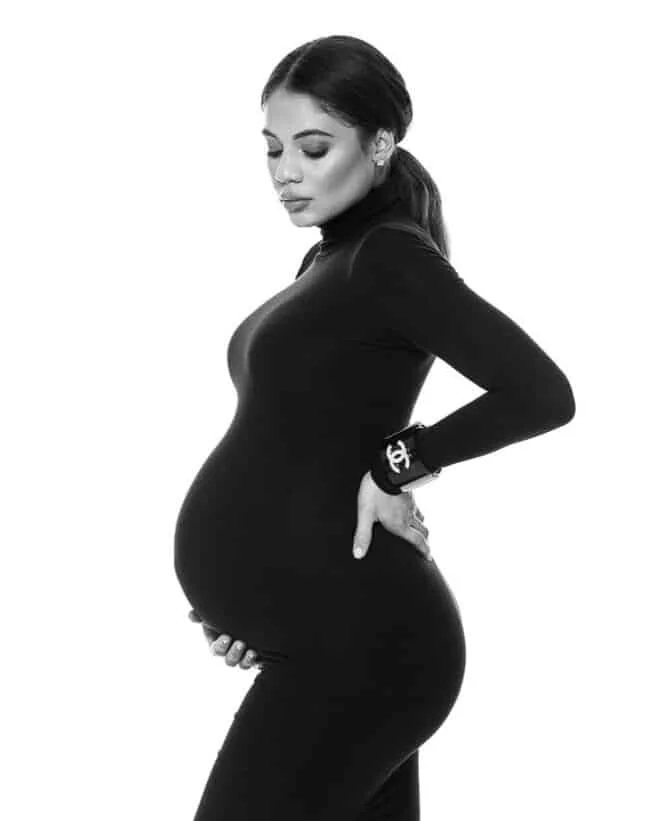
Sometimes a mama walks in and says she wantd to feel like a statue, and that’s my cue to build drama. I start with a tighter, more directional key, think a focused source angled from the side, and I bring black V-flats closer than feels comfortable. The idea is to let light skim and let shadow define. The belly becomes a strong arc when the bright edge sits just off the front, the face remains dimensional when the head is slightly tipped into the light, not away. I watch for shadows under the eyes and soften them with a small bounce well below eye level, just enough to keep the look refined.
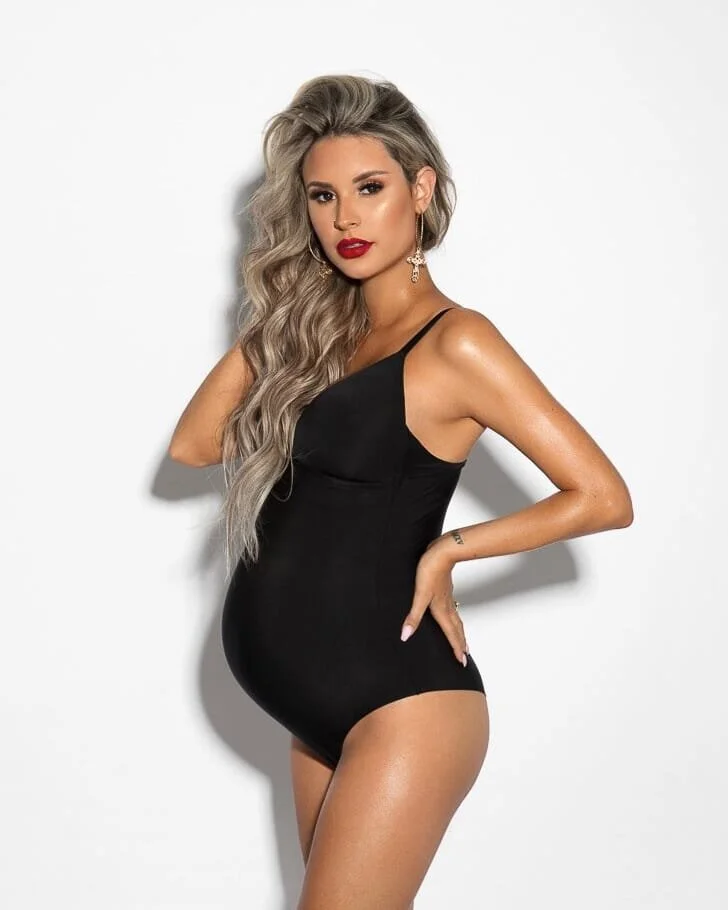
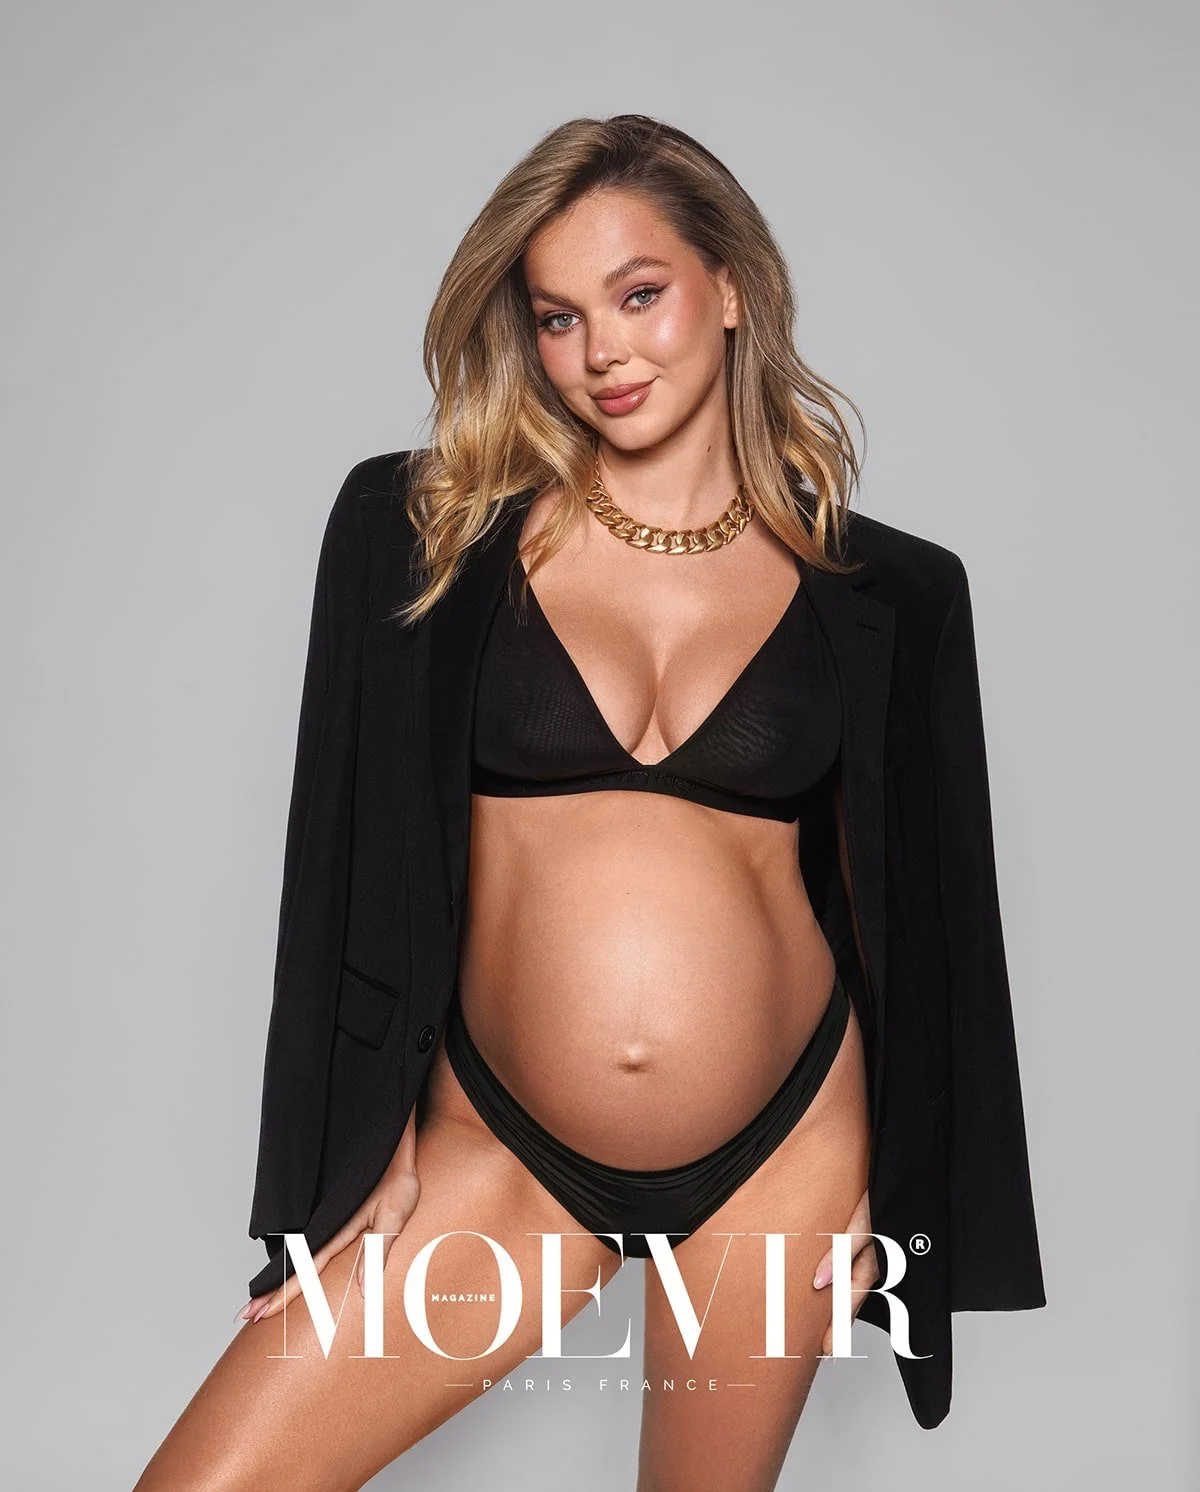
Dark wardrobe like a sleek black dress, a lace bodysuit, or a matte fabric eats light beautifully, so I add a controlled hair light to separate without widening the shoulders. If the partner joins in, I place them into the shadow side and let their profile emerge from the dark, which keeps the mama in command of the scene while the couple still feels intertwined. The setup looks complex to clients, but it’s simple once you trust negative fill.
I unpack this high-control look in my Maternity Lighting Scene 3 Course, from reflector choice to how tiny angle shifts change everything.

Wardrobe, Fabric, and How They Reflect Light
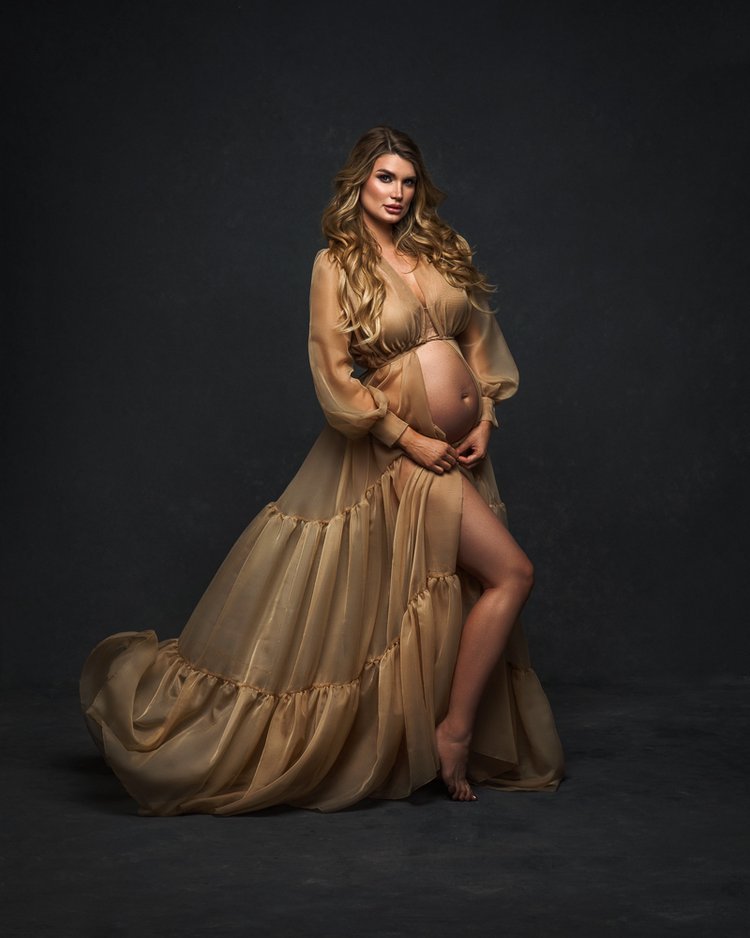
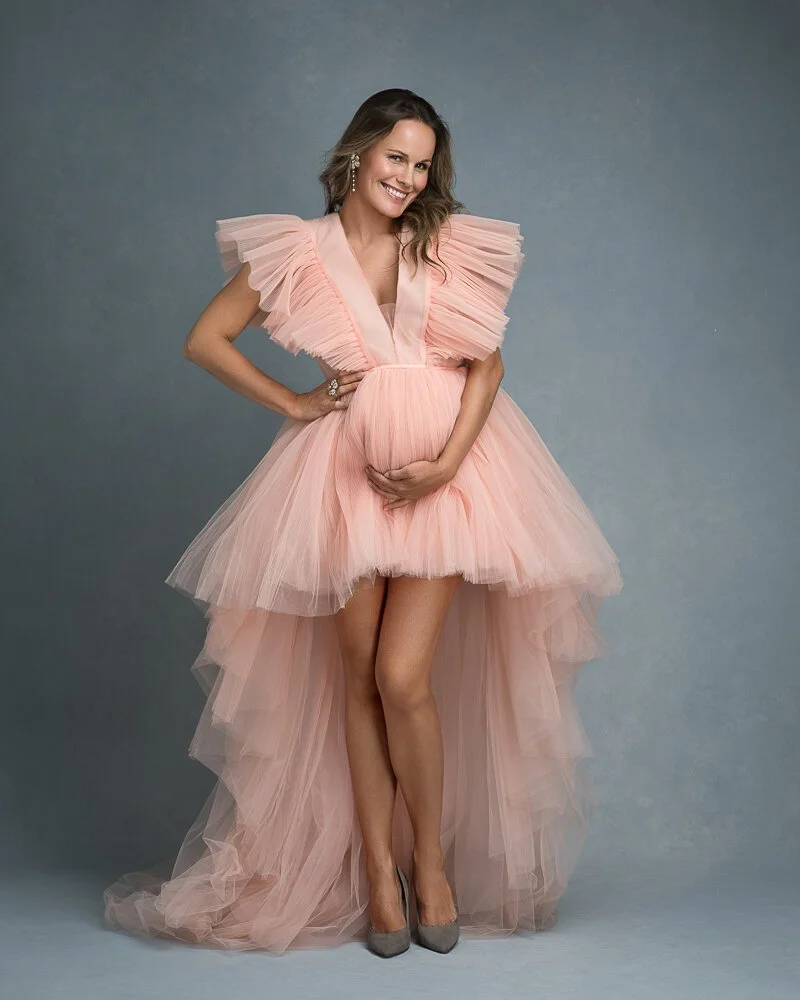
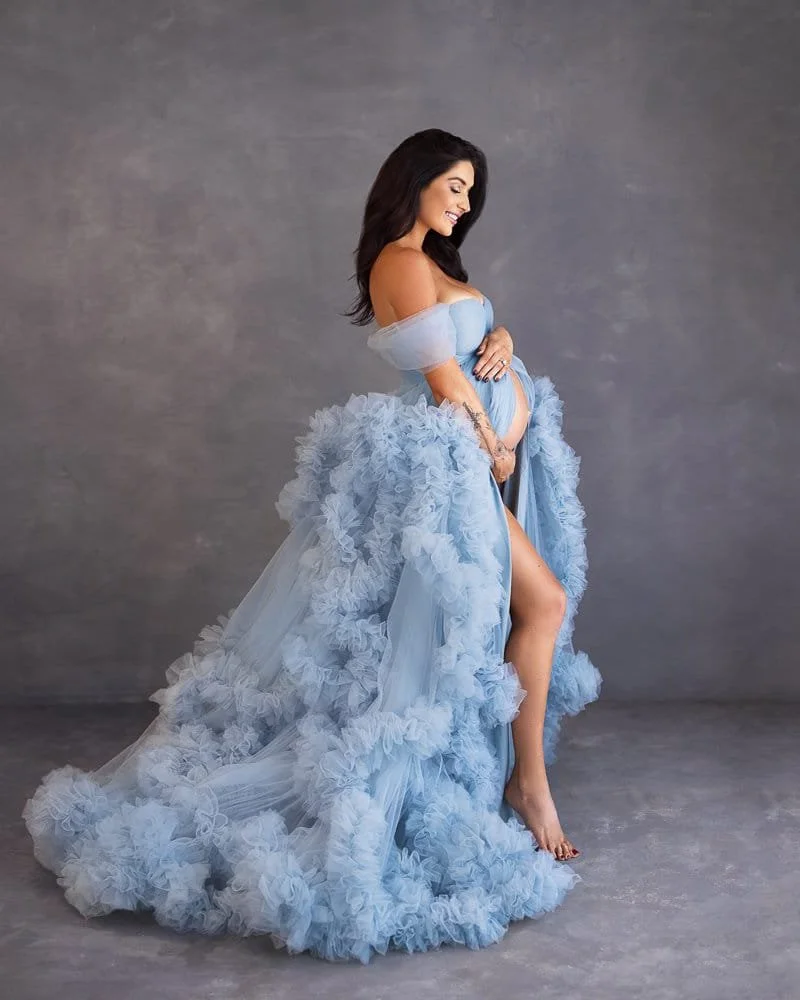
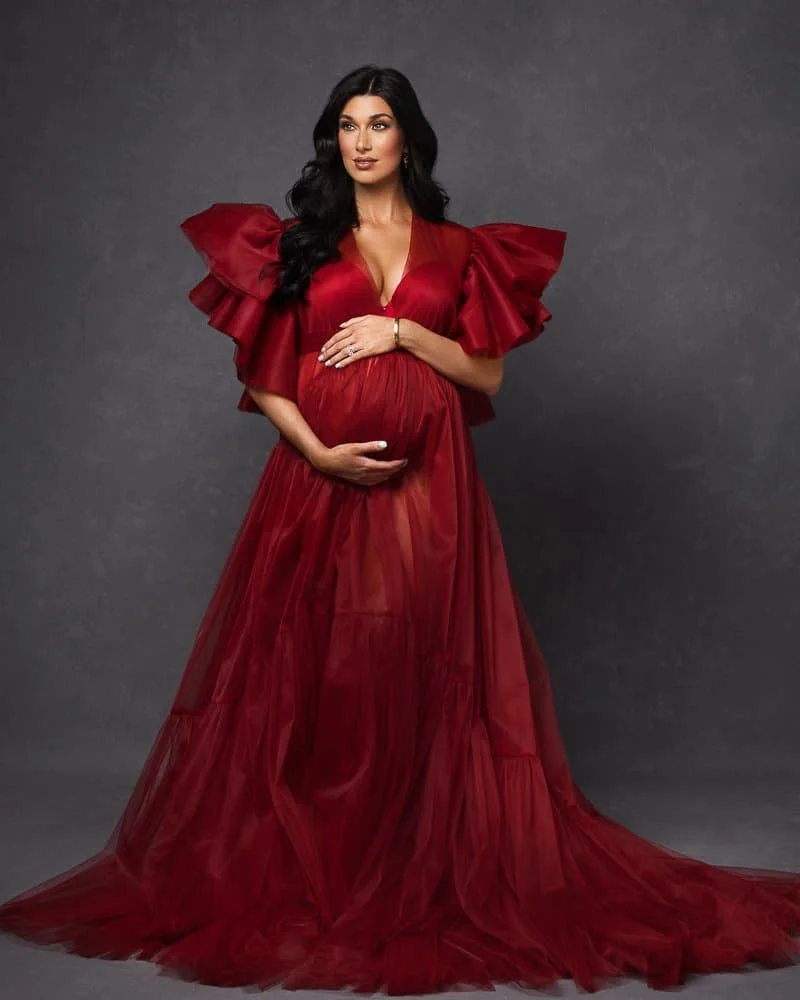
Fabrics are your second light modifiers. Matte knits absorb and shape, satin and silk reflect and can quickly overpower a face if the key is too frontal. Lace loves backlight because the pattern glows, chiffon loves side light because the folds create valleys and peaks.
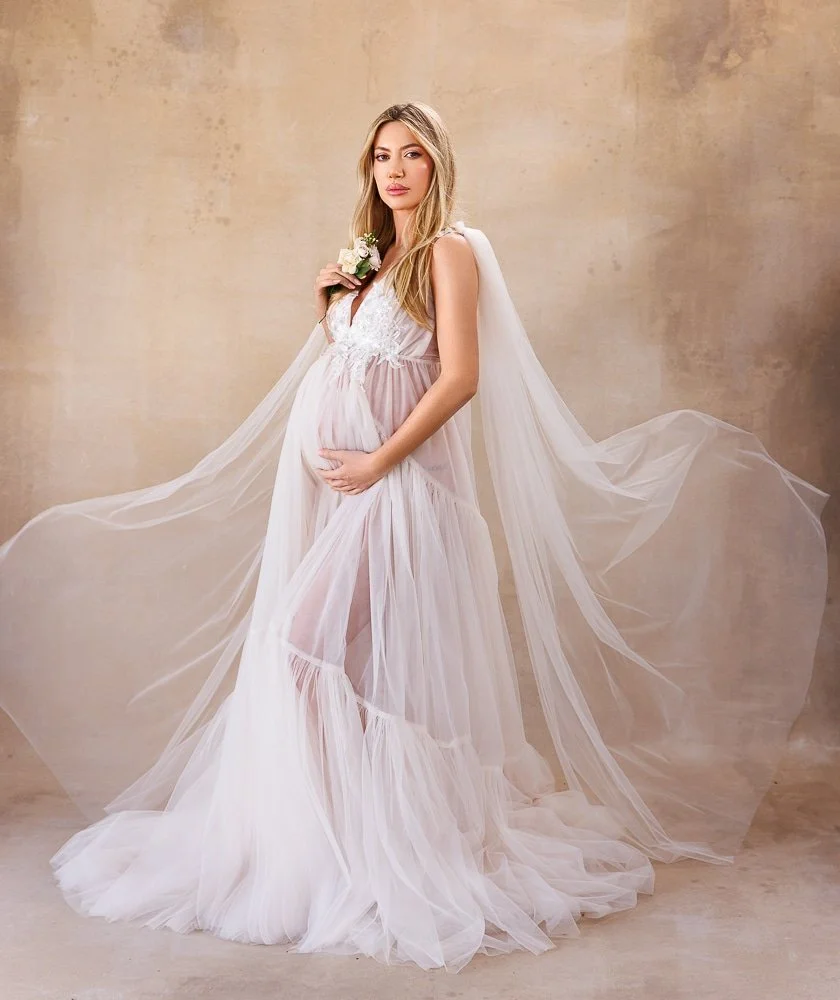
A flowy gown turns into a living reflector when thrown, so I’ll place the key slightly ahead of the plane of motion so the flying fabric catches light across its leading edge and trails into shadow gracefully, which photographs like motion even in a still frame.
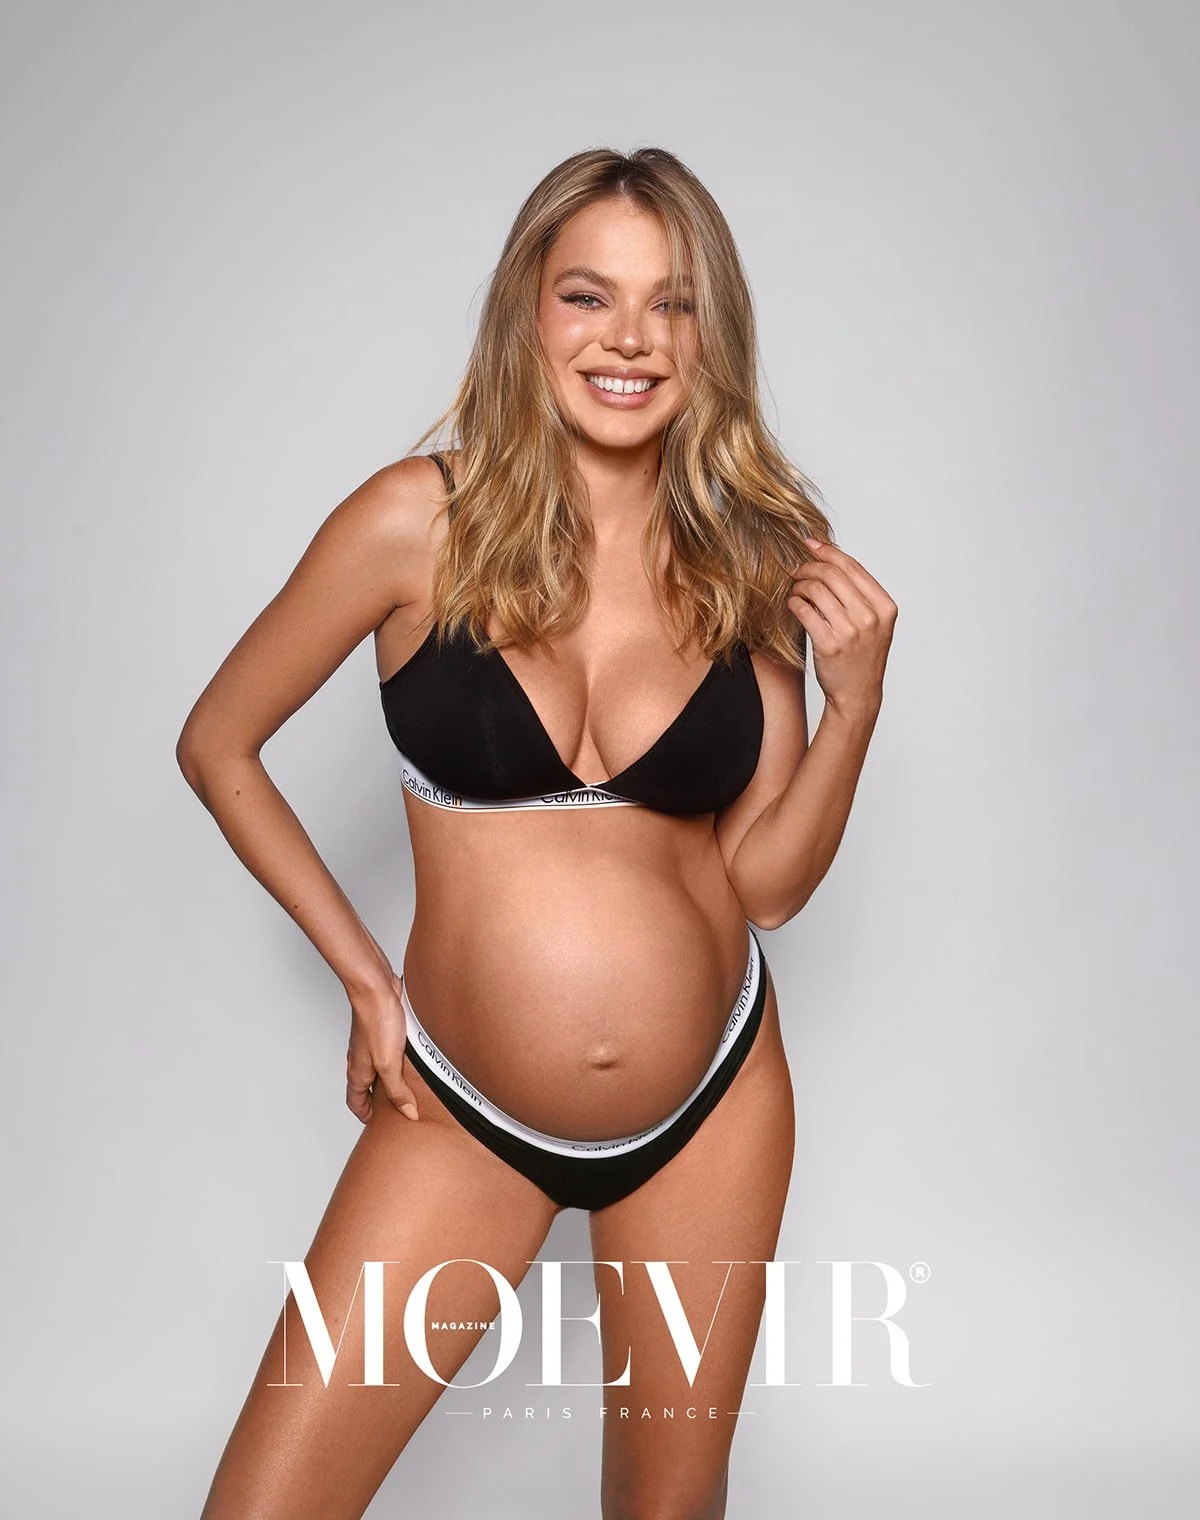
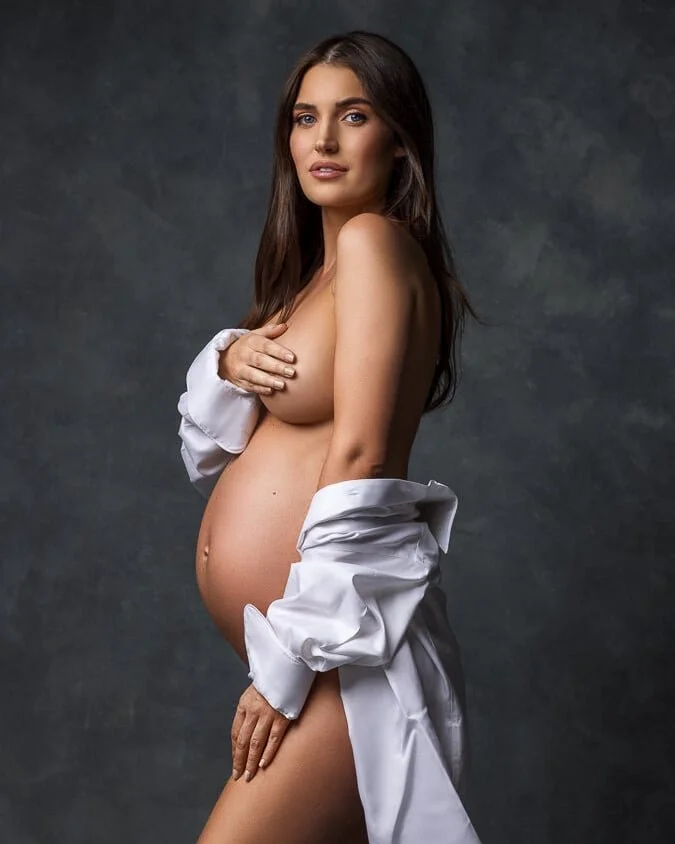
If a client loves a top with jeans look, I build a friendlier, lifestyle light, often window light with generous white bounce, so the denim texture carries and the outfit feels at home. If a mama chooses a fitted dress that shows every curve, I let the light skim from the side so the belly looks sculpted without pushing shadows into harshness around elbows and knees.
Undergarments matter more than most clients expect. Wearing a bra under certain dresses can change how the neckline sits; a strapless bra under a draped dress might create lines that catch highlights in unhelpful ways. I ask clients to bring two or three options, a smooth nude bra, a strapless option, and seamless underwear in both nude and black. When a mama tries a lace bodysuit from the client closet, I often suggest nude underwear without patterns so the lace pattern remains the star.
Small choices like this keep light where it should be. If the bra has texture, a side light will announce it. If undergarments are too bright, backlight will turn them into shapes. The fix is easy when we plan ahead.

Keep Real Glow, Lose the Shine
Most mamas want glowy, but shiny forehead or nose is different from glow. I ask clients to avoid high-shimmer products on the center of the face and chest because studio lighting will exaggerate them. A soft satin finish on cheeks looks beautiful, a heavy highlight on the tip of the nose or the top of the forehead does not.
If shine shows up, I pull the key a little farther to the side and have the makeup artist press a bit of powder, then I feather the light so the brightest point rides off the center. If skin is very dry, backlight can create flaky texture on shoulders or belly, I’ll switch to a gentle side key with a big bounce to wrap moisture into the look. I also keep a clean, plush throw and warm room temperature so the belly skin doesn’t goosebump under air conditioning.
Pose for Light
Posing for maternity is guided by light, not the other way around. A subtle roll of the front shoulder toward the light narrows the body and brightens the eyes. A slight tip of the chin toward the collarbone softens the neck. When standing, I ask for a micro-shift of weight to the back foot so the front knee softens and the line from rib to hip lengthens, a perfect path for a soft highlight.
If the client sits on a stool, I angle it off-axis to the light so the legs and dress form diagonal lines, then I lift the key slightly so the belly reads as round rather than as a plane. And when a mama wants the bump to show more, I’ll ask her to inhale slowly, then exhale halfway and tilt the pelvis under just a touch; the highlight climbs and the curve sings.
Couples posing introduces lovely complexity. I arrange the partner so their face sits within the same light family as the mama, but slightly deeper in tone, which keeps attention on her while honoring their connection. If we go forehead to forehead, I make sure noses don’t block the light and I rotate bodies until one eye from each person meets the key. For hands on belly, I stack his hand under hers or opposite hers so light creates two distinct shapes instead of a single wide block.
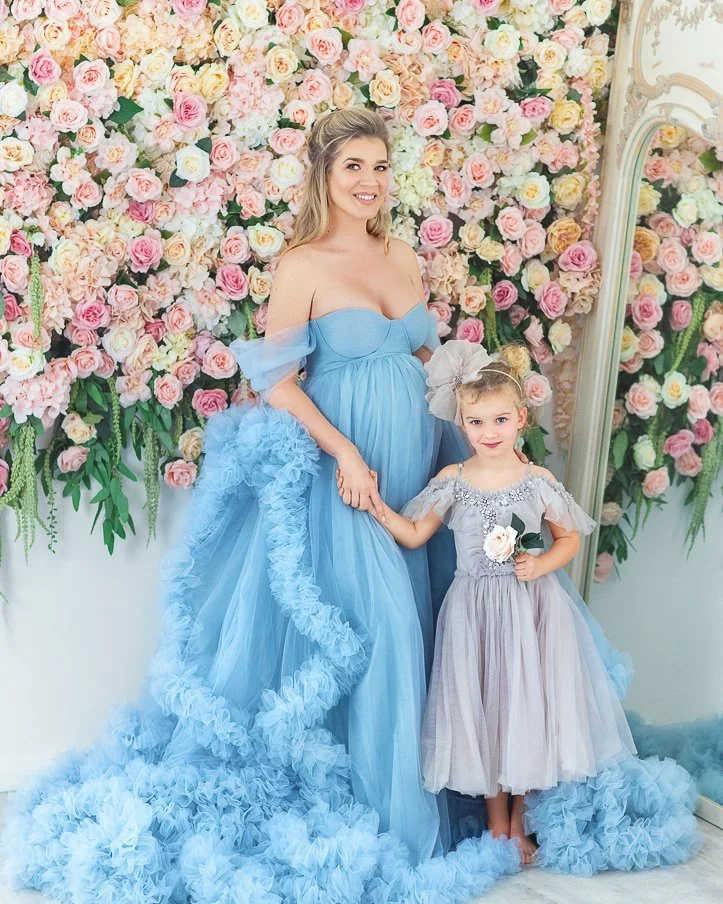
When a toddler joins, I keep the key low enough that little eyes sparkle, and I let games and prompts carry the expressions while the light patiently does its job.
All the nuances of couple and family flow are a big part of my Posing Couples in Maternity Shoots Course and Family Maternity Photography Course.
Choose Backdrops That Love Skin Color, Tone, and Separation
Background tone changes how skin and wardrobe render under the same light. A warm neutral backdrop tends to flatter most skin tones, especially when the dress has cream or blush notes. A deep gray or charcoal adds elegance to sculptural lighting, especially with black fabric, but it can swallow a bump if the key is too frontal, so I push the light to the side and let a narrow highlight define the edge.
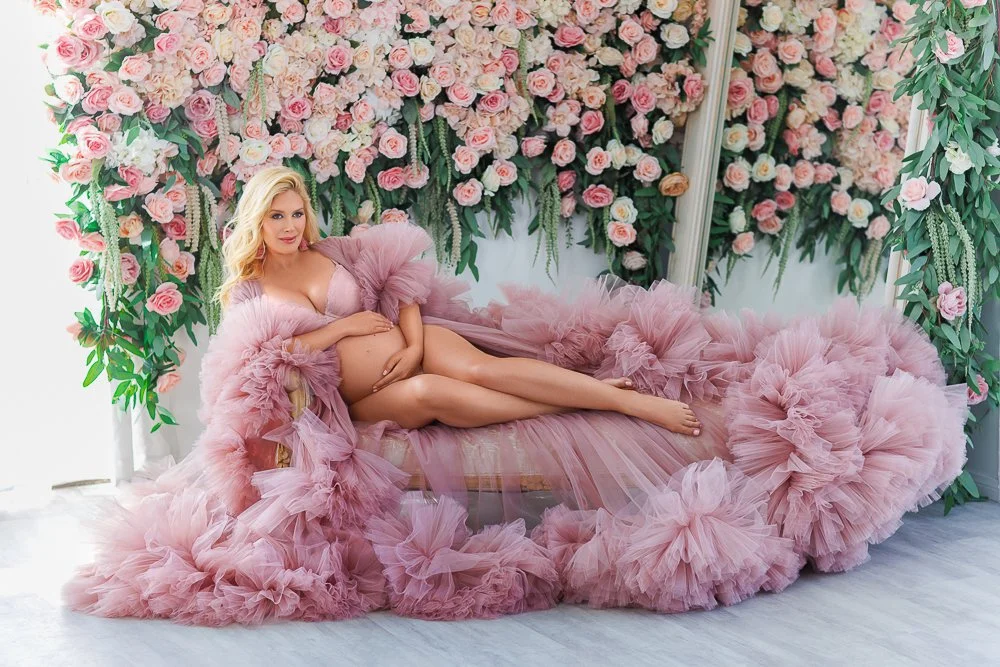
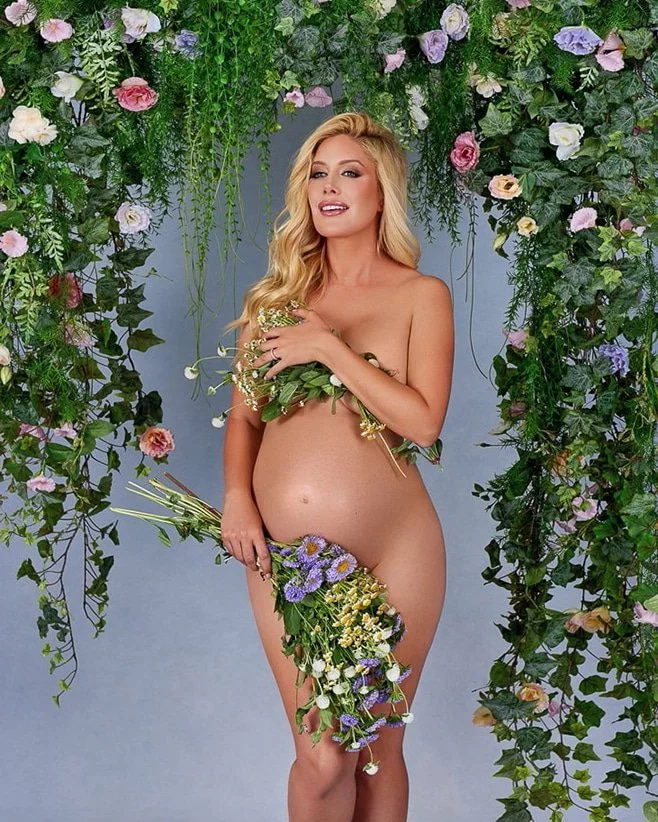
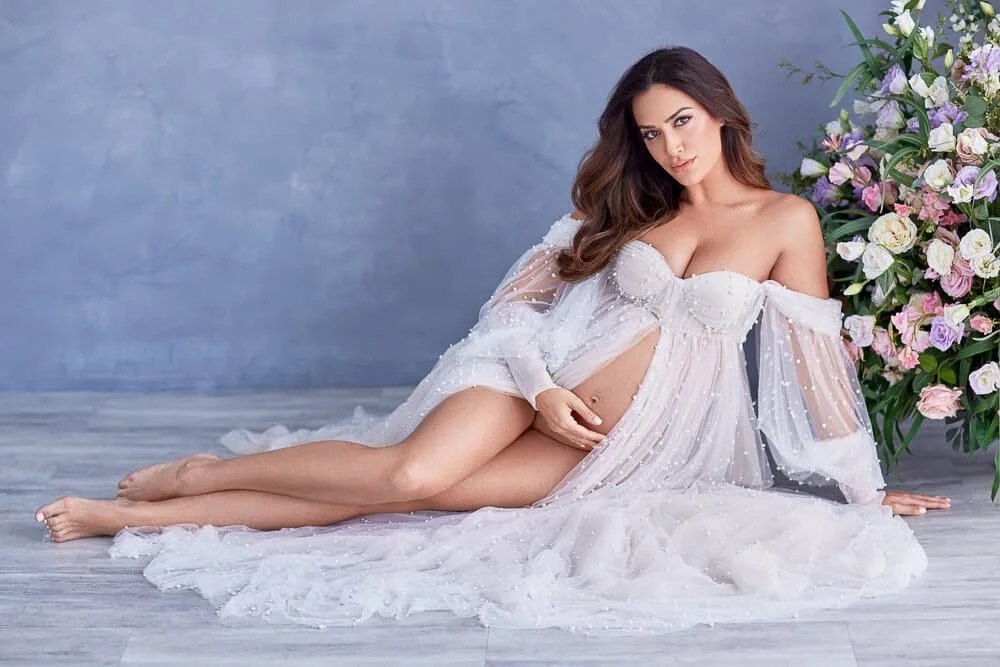
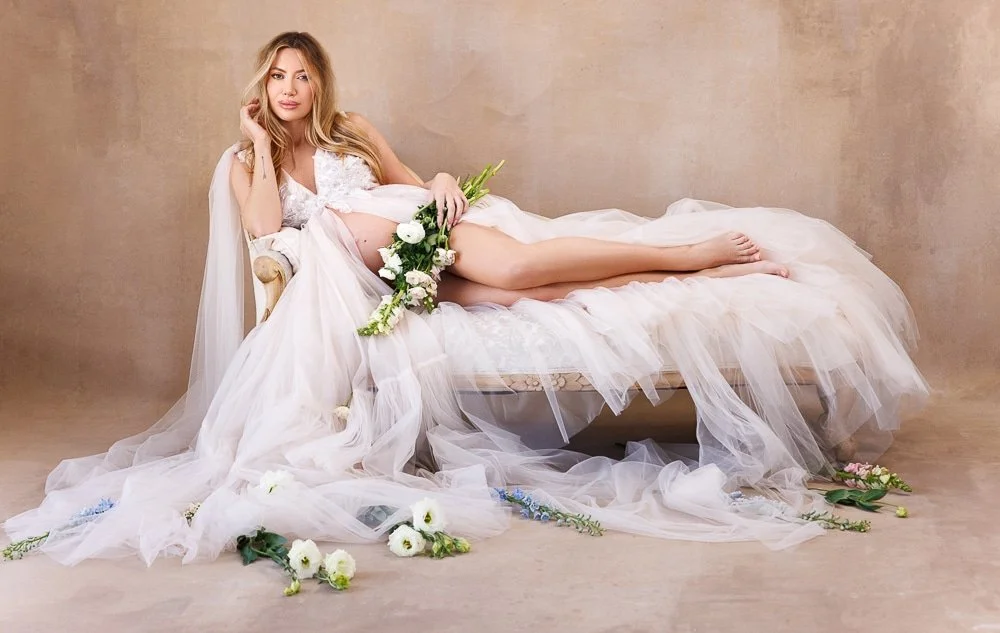
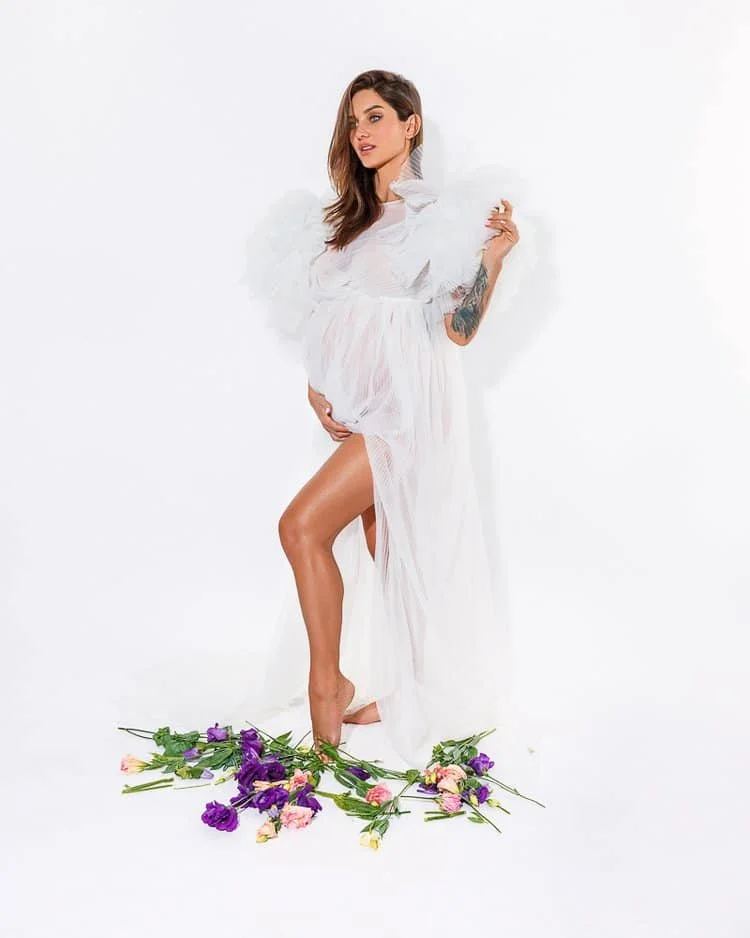
White-on-white backgrounds are beautiful for dreamy, especially with mixed light, but they require attention to shadows on the floor so the image doesn’t feel clinical. A little negative fill gives the white some shape. If florals or a bouquet enter the scene, something I occasionally add for a romantic look, I treat them like skin in the sense that they should never be brighter than the face.
A bouquet can catch a key and steal the frame if we let it, the cure is a tiny pivot and sometimes a gentle flag to shade the petals.
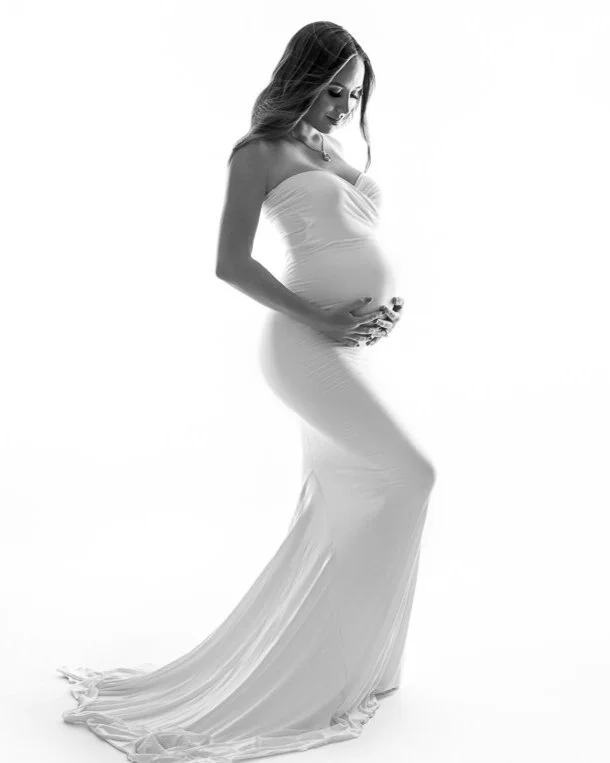
Create Silhouettes and Backlight That Feel Timeless
Some of my favorite maternity portraits are essentially drawings made of shadow and light. Silhouettes simplify everything. I set a strong, clean backlight behind a white sweep or sheer curtain and pull the subject away from the background so light wraps around the edges. Then I shape the profile of the belly with a micro-rotation until the curve feels like calligraphy. I expose for the highlights so skin shows a rim and fabric glows.
If the goal is a milky, ethereal look rather than pure graphic silhouette, I add a whisper of front fill, barely there, so the face holds a little detail. This minimal setup is easy to overdo if the front fill creeps up in power, the magic is restraint.
Inside my Lighting Scene 6 lesson, I build this from clean silhouette to gentle, backlit glow with six distinct looks, because small changes in angle and fill create entirely different moods.

Managing Challenges with Grace and Speed
Every maternity photographer learns that real sessions don’t freeze for perfect light. Clients arrive early or late, hair is curlier than planned, the baby kicks and changes how mama stands, tiny details shift constantly. My job is to make the lighting consistent enough that a change in outfit or mood doesn’t break the flow.
I keep an anchor setup I can return to in seconds, the soft directional key, the white bounce, the black negative fill nearby. If time is short, I photograph the first look in the anchor, then build to drama by swapping the white bounce for black and narrowing the key. If a client wishes their belly looked a little larger at the end of the session, I bring the light more raking from the side and ask for that micro-rotation toward the brightness.
If someone worries about swelling late in pregnancy, I lower the camera angle slightly, lift the light a touch, and guide the face to the bright side so eyes sparkle and the jawline reads clean. If comfort is waning near the end of the session, I move to seated poses with easy transitions and end on a high note.
Directing Feelings So Light Has Something to Hold
The best-lit photograph still falls flat if emotion doesn’t arrive. I’m not looking for performance, just presence. I narrate gently as we go, a hand here, a breath there, a soft laugh when the baby kicks, a pause for stillness.
When mama looks at the belly, I ask for it to be a real moment, think about what you want to remember, or the first time the little one hiccuped. When a couple holds each other, I keep them in the light by guiding their feet and shoulders rather than their faces, then I ask for touch that means something, a forehead rest, a kiss at the temple, fingers tracing the curve. Light needs the feeling to make sense.

Edit to Preserve the Light You Crafted
Editing is not where lighting is fixed, editing is where lighting is respected. I keep skin tones honest and retain the tiny gradients that make the belly look round. If the key was soft and the negative fill sculpted a beautiful line along the waist, I don’t smooth it away. I clean distractions, even tones, and maintain the airy or dramatic mood that we created on set.
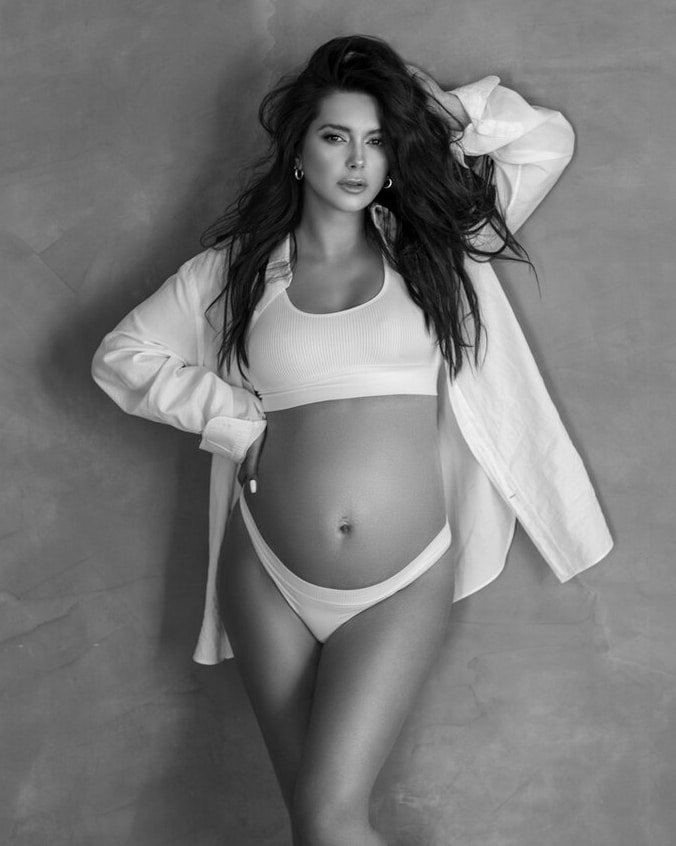
For black and white, I push midtone contrast gently and protect highlights so skin reads luminous, not plastic. If a client booked a maternity and newborn package, I make sure the maternity color palette can speak to the newborn session color palette later, soft warm neutrals photograph beautifully as a pair across time.
Make Lighting Part of the Luxury Experience
A beautiful result comes from a beautiful experience. Lighting is part of that. When a client walks in and sees a clean, calm set waiting, key angled, V-flats in place, background rolled, wardrobe steamed, they feel taken care of. I keep the studio warm so a bare belly isn’t bracing against chill. I give clear direction about undergarments and bring options from my client closet so nobody is worrying about underwear lines.
I guide the flow confidently so there’s never a sense of them wondering what to do next, and I check in at the end of the session to make sure we photographed what she most wanted to remember. Lighting choices can make a session feel like a luxury portrait experience without feeling stiff. That balance is what keeps clients returning for newborn photos, anniversary portraits, and family sessions year after year.

Conclusion
If you’ve ever looked at a finished portrait and felt your chest warm because it looks exactly the way that day felt, you already know what great lighting does. It honors the moment without distracting from it. It flatters without pretending. It lets the mama see herself with the kindness the rest of us see.
If you want to go even deeper into the practical builds behind everything in this guide, the exact placements, the why behind every angle, the way we move from soft to sculpted to simple, I teach it step by step inside the ROXAMINA Photography Academy.
The Maternity Photography Lighting Course Bundle walks through Natural & Mixed Light, Signature Maternity Style Lighting, and multiple lighting scenes where V-flats, backlight, and controlled drama become second nature.
If posing couples in a maternity shoot is where you want extra confidence, the Posing Couples course shows how to keep chemistry alive while your light stays perfect.
Lighting guides the emotion of a maternity portrait. When chosen thoughtfully, it protects softness, reveals form, and lets the connection come forward without distraction. My courses offer step-by-step lighting approaches and posing frameworks that can be adapted to any space.

About Oxana Alex
Oxana Alex is a Los Angeles–based fine art and maternity photographer known for her signature couture studio style. Over the past decade, she has photographed more than 3,000 maternity sessions, creating timeless portraits that celebrate strength, beauty, and the magic of motherhood. Her work has been featured in Elle, Harper’s Bazaar, and L’Officiel.
Through Roxamina Photography Academy, Oxana teaches parents and photographers around the world how to master lighting, posing, and creative direction in maternity photography.
Source: Oxana Alex Photography