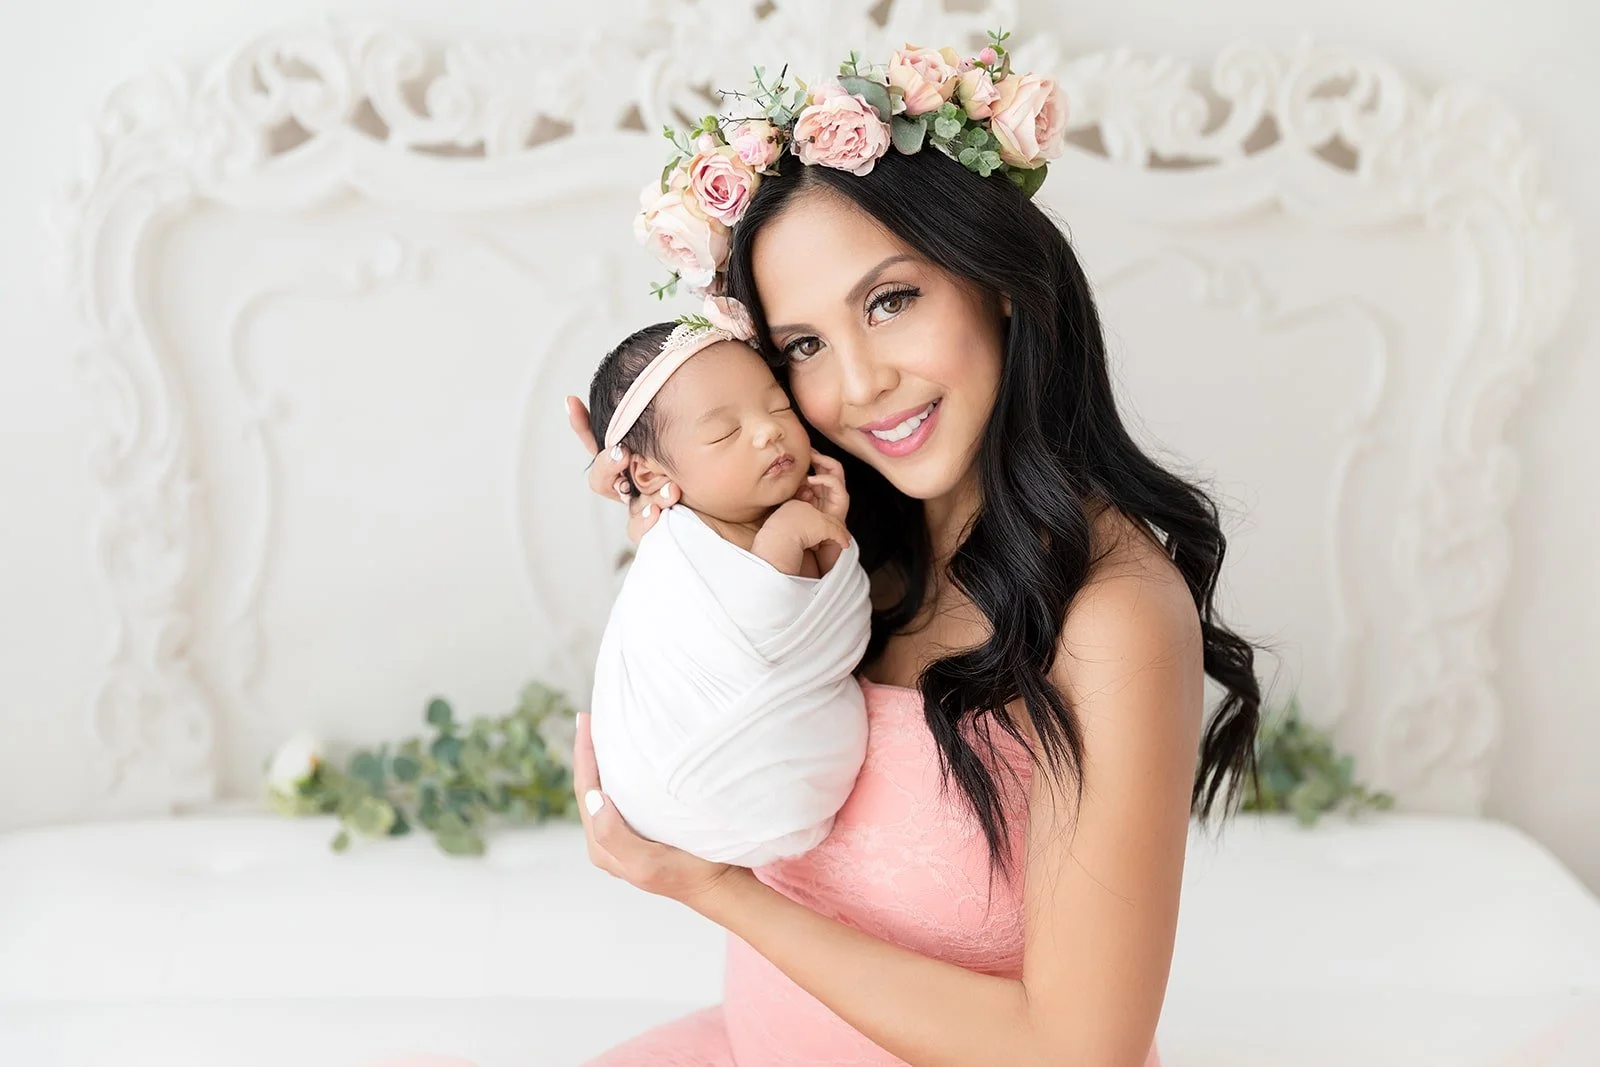
A Parent’s Guide to Newborn and Baby Photography
A parent's guide to newborn and baby photography, packed with tips for stunning baby photos, newborn posing, DIY newborn photos, and props.
Those earliest days move so fast, one moment you’re learning how to swaddle, the next you’re packing away onesies that already feel impossibly tiny.
Over the past eight years I’ve photographed more than 700 hundred newborns, built a natural-light studio that feels like a little sanctuary, and, received awards including Best Newborn Photographer in Beverly Hills and Los Angeles in 2024. I’m licensed, insured, fully trained in newborn safety, and I take that responsibility to heart.
In this guide, you’ll learn what to expect from a newborn photoshoot, how to prepare, what makes a session run smoothly, and how to choose styles and poses that feel true to your family.
Understanding Newborn Photography
Photographing a baby is nothing like photographing a model, a couple, or even a toddler. A newborn’s physiology is unique. Their joints are flexible from those curled months in the womb, their startle reflex is strong, their temperature regulation is delicate, and feeding patterns rule the day. The way I pose a newborn baby is guided by anatomy and comfort.
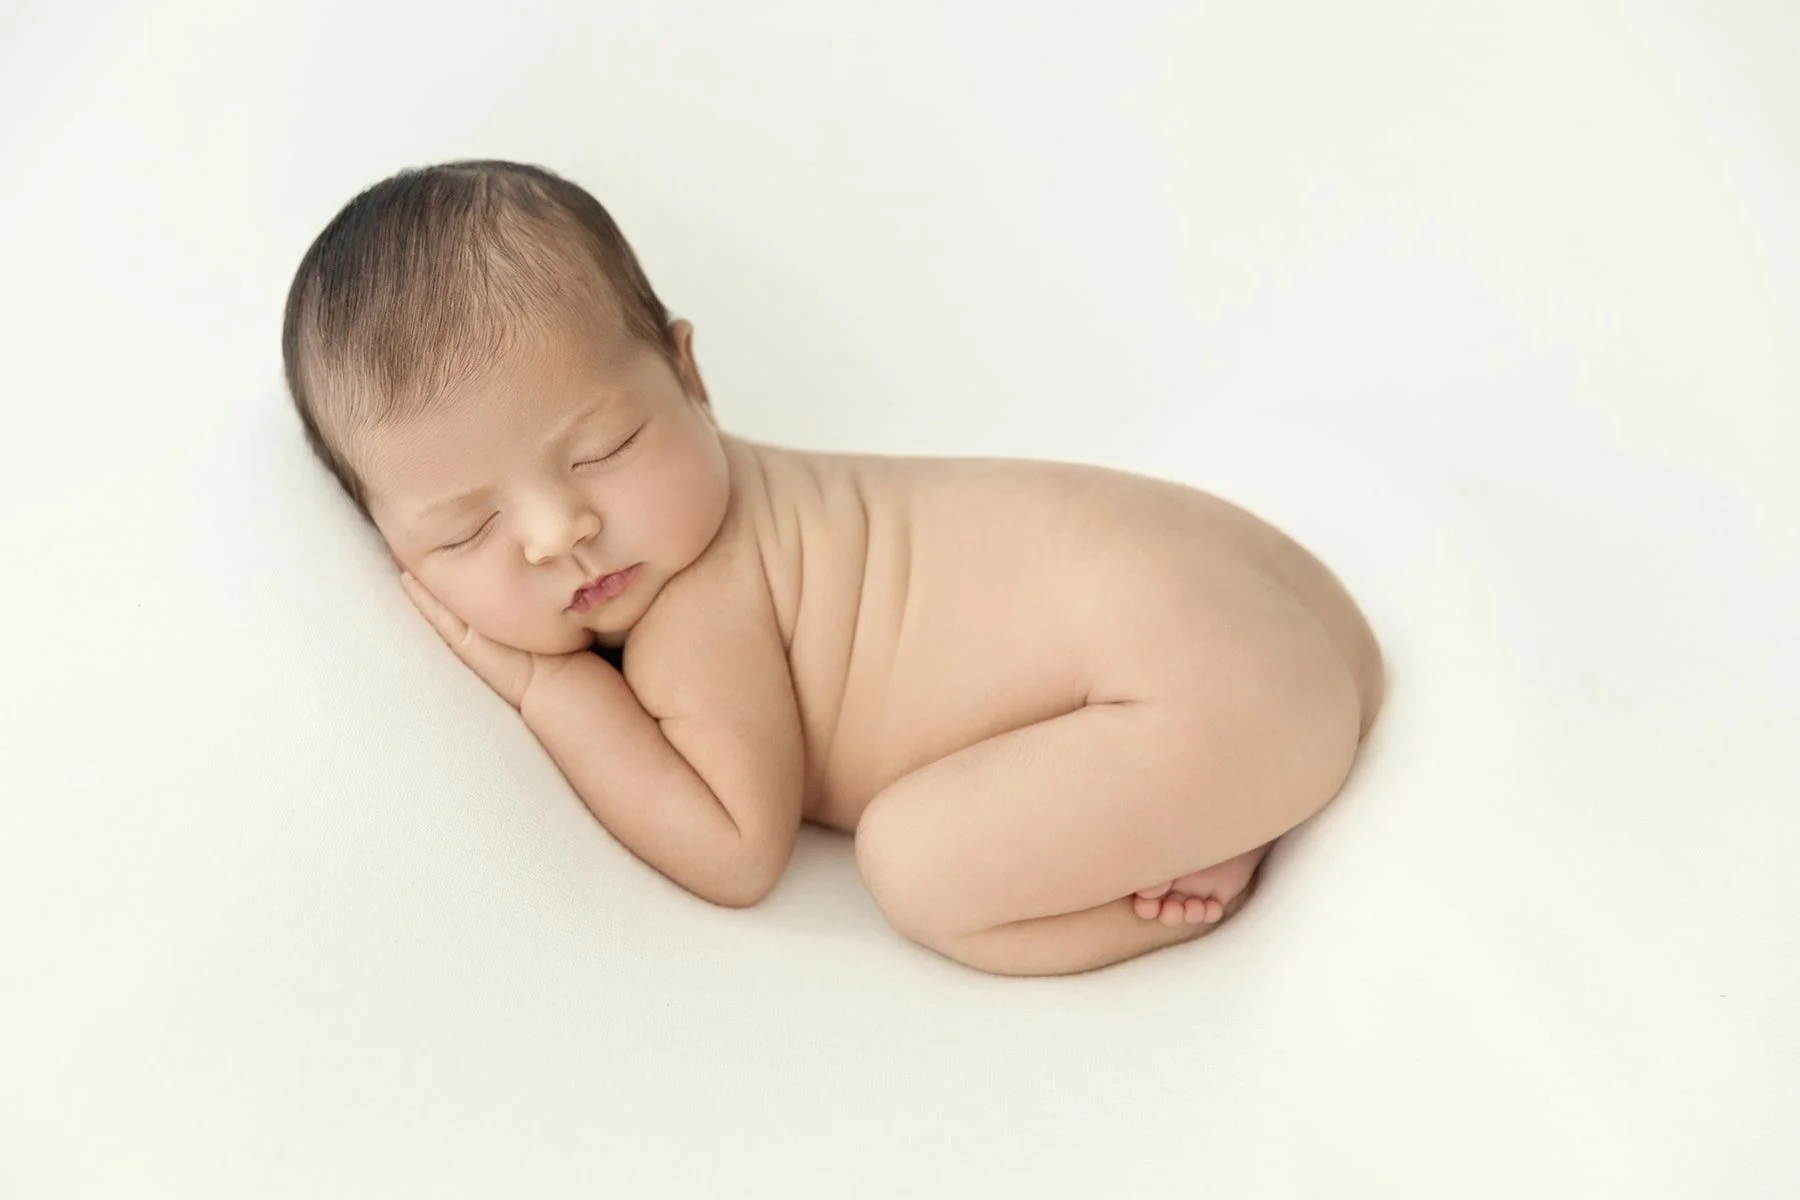
When photographers talk about newborn poses, what we really mean is a set of positions that respect a newborn’s natural curl, support airways, keep hips aligned, and bring a sense of calm that melts into sleep. The difference shows up in the images, when a baby is comfortable, the breath is even, the hands are soft, the mouth rests gently, and the eyes, if they open, look peaceful rather than startled.
Newborn photography is also a choreography of timing. We plan around sleep cycles, feeding, and burps. If a baby’s tummy is gassy, we slow down. If a diaper change wakes the baby too much, we swaddle and sway longer. Everything happens in a rhythm that listens to the baby’s cues.
How to Prep for Your Newborn Session
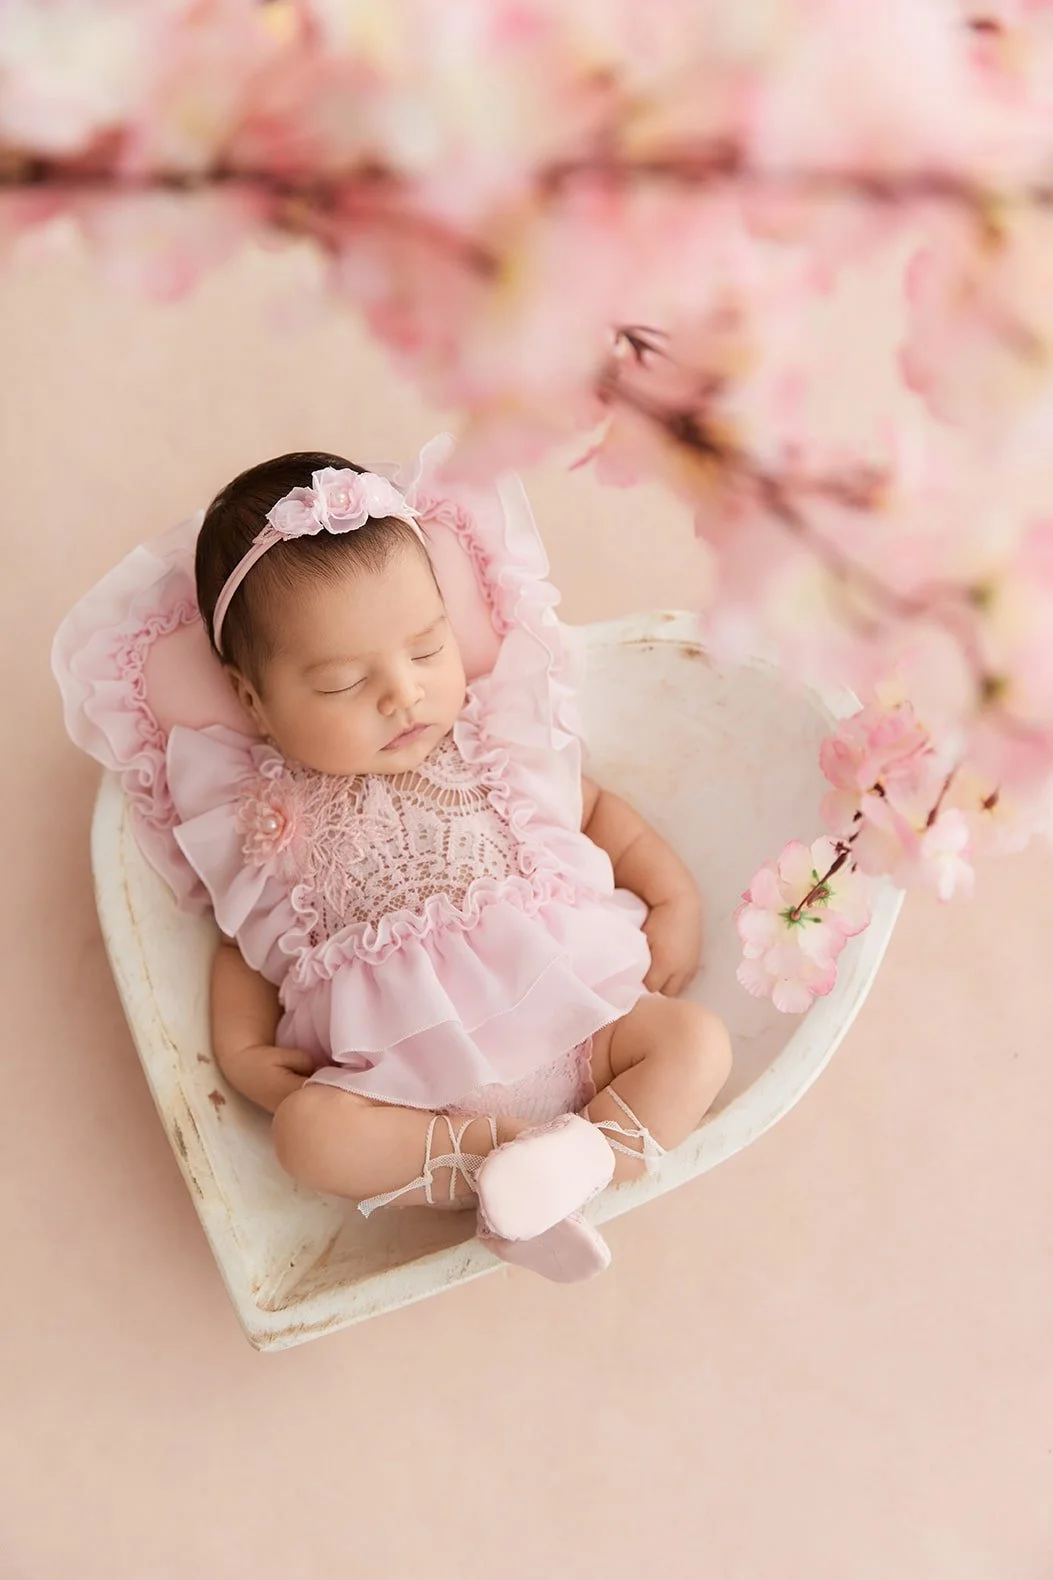
There’s a reason experienced newborn photographers prefer that earliest window of five to twenty-one days old. In those days, babies are still deeply in their sleepy, curled state. Their bodies remember the womb, which allows for those classic poses that feel organic and restful. As weeks pass, babies wake up more fully to the world. They stretch longer, fill out, become alert, and tell us what they like in louder ways. That’s beautiful too, but it’s different. If you dream of a swaddled, curled newborn photo where you can see the baby’s face relaxed and their hands placed softly under their cheek, that early window gives us the best chance.
I encourage families to book during the second trimester. Once you’re on my calendar, I hold your due date and then, when the baby arrives, you message me within three days. We’ll place you into a morning slot at 10 or 11, when babies are typically sleepiest after their first feed and the studio light is velvety and consistent. If baby arrives early or late, no one panics, we slide within that window and adapt.
Inside the Studio
You’ll walk into a space that feels like exhaling. My Beverly Hills studio is built around natural light, because soft light loves newborn skin. I control the direction so we never get harsh light cut across a cheek, and I watch the catchlight in the baby’s eyes when they peek, because that little spark gives portraits a sense of life. If the day is overcast, I supplement with carefully diffused continuous light so the look stays consistent. I don’t need to use strobes for newborn sessions, especially with very young babies who are days old, if I do for a specific setup or a family portrait, it’s feathered and softened so dramatically that you won’t notice the source, only the glow.
Warmth is essential, but not sauna-level. A small space heater brings the room to a cozy temperature, then we adjust so baby without a wrap never overheats. I check the back of the neck, not the hands or feet, because extremities lie. Each prop is sanitized and laundered between sessions, every bonnet and wrap washed with fragrance-free detergent, and surfaces wiped before and after you arrive. You’ll see the wipes on the counter, the stack of fresh wraps, the way everything is laid out so I never have to rummage while holding your child.
Parents are invited to sit and truly rest. Phones go on silent, the music is gentle, the lights in the room are dimmed just enough to keep overstimulation away, and the hum of the white noise machine becomes our soundtrack. Your job is to be here. Mine is to do everything else.
Safety Is the Most Important Part of Newborn Photography
Safety isn’t the first thing. It’s the only thing. That’s why I trained specifically in newborn safety, learned infant physiology, and practiced with dolls and with spotters long before I ever tried a more advanced pose with a real baby. If a pose compromises airways or spinal alignment, we skip it. If a baby’s skin tone changes, we pause. If the baby may have reflux or a tender tummy, we avoid positions that put pressure on that area and keep them elevated and swaddled.
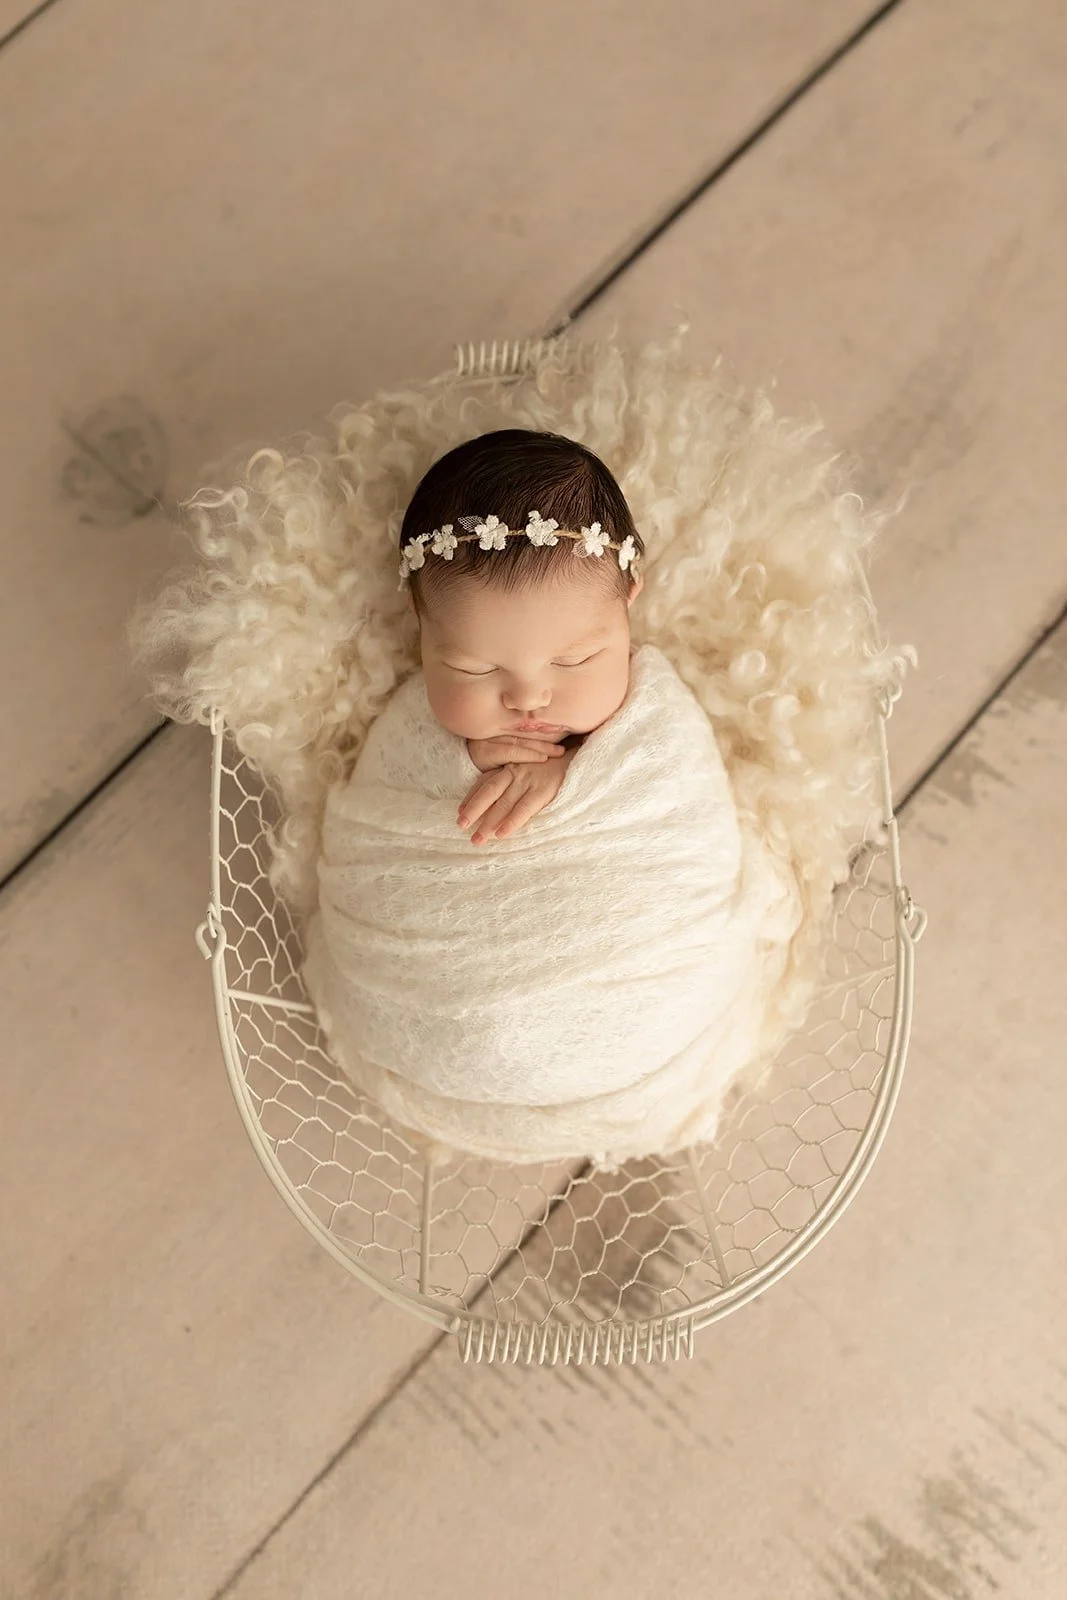
When I lay the baby on a beanbag for those soft, minimalist portraits, the beanbag isn’t a fluffy chair; it’s a structured posing surface with layered blankets to create little ramps and supports that keep the head elevated, the neck neutral, and the hips relaxed.
Understanding Newborn Poses and Styling
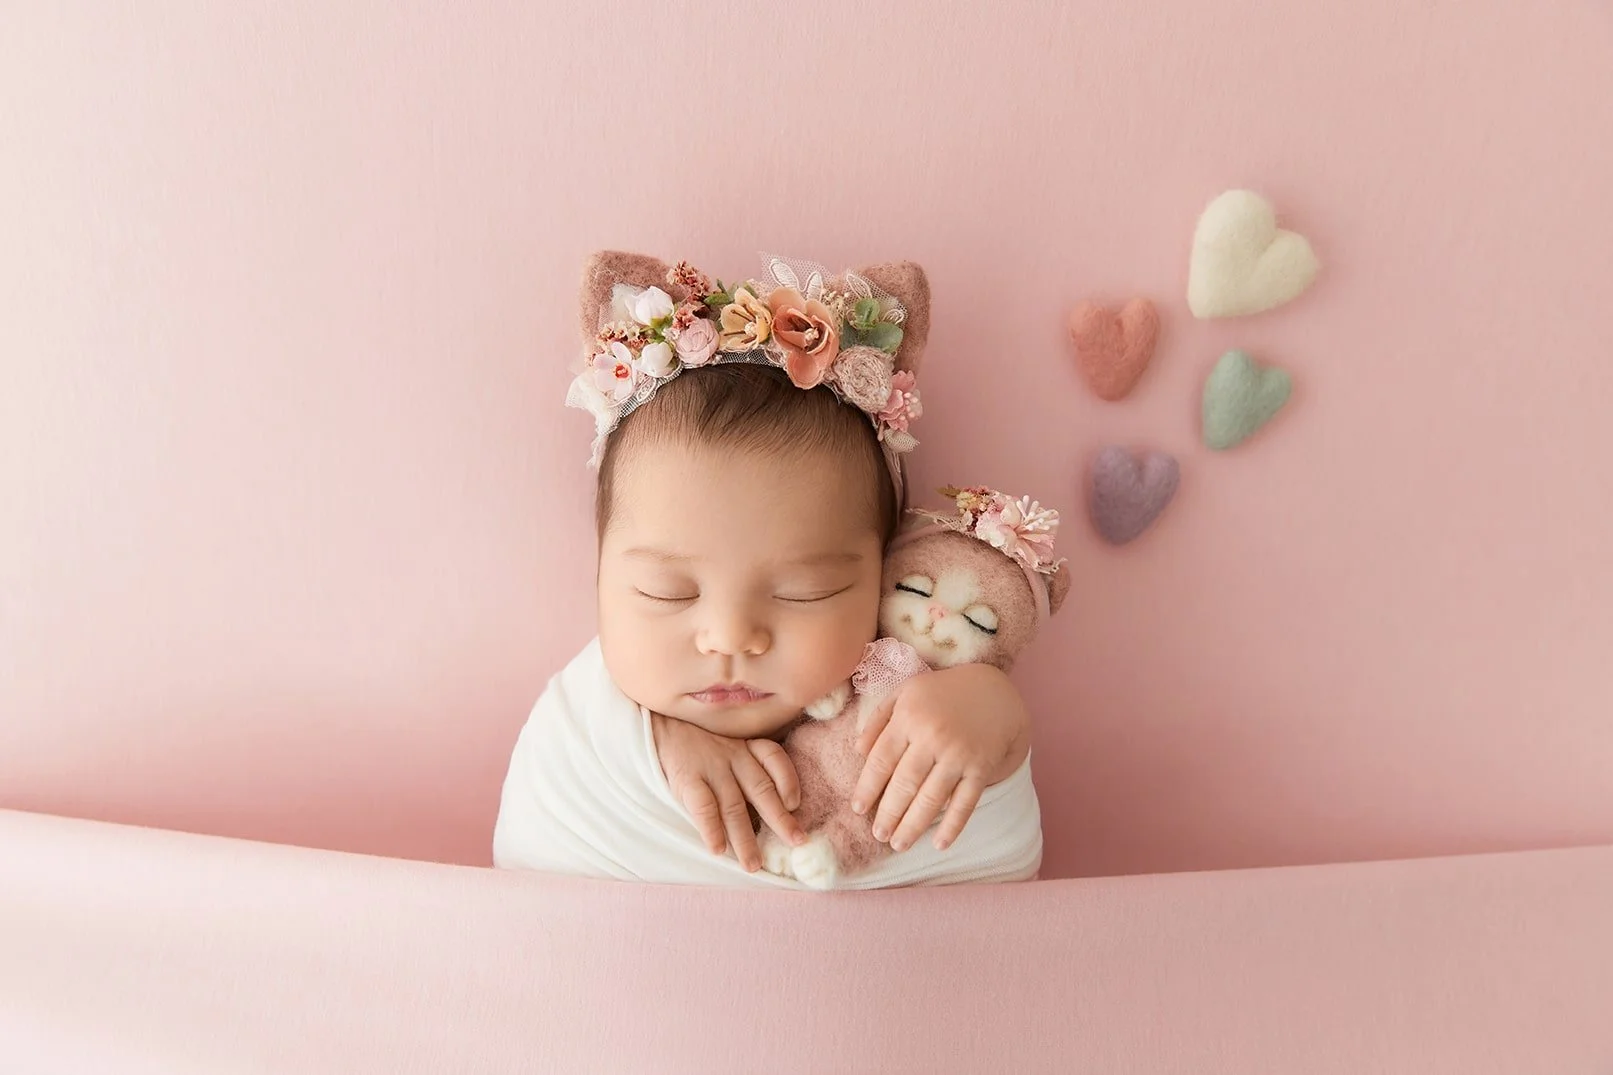
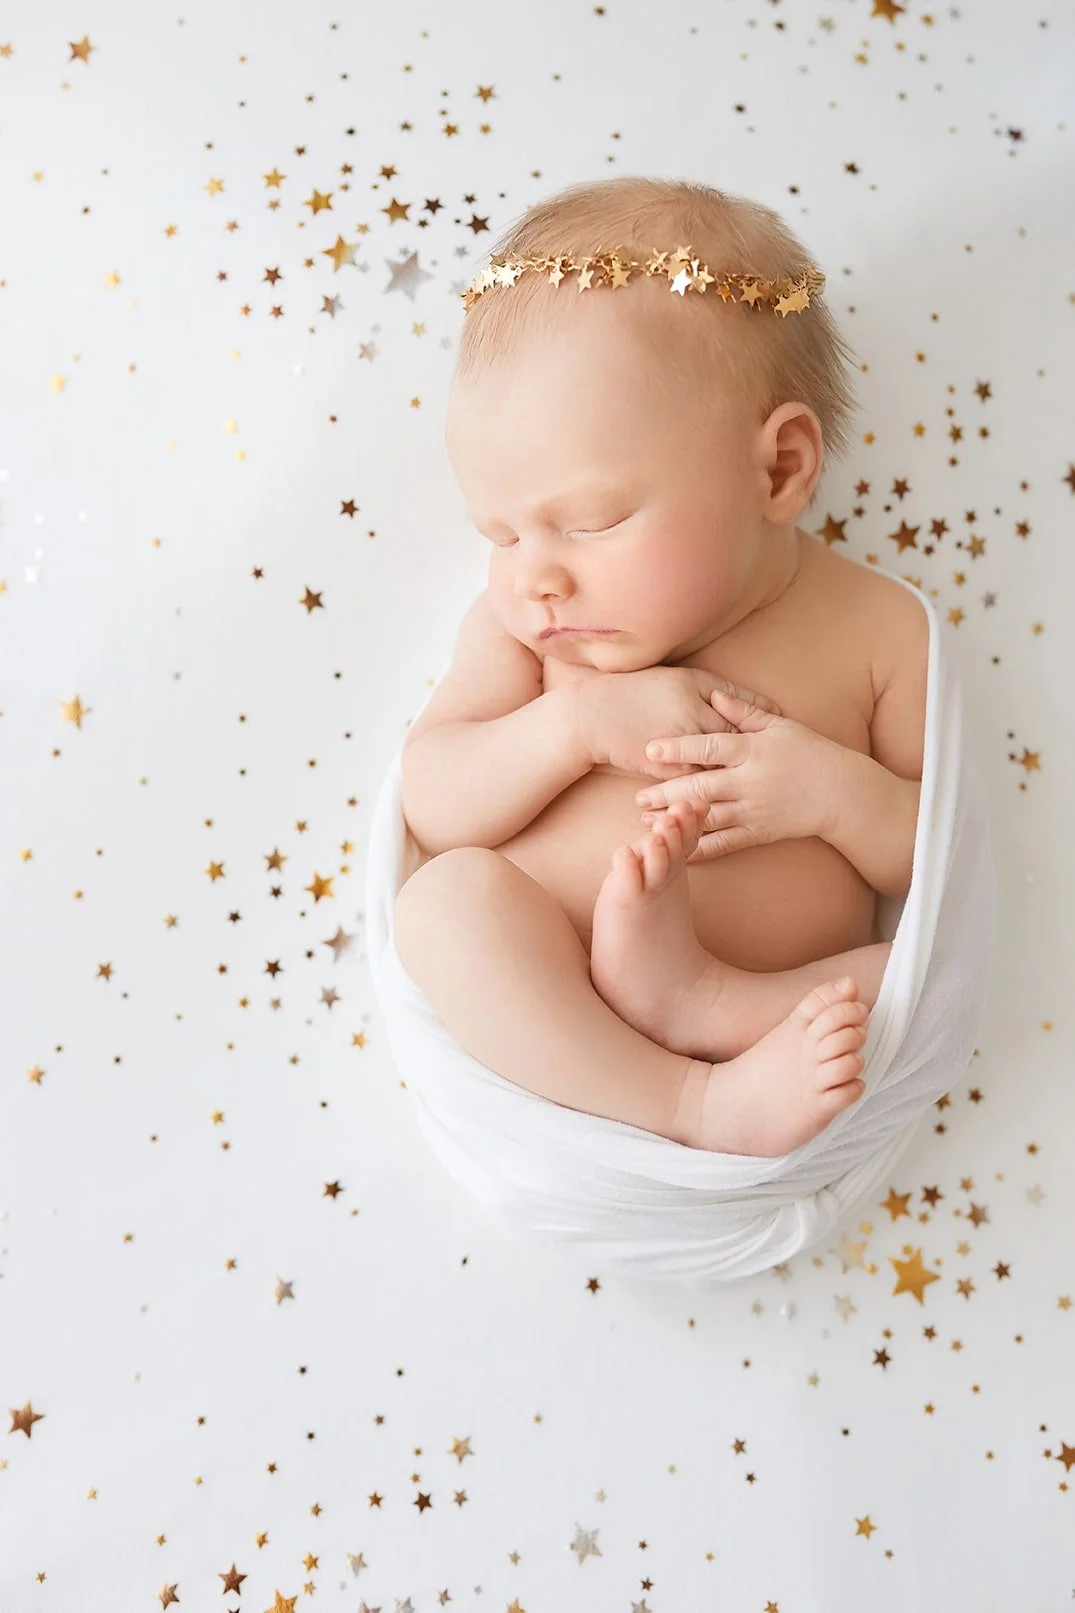
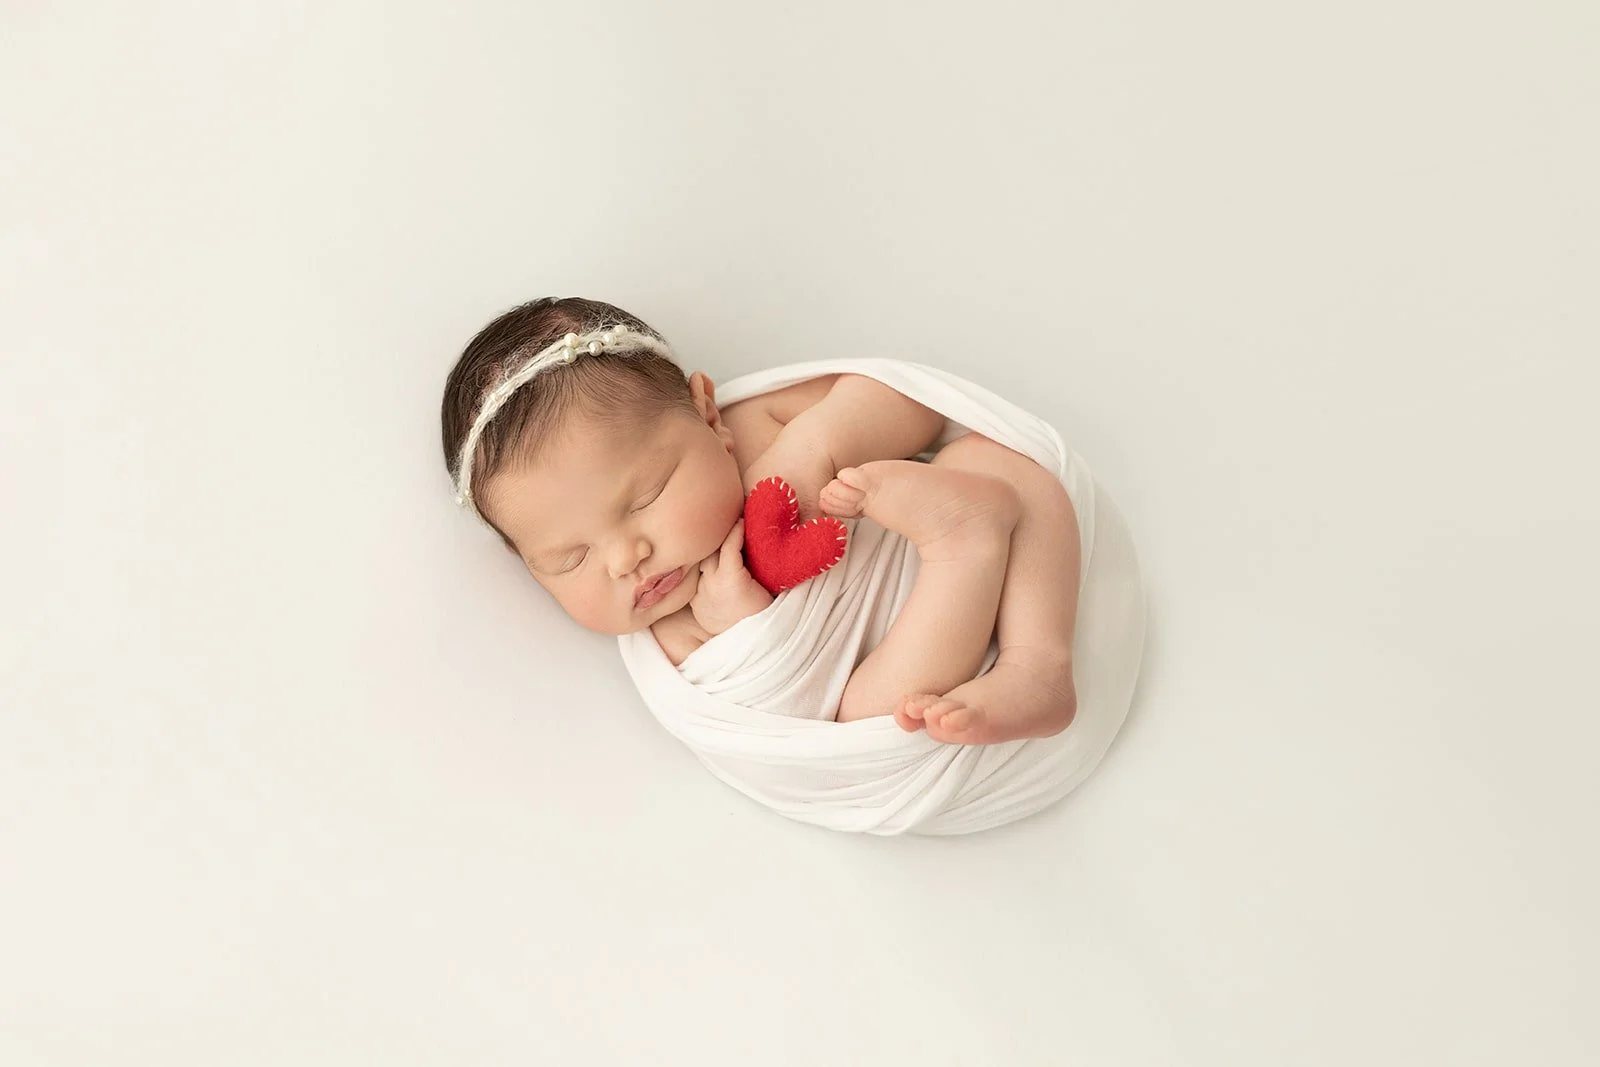
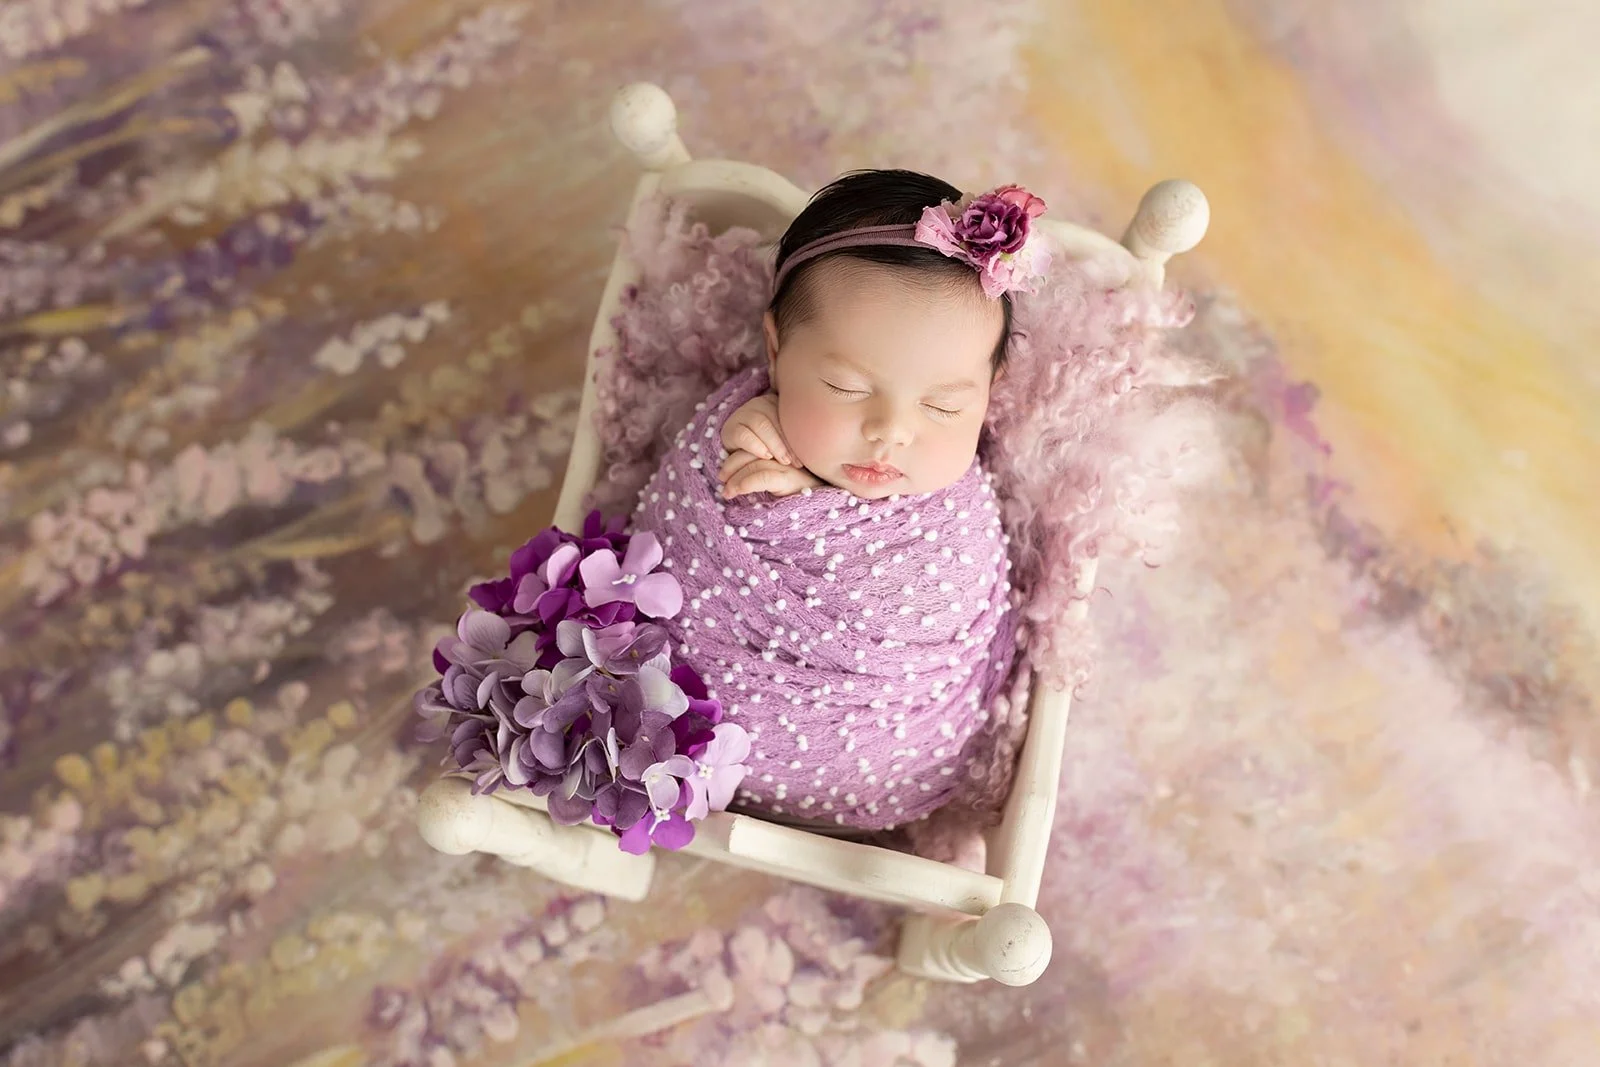
When photographing a baby, I use breathable, stretchy fabrics that won’t overheat and that allow small adjustments without waking the baby. The hands near the face are more than adorable. They’re a landmark. Parents want to see that kissable cheek, the curve of the baby’s face, and a hint of those tiny fingers. Whether the pose is side-lying, the classic tummy tuck with a supported chest, or the sweet potato sack swaddle that is always spotter-assisted and only attempted when the baby is very settled, the point is never the pose itself. It’s the feeling of rest. The camera can capture a heartbeat when the body feels safe.
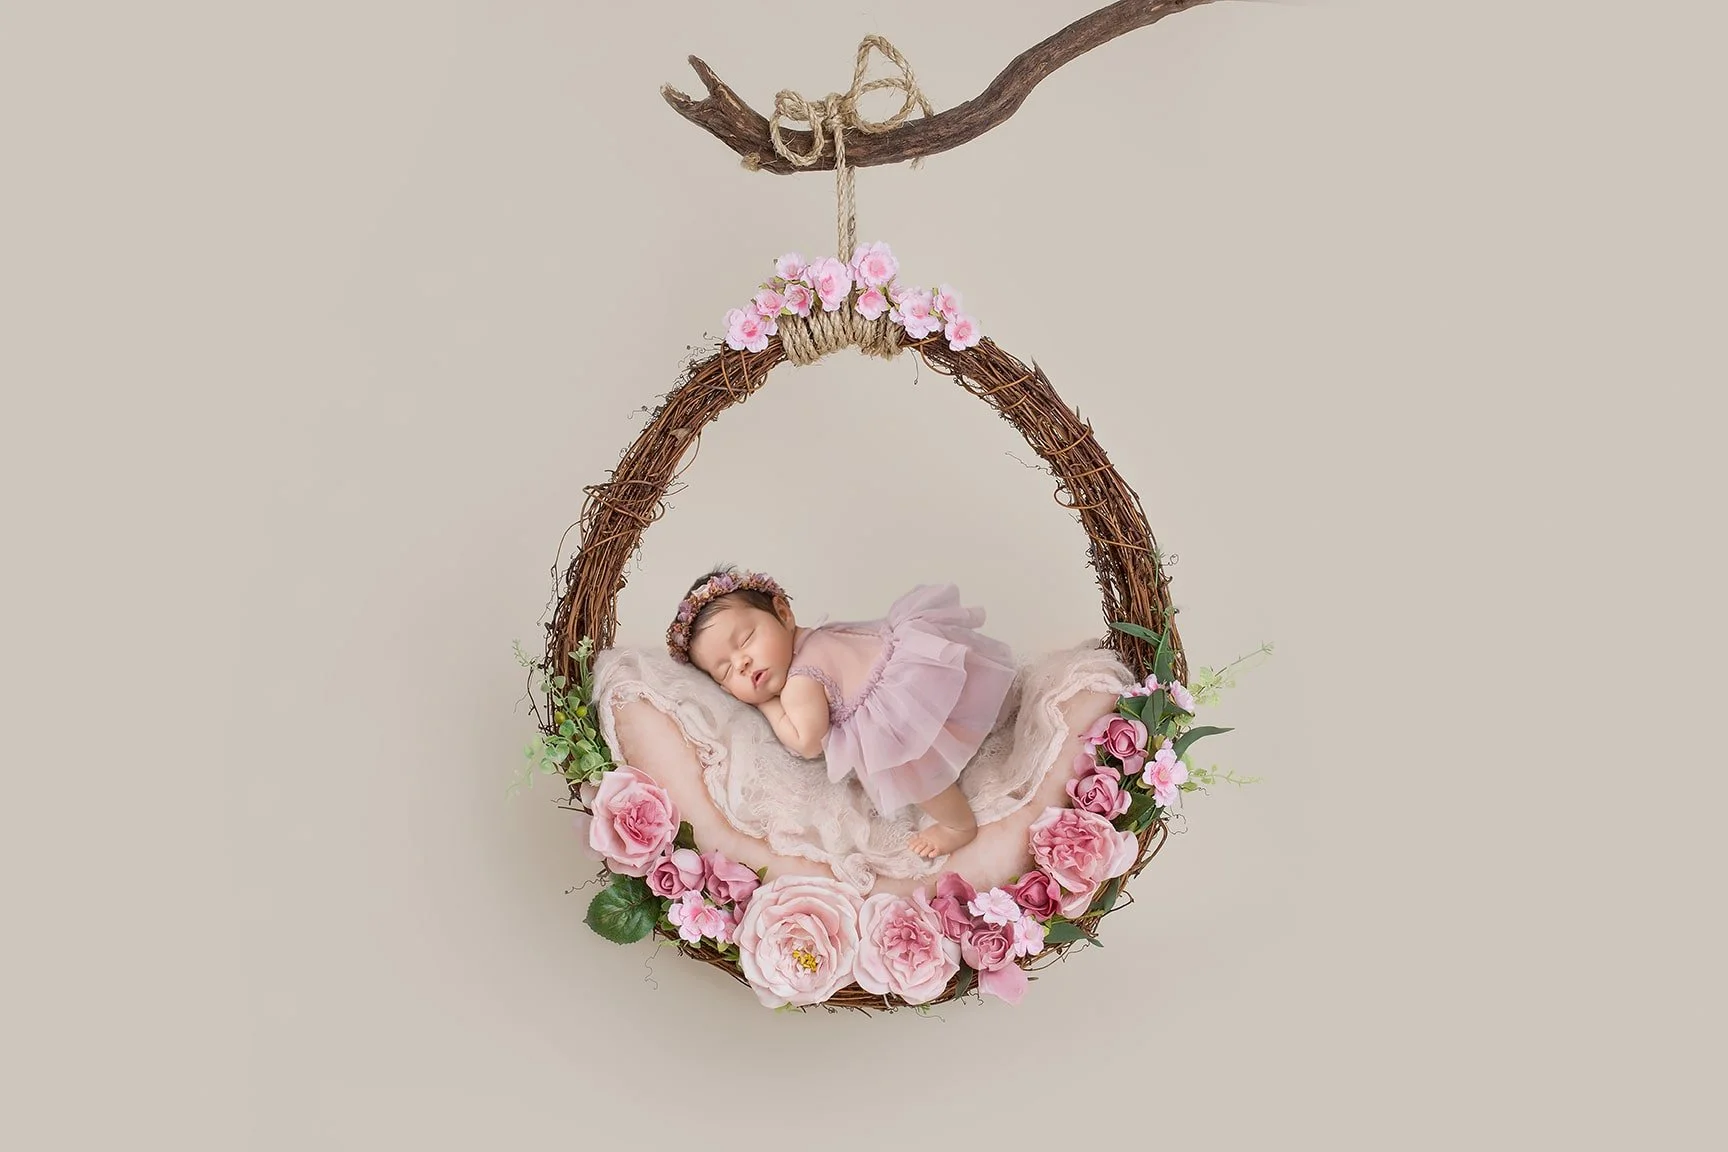
Props, Textures, and Backdrops
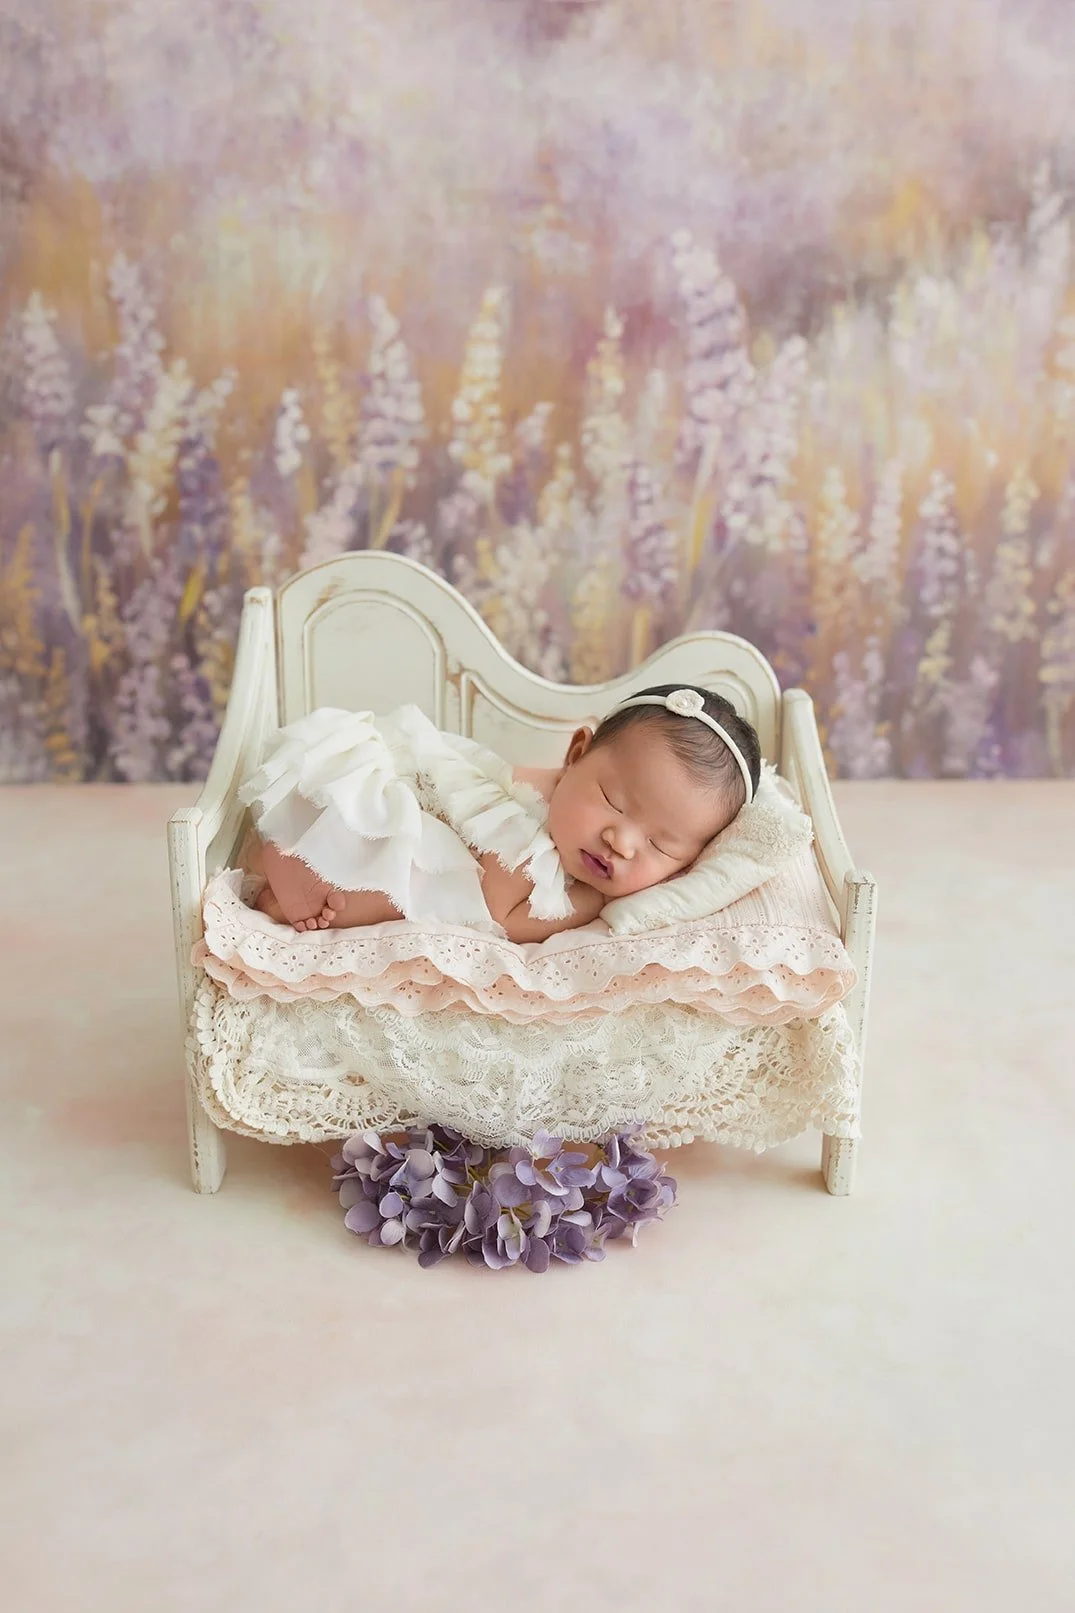
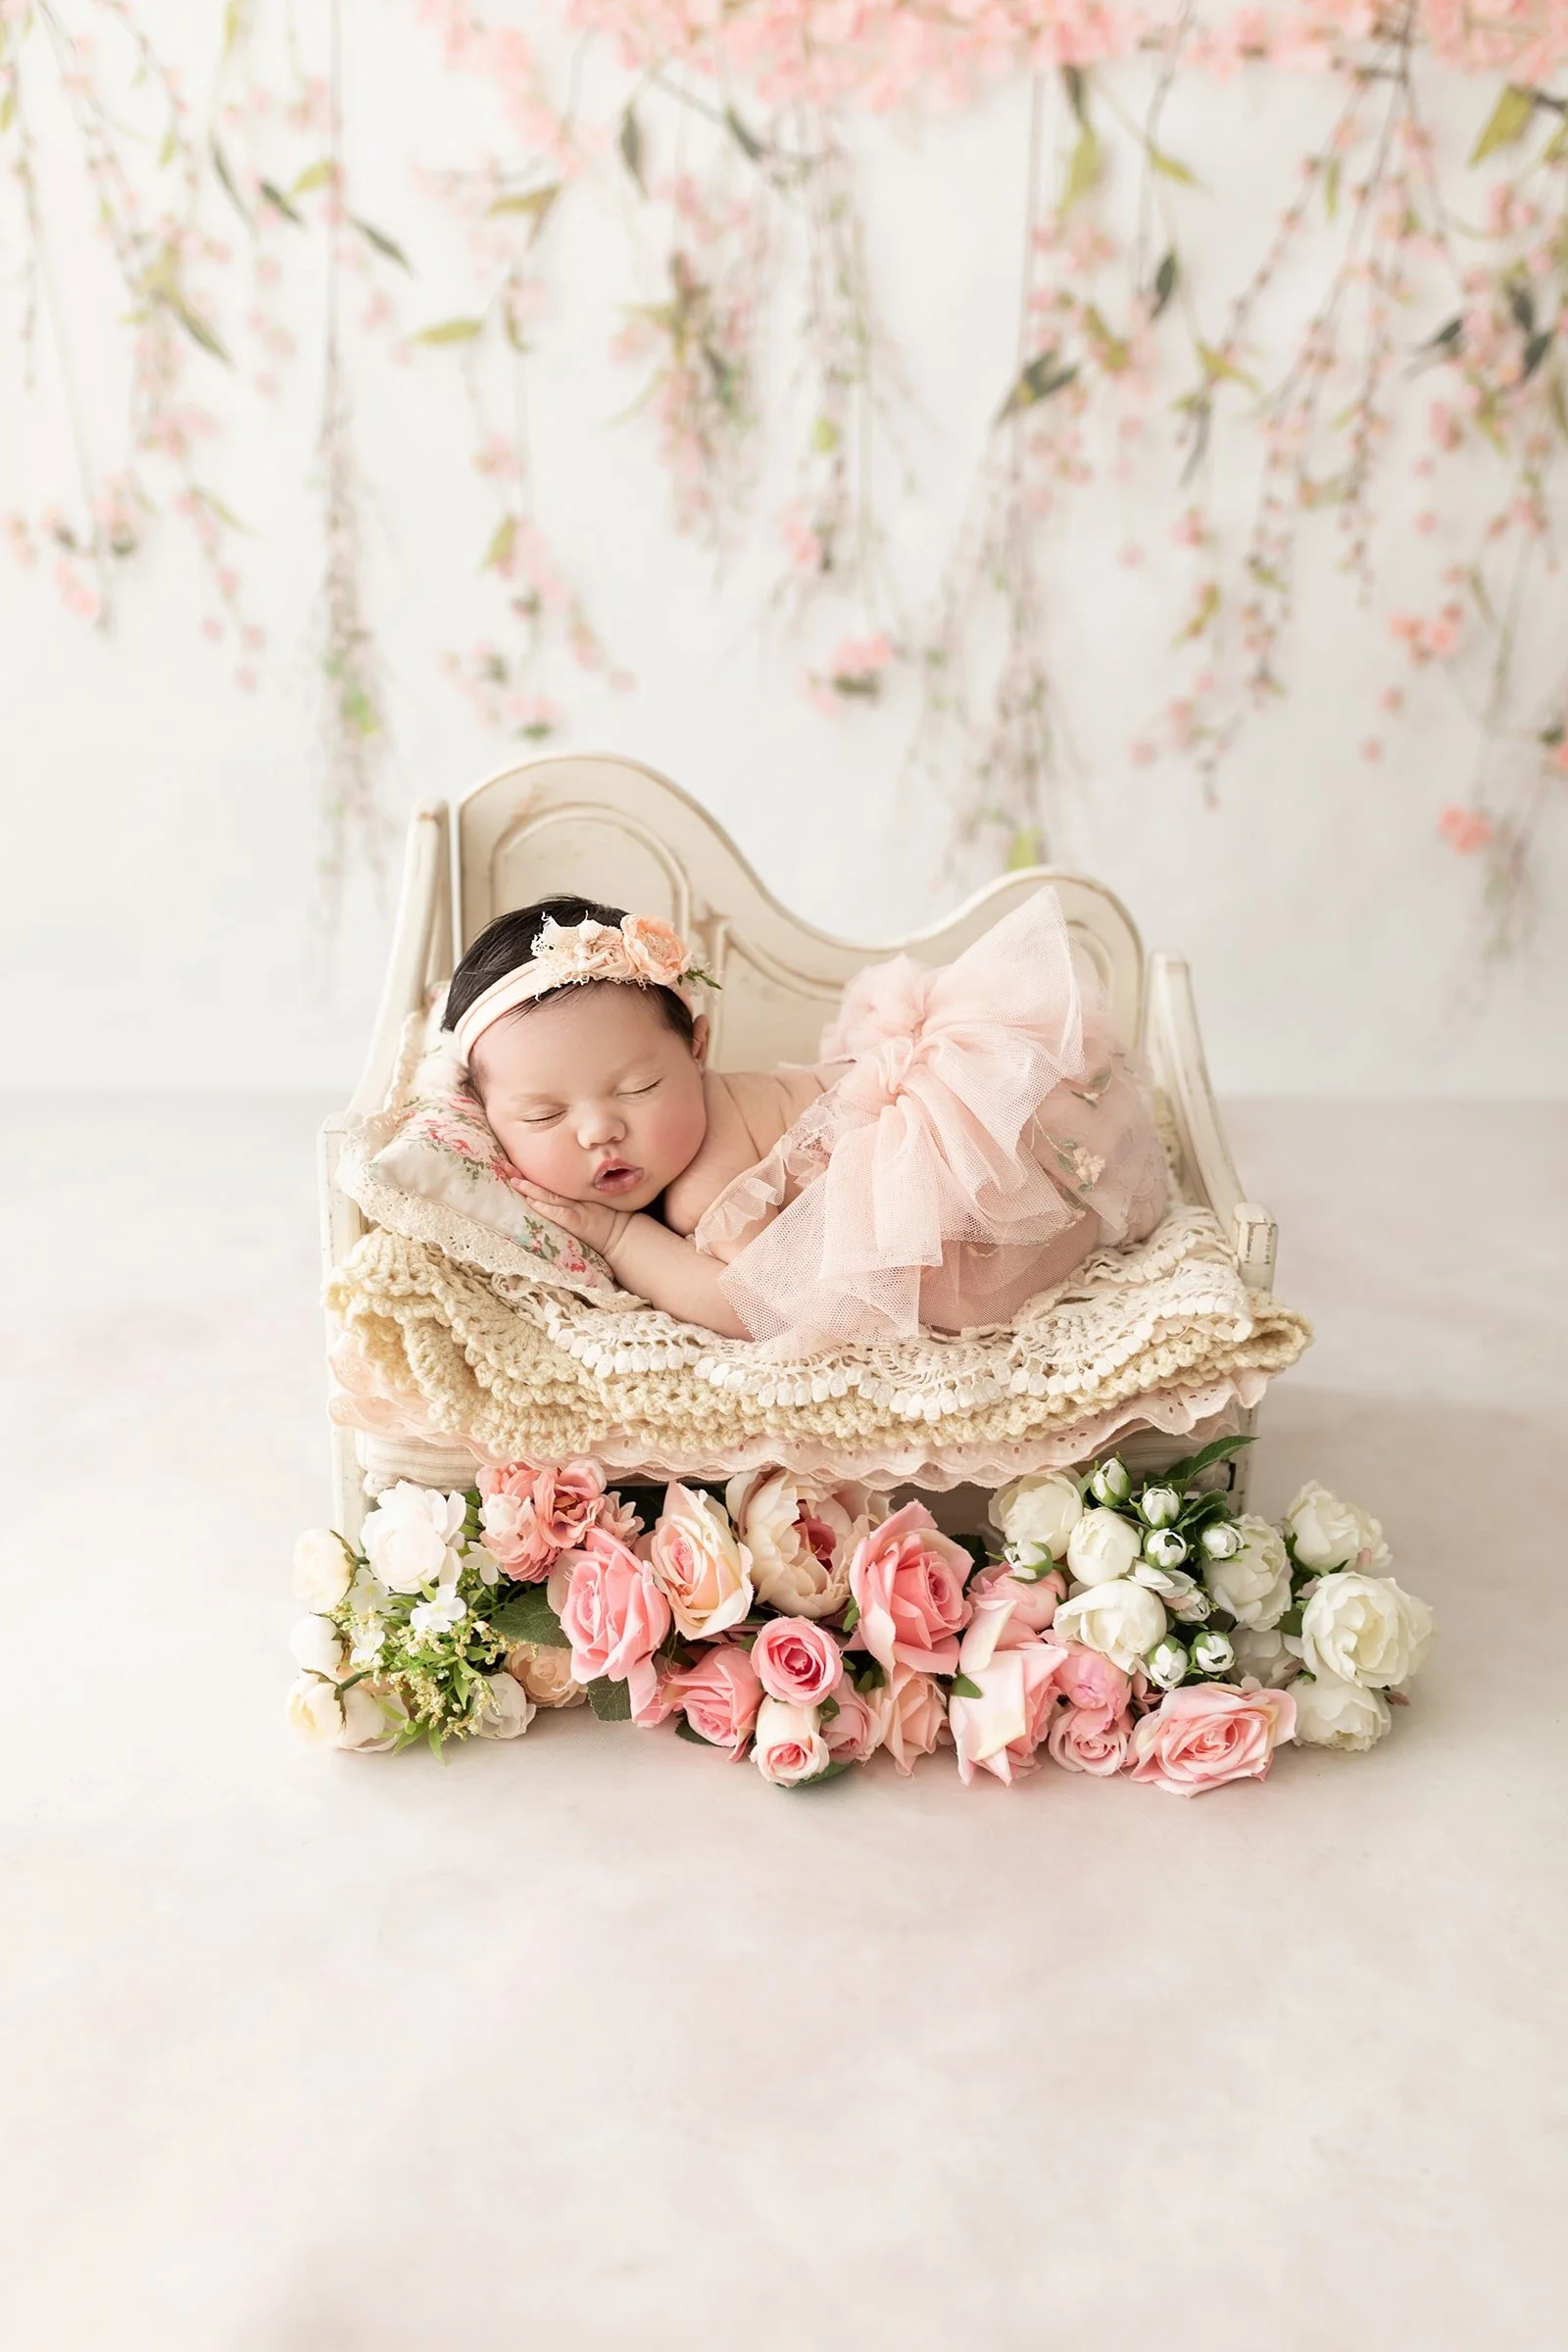
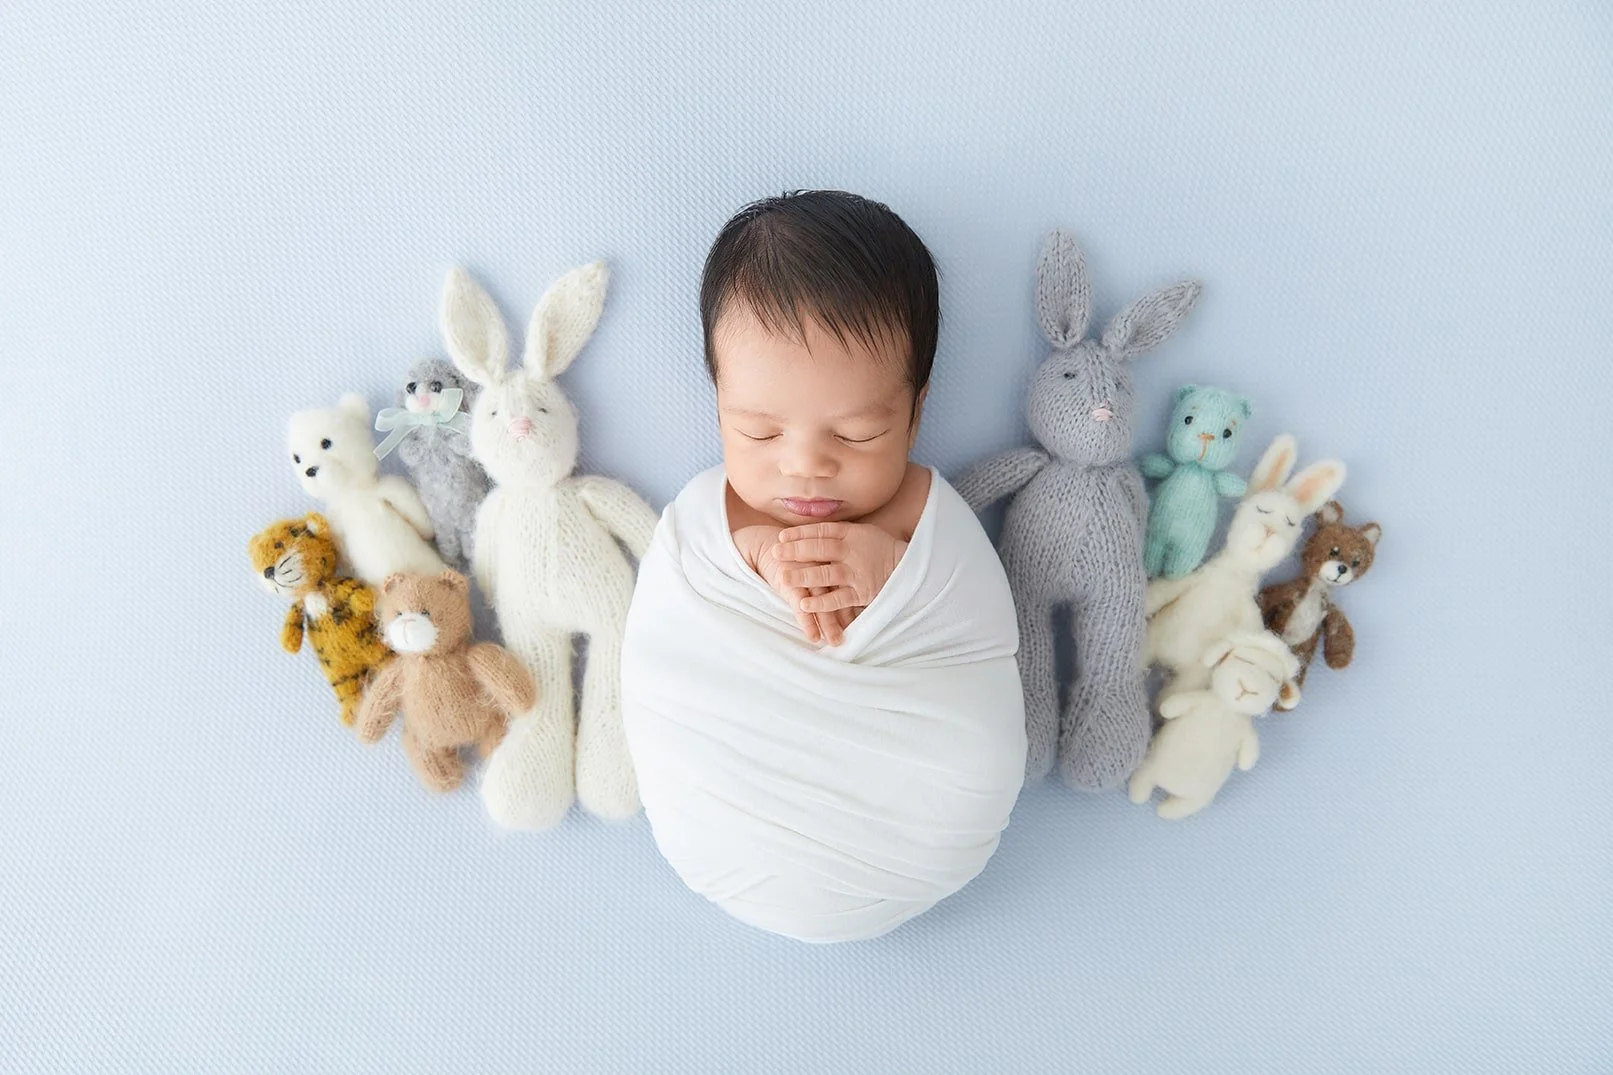
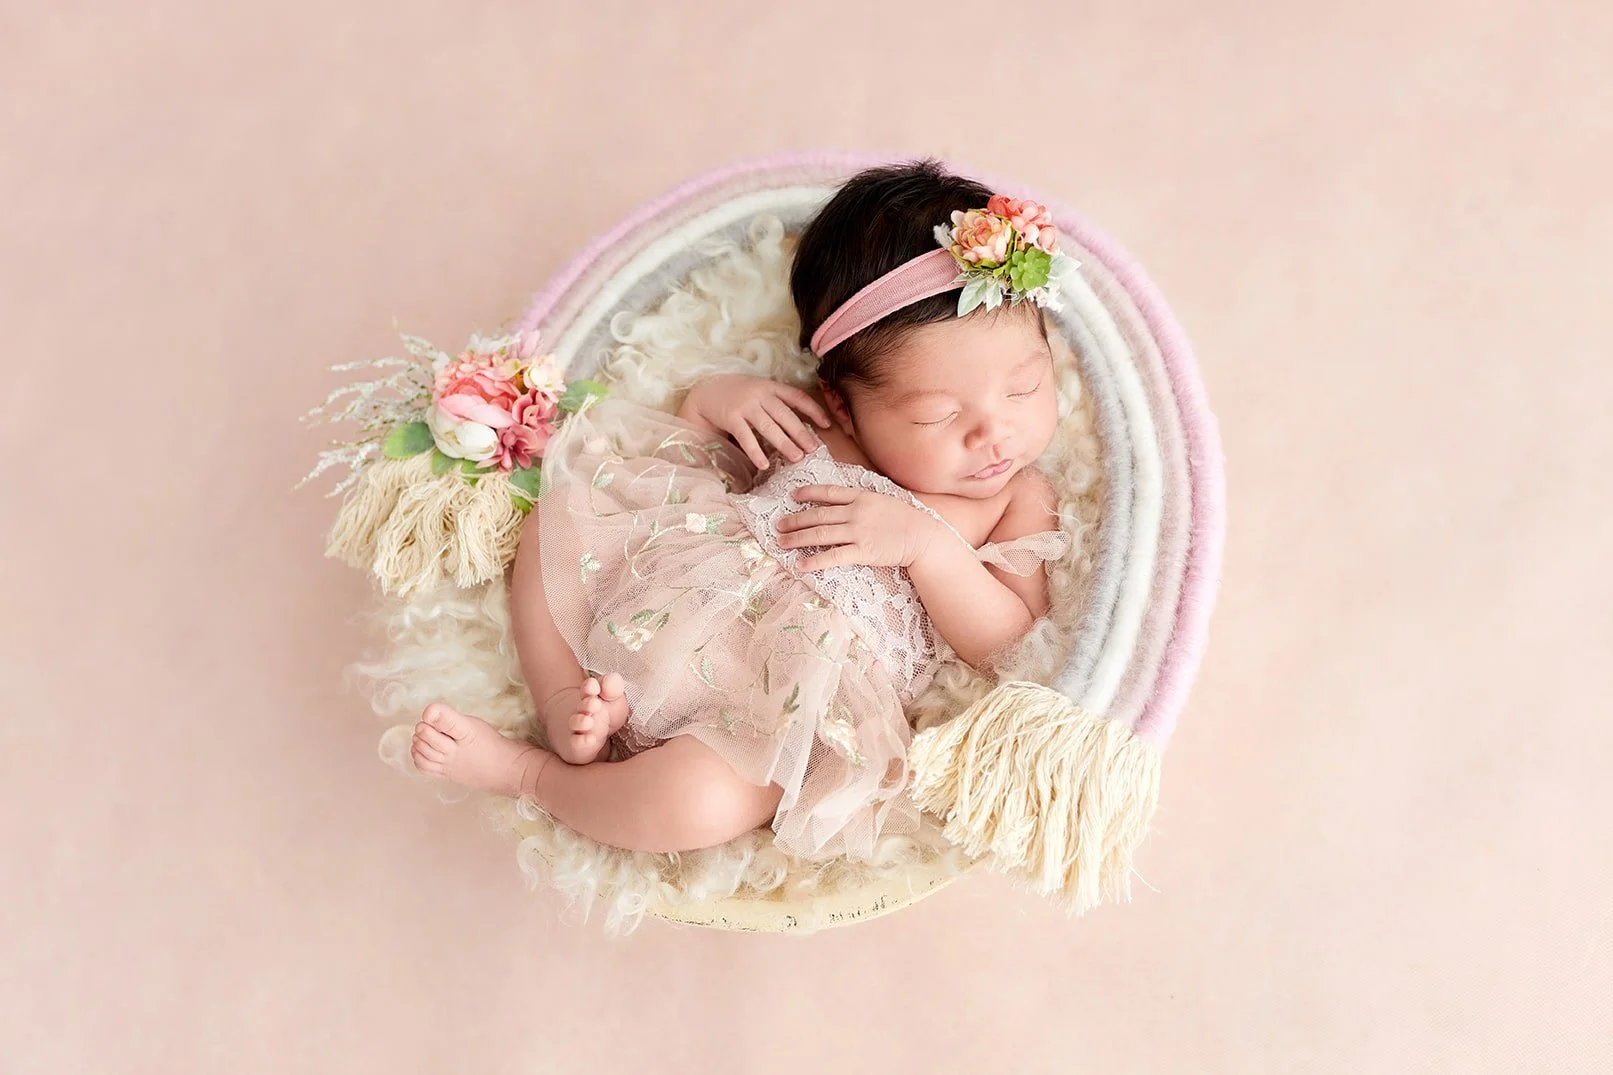
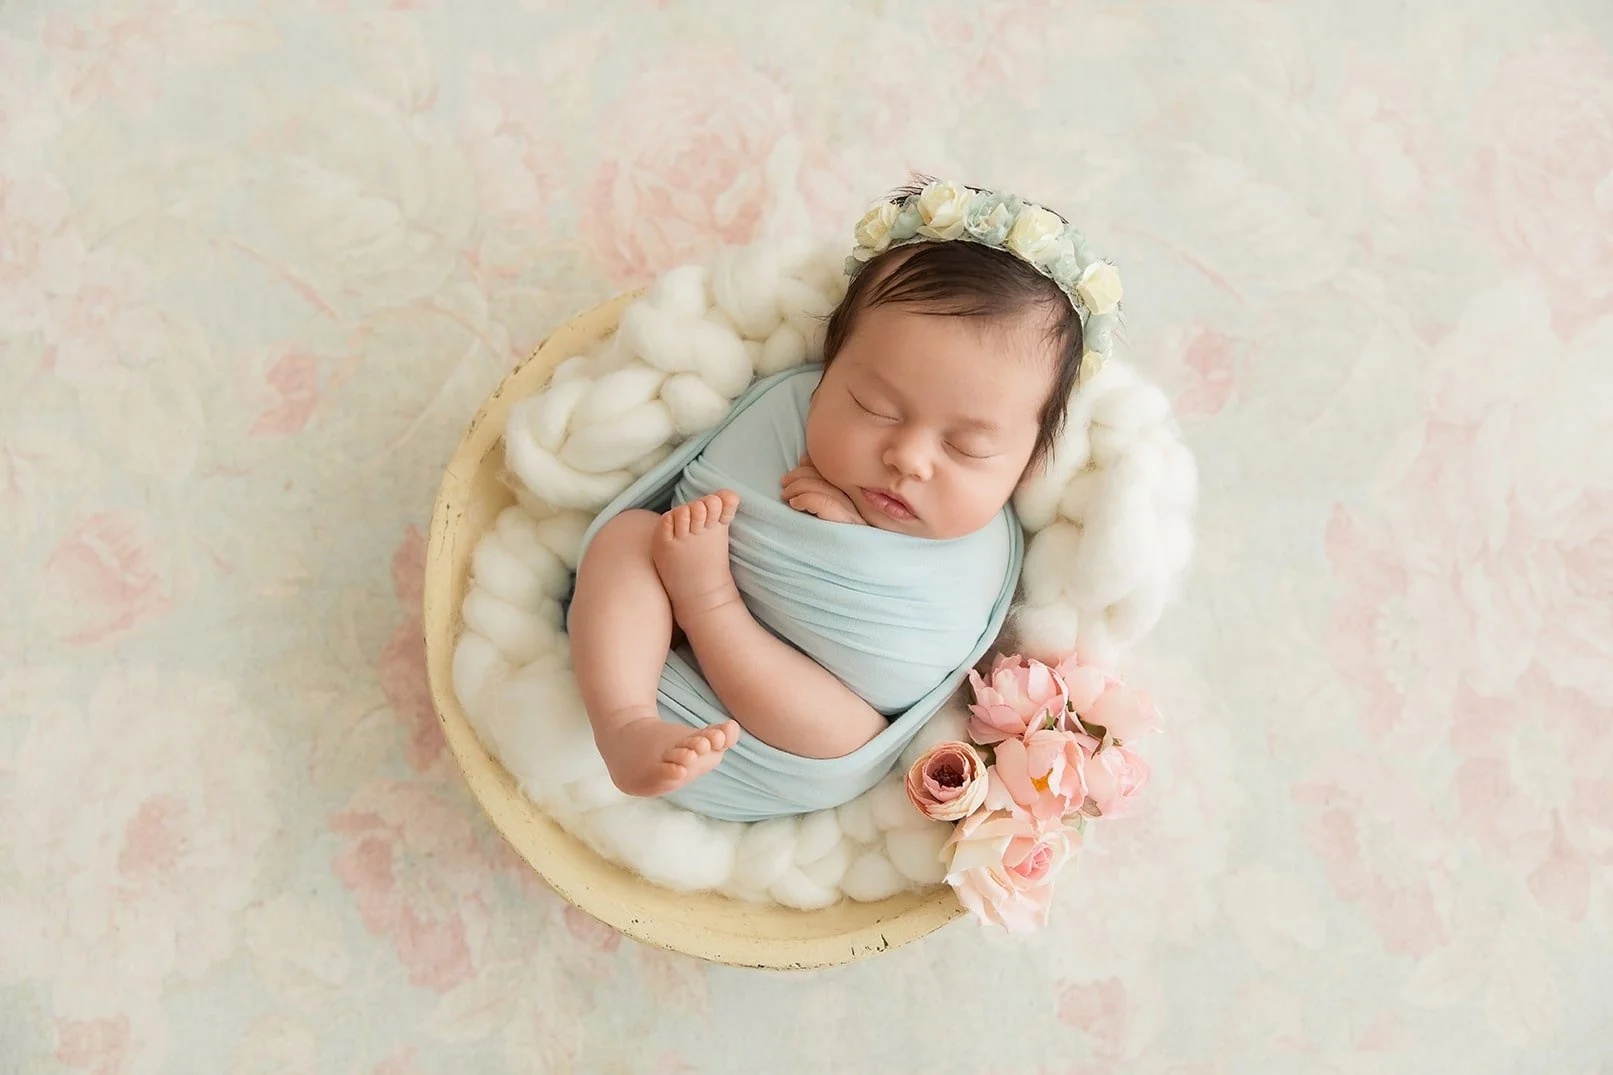
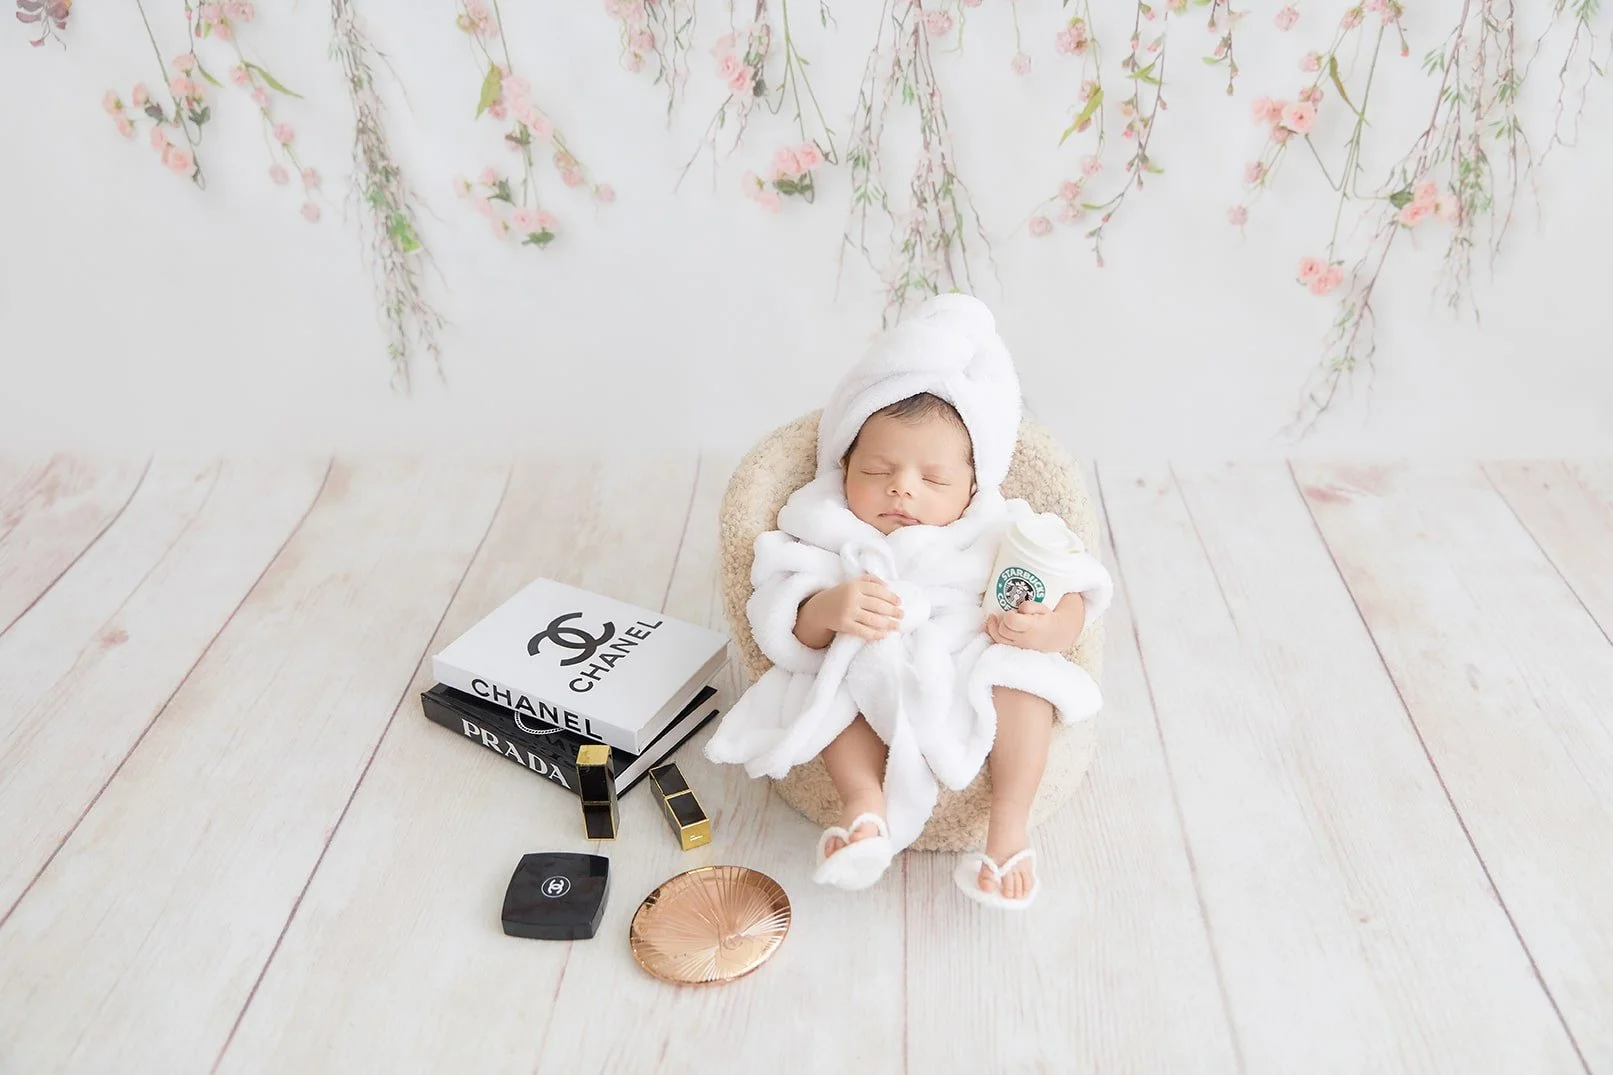
A well-chosen prop is a frame that honors your child. I lean toward natural fibers, hand-knit bonnets, wooden bowls with smooth edges, and wraps that echo the palette of your nursery. The backdrop is the stage, and I prefer neutral backdrops that won’t date your photographs. The trick to beautiful photos is not more, but better. One heirloom blanket from a grandmother can change a session, especially when layered into a simple scene where your baby is the clear center.
When I choose color, I think in terms of colors the way a painter does, warm creams for softness, muted sage for calm, a touch of peach on skin tones in editing to usher in warmth without going orange. If you love bold styling, we can do it with intention, anchoring it with your baby’s natural beauty rather than hiding it. Every prop is sanitized, every bonnet washed, every surface wiped, and nothing touches the baby’s skin that we haven’t cleaned and checked. This is the quiet work you don’t see that makes the studio safe.
How to Prepare Your Baby and Yourself for the Session
The best start to a photography session is a full tummy and a sleepy baby. Feed at home if that’s easier, or feed in the studio’s nursing chair while I warm the room. Keep the car seat straps a little looser than usual so the baby doesn’t wake up with red marks, and dress them in a simple snap-front sleeper so we can transition to a diaper without pulling anything over the head.
Avoid new lotions or fragrances on the day, newborn skin is sensitive, and the studio has everything we might need, including fragrance-free wipes. Bring a pacifier if you use one, even if it’s only for the session, because a single gentle suck can nudge a yawn into sleep. I plan for time to burp before we start, because a comfy tummy is a happy model.
What Parents Should Expect During the Shoot
The session begins with the warm wrap. I swaddle in a way that stays secure but allows tiny hands to peek near the face when it’s time. I’ll handle posing, soothing, and transitions so you can watch without feeling you should do something. Occasionally I’ll ask for a gentle hand during a family photo, or I’ll bring you in for skin-to-skin moments that never fail to bring tears when you see the images later. If your baby fusses, no one scores it as a failure. We adjust. If the baby needs to feed again, we pause. I’ve had sessions where we did half the gallery swaddled because baby preferred it, and the results were cohesive and gorgeous.
I’ll show you the wraps and bonnets I’ve selected before we begin, tuned to the shades you love. If you adore the timeless look of natural light and a soft backdrop, this is where that vision becomes real. If you’re curious about trying a simple DIY newborn photos approach at home for everyday memories, I share a safe, step-by-step method in my DIY Newborn Photoshoot Course, but here, today, you’ve come to relax while a professional photographer does the lifting.
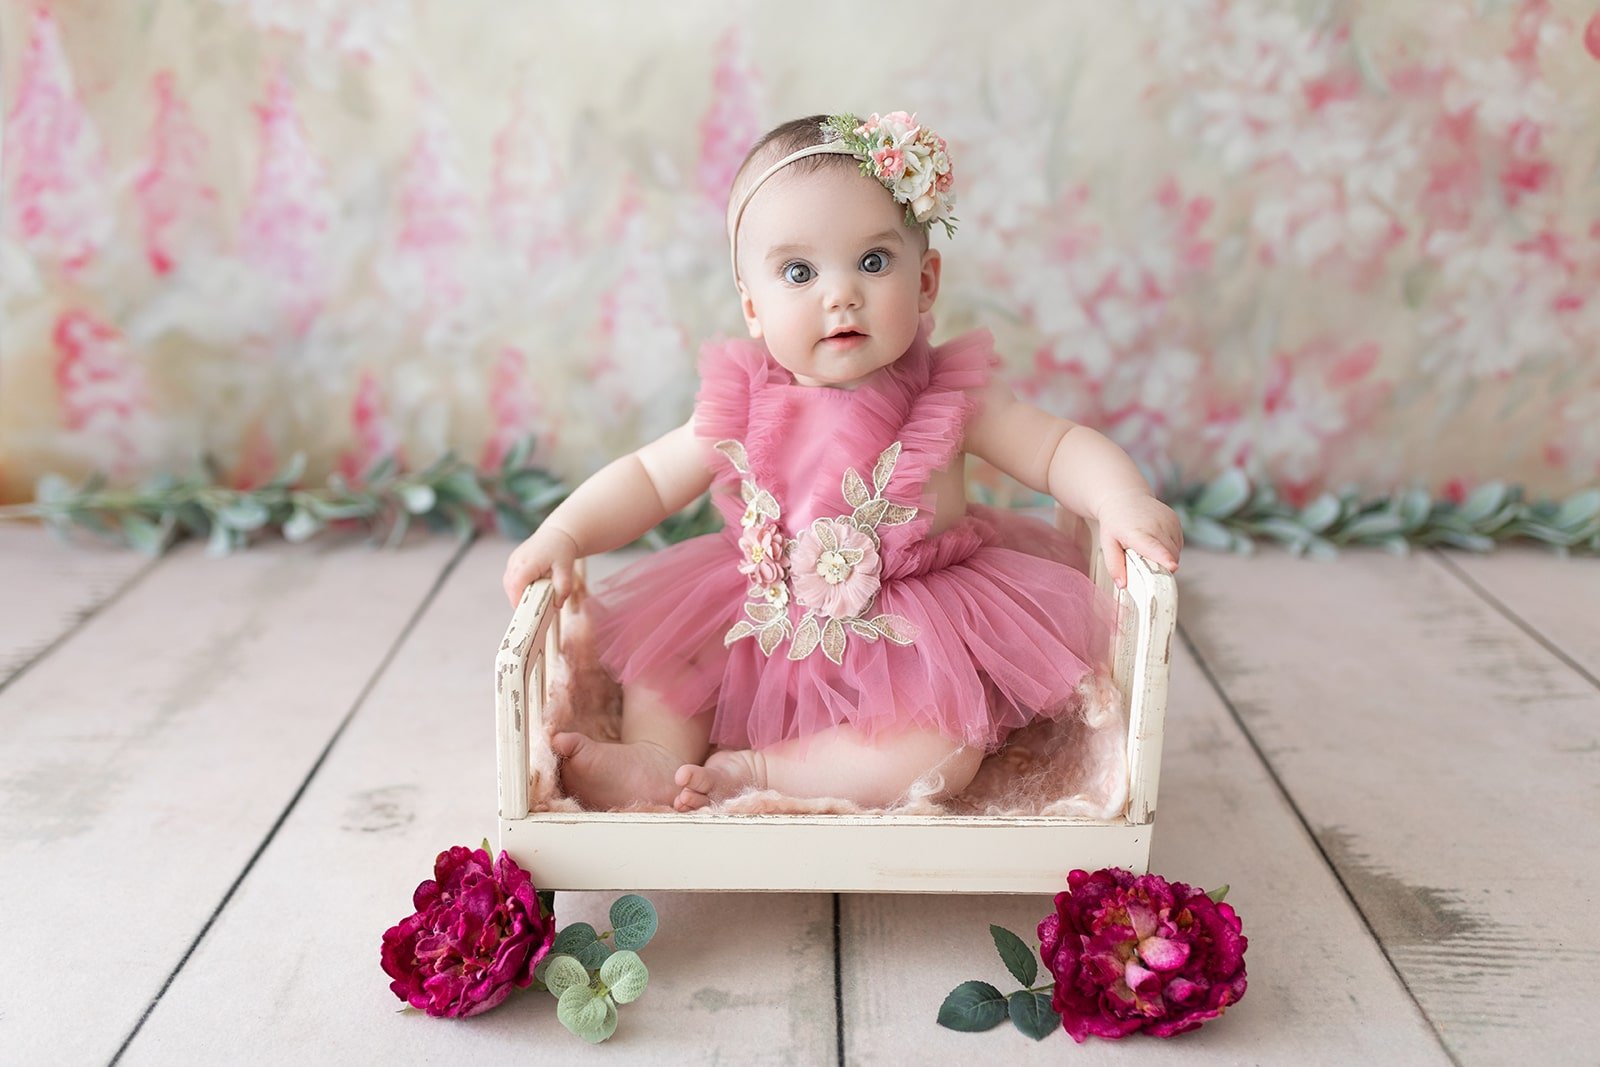
Sitter Sessions (6–9 months)
Just when you think you’ve memorized your baby’s face, the sitter stage arrives and everything bursts into personality. Babies at six to nine months sit confidently, often before they crawl, which makes it the perfect window for a baby session built around expressions. At this age, photographing a baby is all about interaction. I’ll sit at their level, play peekaboo over the camera, make ridiculous noises that would never leave the studio, and wait for that specific look that feels like your child.
We style the set simply, often with four coordinated setups in soft tones so the series looks like an editorial spread of your baby’s personality. The light is still soft light, but now the sparkle in the eyes becomes the star. I often reach for a 35mm or 50mm focal length during sitter sessions because I want to be close enough to keep engagement without warping features. We schedule after the first nap, not too close to the second, and make sure the tummy is happy. It’s amazing how the smallest change, like a short break with a bottle, restores joy.
If you’re planning ahead and love the idea of learning how to set up your own backdrops and interact in a way that keeps babies engaged, the Sitter Session Course in my academy is a deep dive for both parents and photographers.
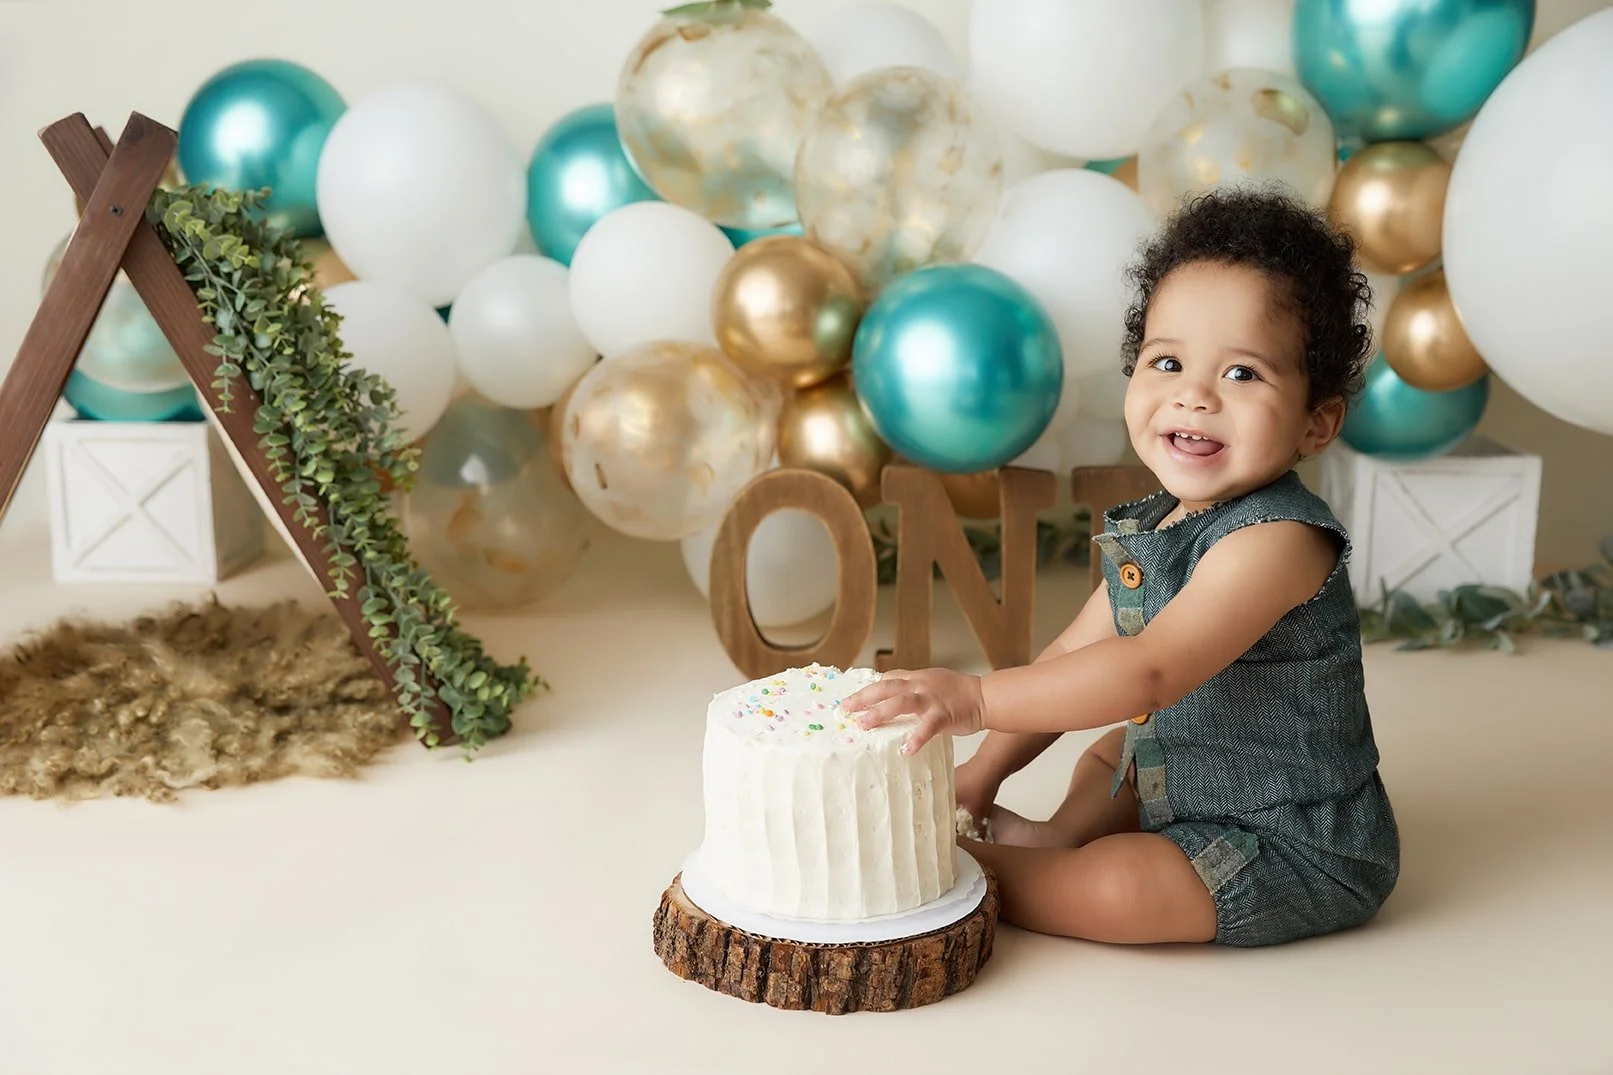
The Joy of the First Birthday Photo Session or Cake Smash
First birthdays feel like a parade, and cake smash sessions add confetti to the day. In my studio, cake smashes are designed one month before the actual birthday, because many babies aren’t walking yet and we can avoid the “I’m off to explore” instinct that turns a set into an obstacle course. The setup is playful but never overwhelming. I’ll begin with simple portraits in a lovely outfit, think tutu skirt or a sweet suspender set, so you have clean images even if cake isn’t a hit.
When the cake appears, reactions range from squeals of delight to very delicate pokes that barely dent the frosting. Some babies dislike the texture, that’s normal, and this is where the bubble bath at the end becomes not just a cleanup but the laughter sequence you’ll frame. Buttercream works best on camera, and we avoid red or chocolate because they don’t photograph as beautifully when smeared on cheeks.
See my Cake Smash Courses here.

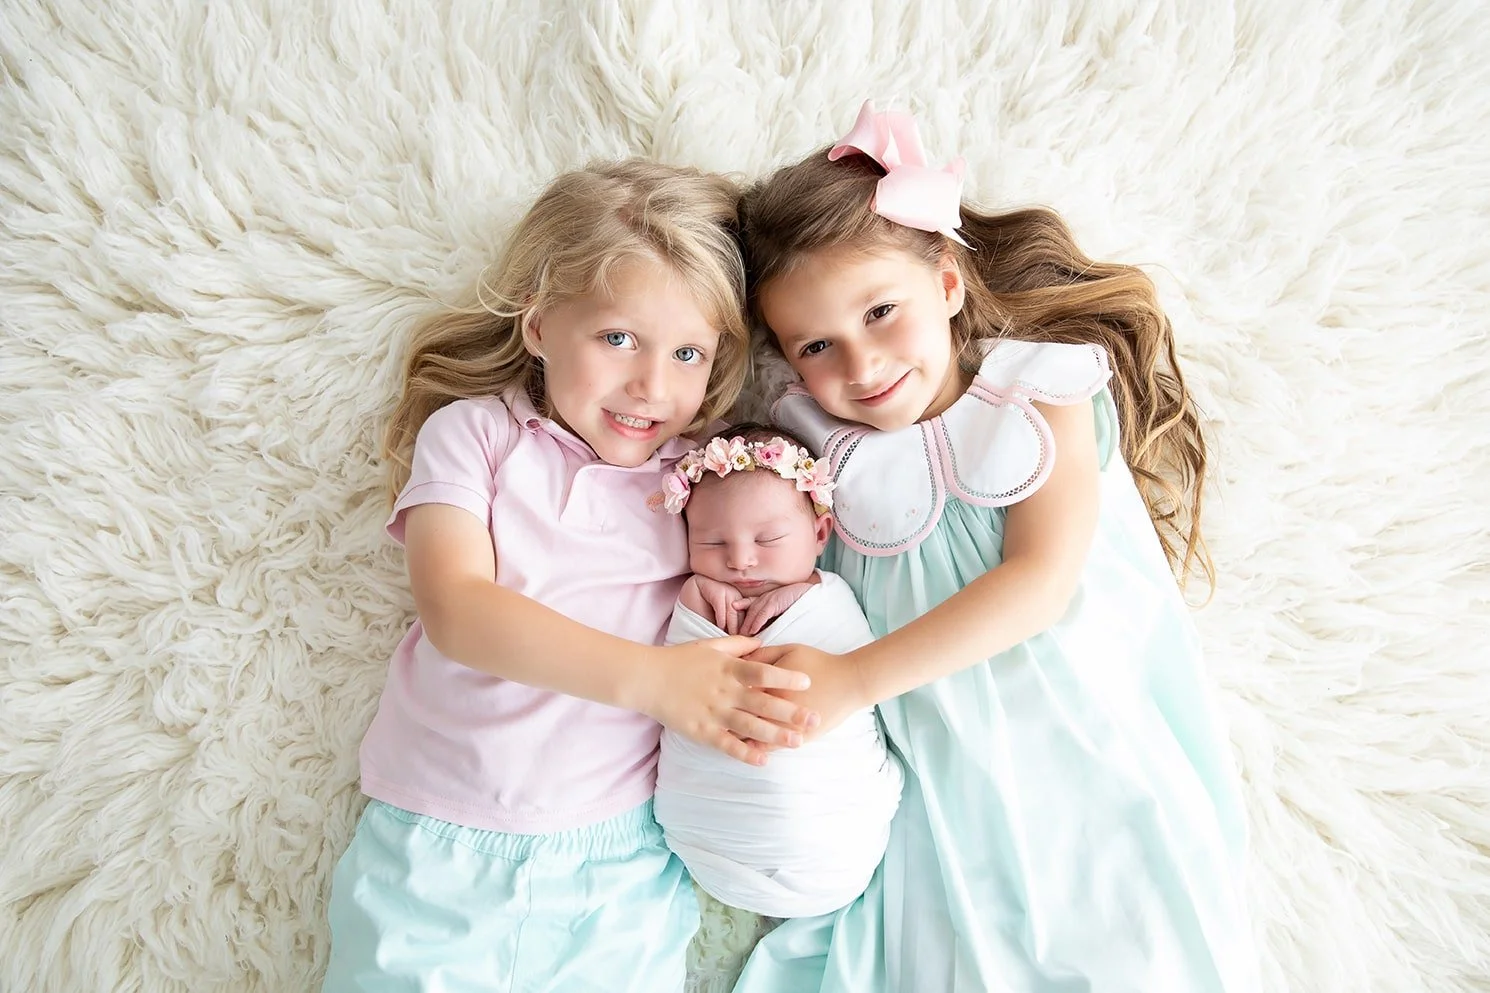
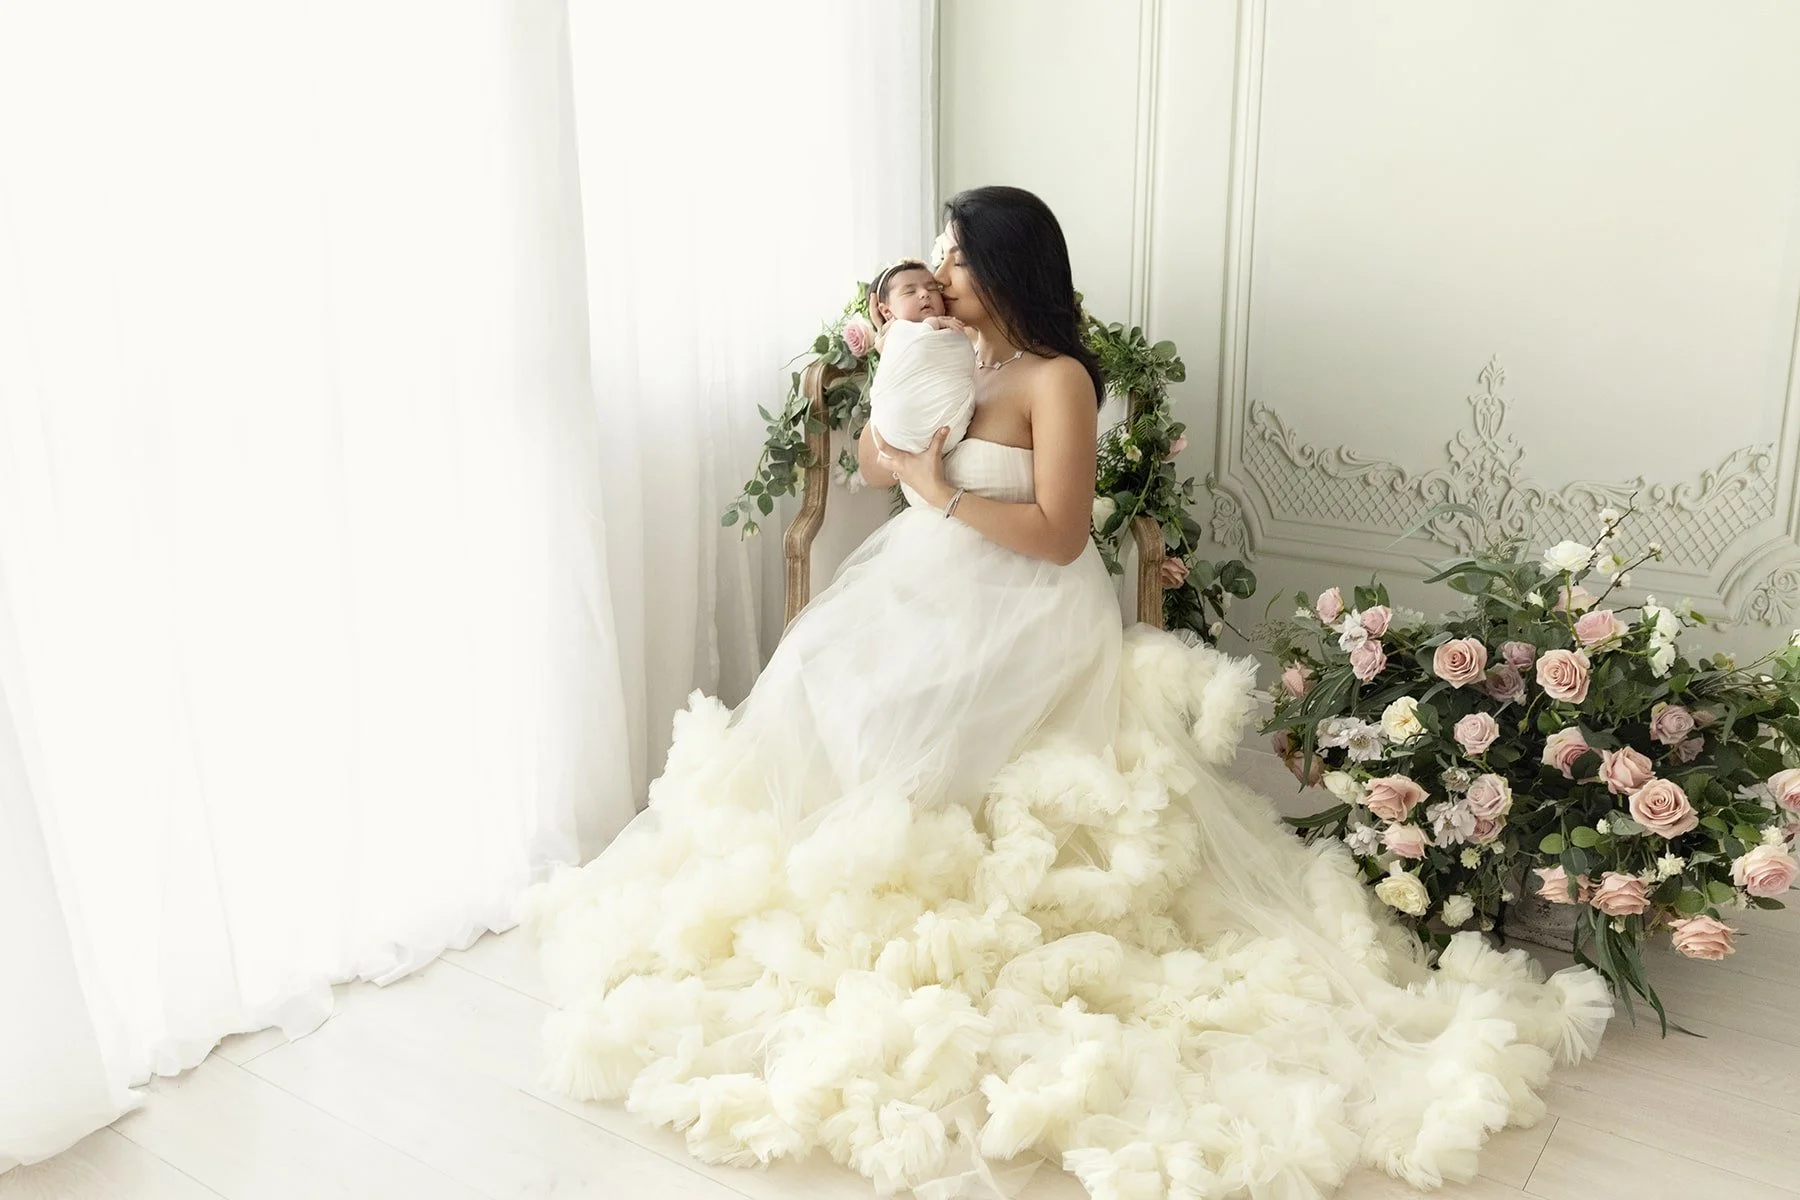
Family Photography
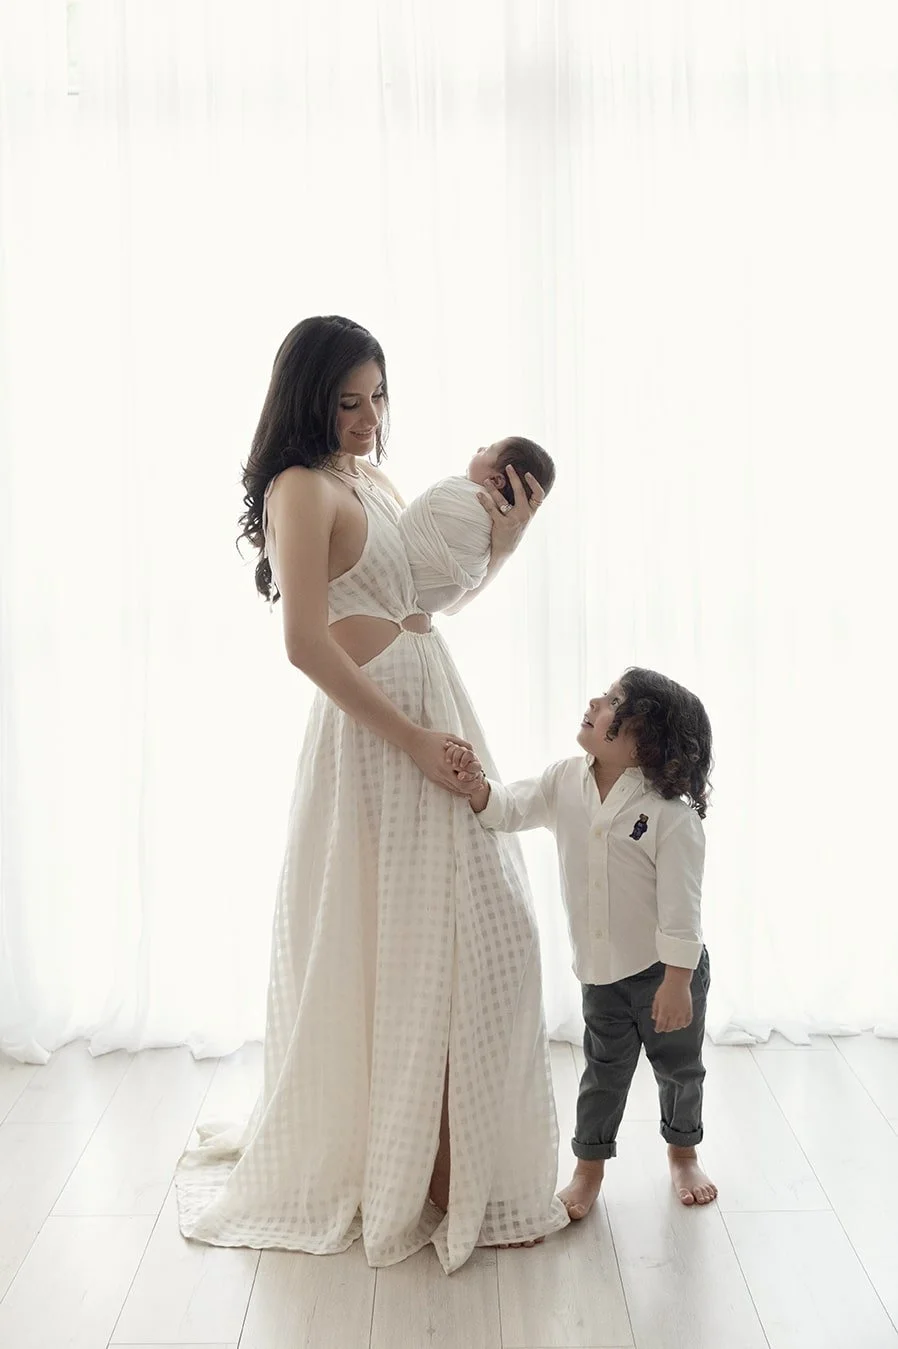
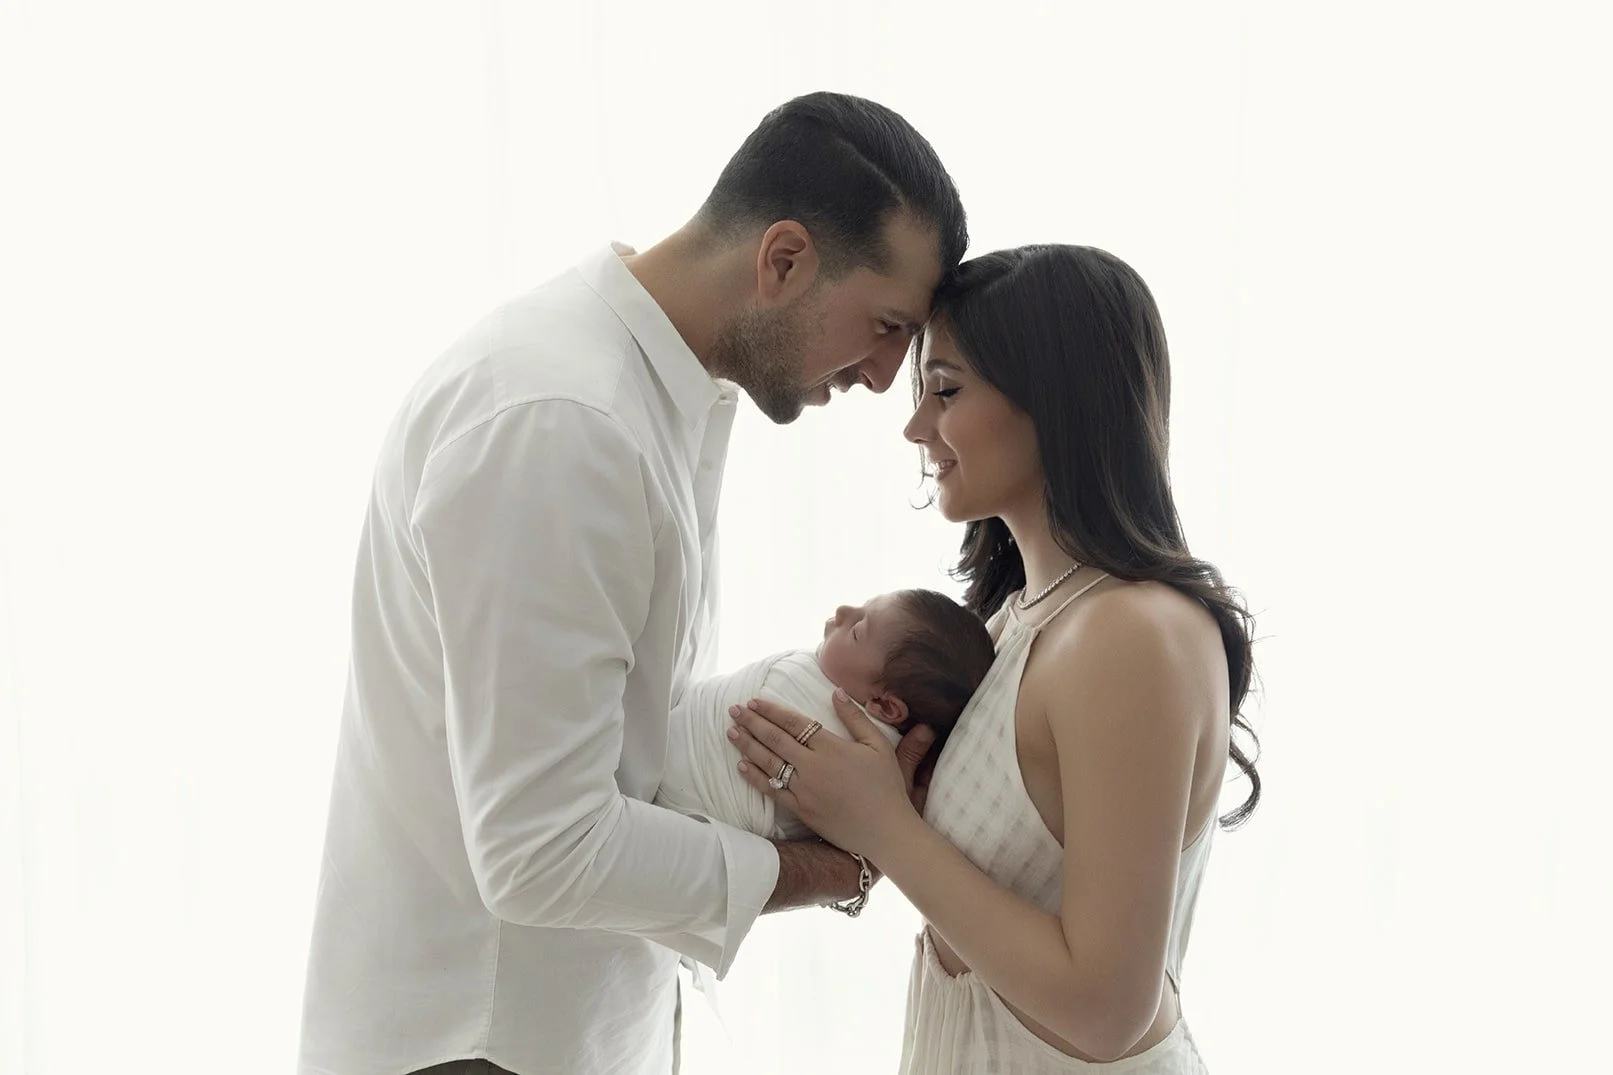
Family photography isn’t about everyone looking at the camera at the same time. It’s about the little triangle your bodies make when you cuddle close, the way one parent’s hand rests on a baby’s back, the way laughter changes a jawline, the way a toddler glances up when Dad whispers a joke. I’ll guide you into positions that feel natural, standing close, swaying slightly, breathing together, and then I’ll ask you to ignore me.
The images that follow feel like memory because they come from real interaction. If a toddler refuses to cooperate, that’s not a problem, we make a game, shift the pose, or I ask the toddler to help me by checking whether Mommy’s hair is just right, and the next frame is the one you’ll love forever.
If I’m using strobes for a family portrait, they’re feathered through big modifiers to mimic natural light and create that soft falloff you can’t get with a bare flash. I choose a focal length around 35mm to stay close and keep the energy intimate while avoiding distortion by backing up just enough. Clothing works best when it’s coordinated in tone, not identical. Think in terms of colors, choosing a palette that echoes your home so the photos hang beautifully in your living room later. When the baby may be cranky, we shorten the intervals, do micro-bursts of posing, and then a giggle break.
Lightroom and Photoshop
In Lightroom, exposure is balanced to protect delicate highlights on cheeks, with shadows lifted just enough so knit textures stay soft instead of harsh. White balance leans warm, but never toward orange. Newborn skin is layered and real, sometimes with flakes, redness, or baby acne. The goal isn’t to erase those early-day truths, but to soften distractions so the focus stays on expression, connection, and form.
In Photoshop, hands used for safety can be removed in composite images, tiny lint threads on wraps can be cleaned, and backdrop transitions are blended for a seamless, quiet finish. The intention is not flawless perfection, it’s tenderness. Editing should reveal, not replace.
Creating images that feel soft, warm, and timeless
Timeless doesn’t mean plain. Soft, neutral palettes allow newborn portraits to breathe. A shallow depth of field keeps features gentle, with eyelashes defined, while avoiding extremes that leave a nose blurred and an ear sharp.
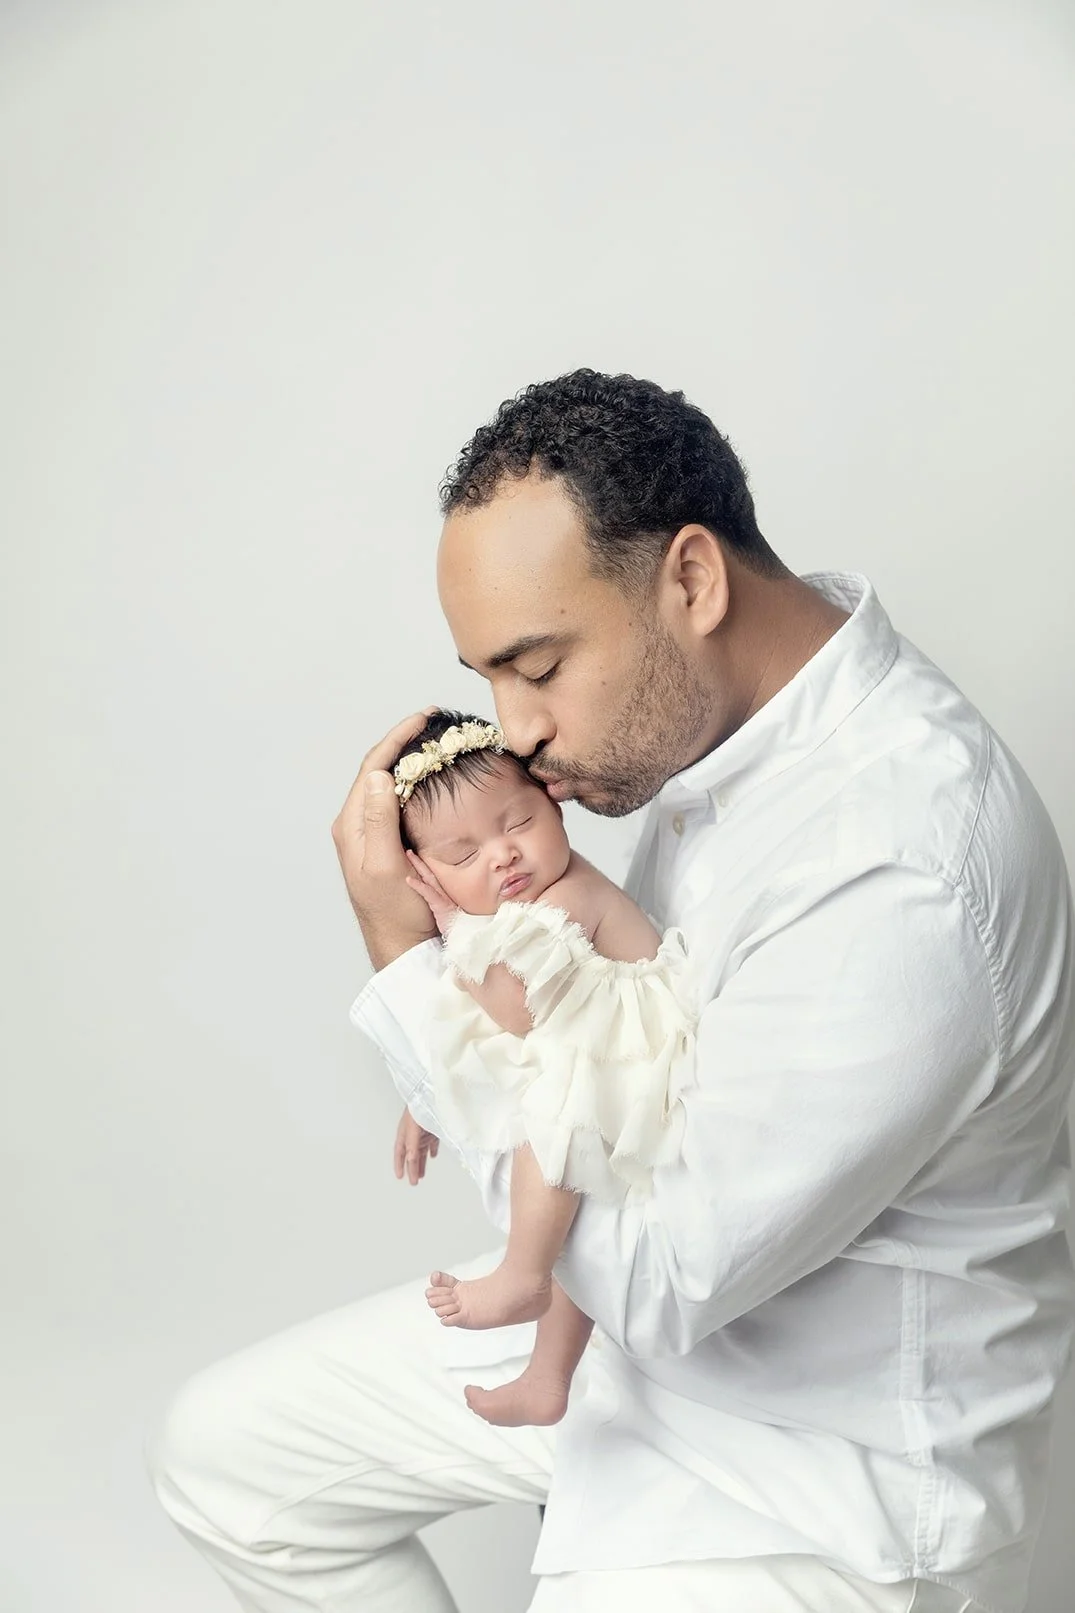
A well-built gallery has rhythm, a close portrait of the baby’s face, a slightly wider frame revealing the wrap and surroundings, a detail of tiny fingers or toes, and a parent’s hands to show scale and tenderness. Together, these images form a story. When held in an album, it feels like stepping back into a moment that’s already passed. That’s the power of newborn photography, it becomes an anchor in time.
Practical Guidance for DIY Newborn Photos at Home
There’s nothing more satisfying than the everyday photo of your baby on your own sofa that looks like more than a snapshot. You don’t need a studio to make that happen, but you do need to keep safety as your north star. Choose a room with a big window. Turn off overheads so you don’t mix color temperatures. Place your baby parallel to the window, then rotate them slightly so soft light washes across the face and creates a gentle shadow on the far cheek. That shadow is your depth.
Avoid direct sun that creates harsh light and squints. Lay down a firm surface, like a mattress on the floor with a tightly fitted sheet, and never leave baby unattended. Keep the room warm enough that baby without a full outfit won’t startle awake, but check the back of the neck to avoid overheating. Swaddle loosely with breathable fabric and keep hands near the face. If you want that classic look, place a rolled hand towel under the wrap just beneath the shoulders to elevate the chest by a centimeter. That tiny lift changes everything on camera.
Use your phone or any camera and kneel so you’re level with the baby’s face rather than shooting down from a standing height. Watch for the moment the eyelids flutter. That’s your cue to exhale and press the shutter. Keep editing gentle. Most phones have sliders that let you nudge warmth and soften contrast, resist the temptation to pull every lever.
And if you’d like to see a full shoot behind the scenes and learn more, the DIY Newborn Photoshoot Course was built for exactly this.
When to Call a Professional Newborn Photographer
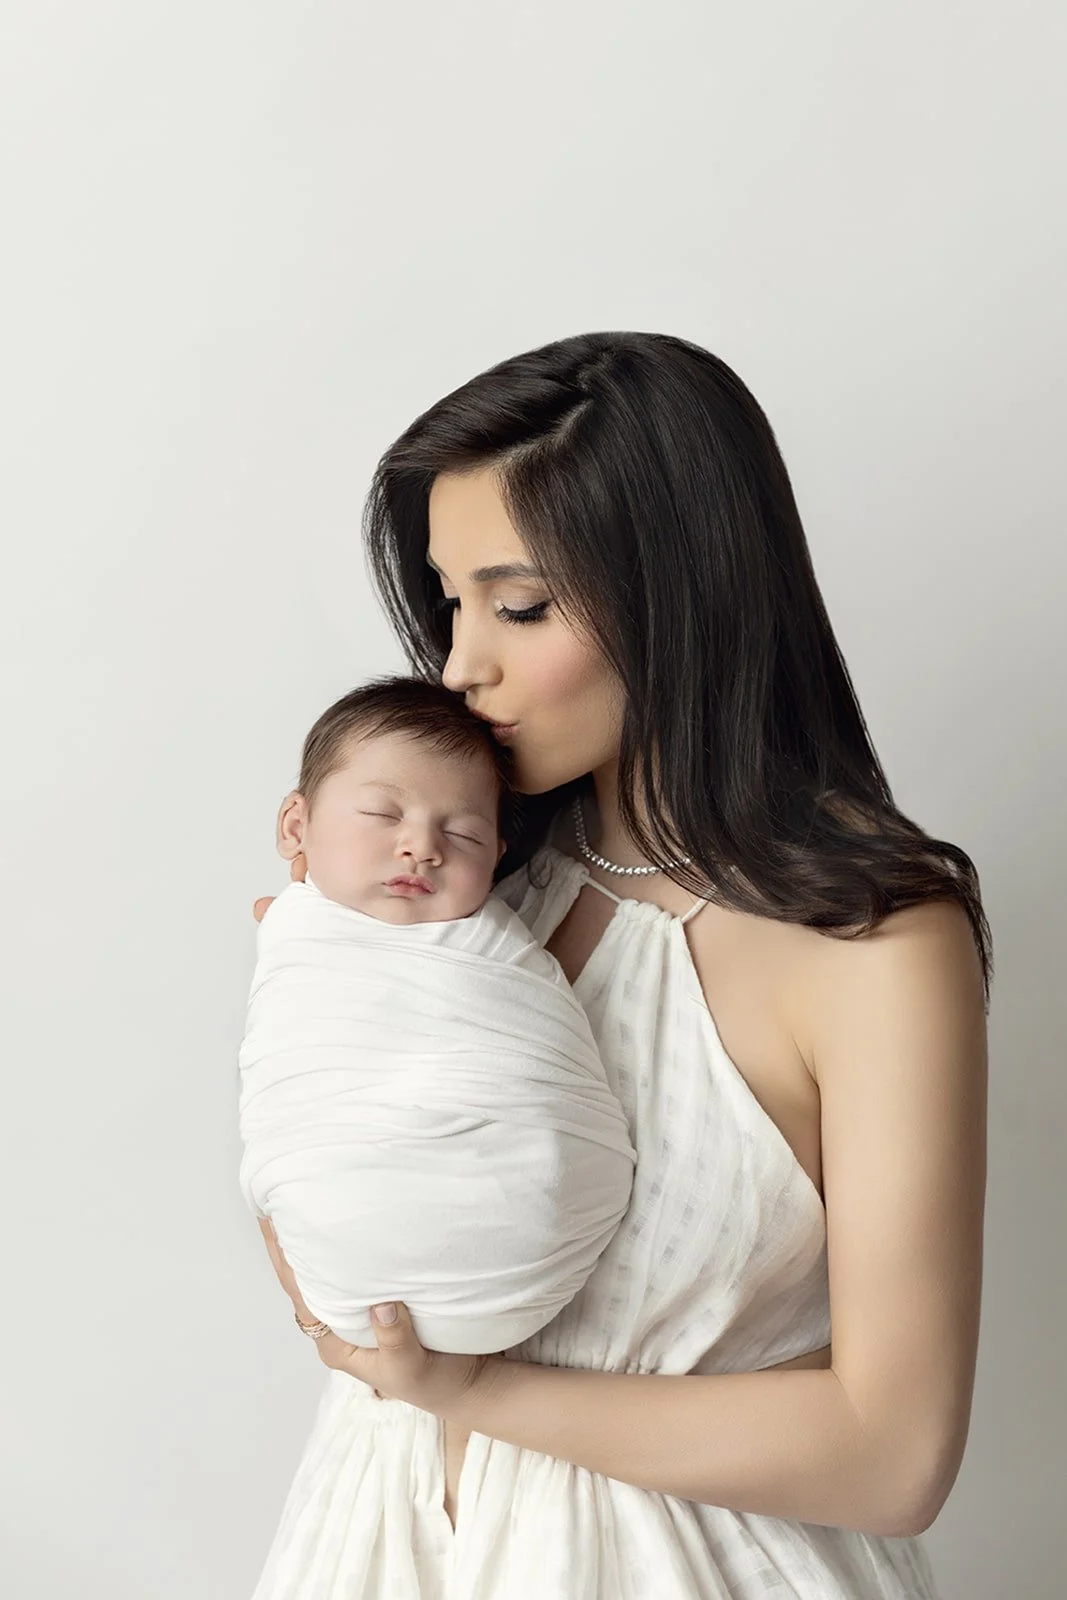
There’s a reason parents hire a newborn photographer even if they love taking their own pictures. The session is a gift of presence. You get to be in the photograph, to hold your baby without thinking about where your hand should rest, to close your eyes and breathe in the scent of your newborn while someone else holds the technical pieces. A professional brings experience with newborn poses, an eye for good light, and the patience to wait out a fussy hour without losing the thread.
We also bring a studio that’s designed around safety, stable props, sanitized wraps, a posing beanbag that supports joints instead of collapsing, and a workflow refined over hundreds of babies. If you’ve ever looked at professional images and wondered how on earth a baby looked so serene in something whimsical, there’s always more safety work behind the scenes than the viewer sees. That’s the professionalism you’re paying for, and it matters.
Gear & Lenses
A lens isn’t just a tool it’s a point of view. For newborns, focal lengths like 35mm or 50mm allow the photographer to stay physically close, offering comfort and support while still maintaining natural proportions. For tighter portraits that highlight details such as eyelashes or the delicate texture of newborn skin, an 85mm can introduce gentle compression and a softly falling background.
The most important principle is distance. Stepping back slightly prevents features from appearing stretched, and composition should come from moving the feet rather than heavy cropping later. Positioning in relation to the light is equally essential. Keeping the baby’s eyes angled toward a window or soft light source allows the catchlight to sit high and to the side, creating an instantly flattering look.
Apertures around f/2.5 to f/3.2 on full-frame cameras provide a balanced depth of field, sharp enough to hold both the eyelashes and nose when the face is turned softly. Shutter speeds of at least 1/250 help prevent blur from the subtle movements babies make even in sleep. On days with less light, raising ISO is often the better choice, a touch of grain is far gentler than motion blur in newborn portraiture.
Lighting Choices in a Newborn Photography Studio and at Home
Natural light is my first love because it breathes. In the studio I manage it with diffusion, sheer panels, and careful placement so it always arrives as soft light rather than a slice. When I do use strobes for family portraits or for consistency on a moody day, I treat them like windows. Large modifiers, feathered rim, and a space set so the baby never faces a burst directly.
Consistency is everything. If you switch between different sources without intention, skin tones drift and the gallery loses coherence. The edit becomes rescue work instead of refinement. Keep it simple, one direction of light, gentle fill from a reflector if needed, and an eye on how the baby’s skin reacts, newborn skin can be more translucent, and harsh light will exaggerate veins and temporary marks.
Wardrobe, Colors, and those Tiny, Perfect Details
For babies, less is more. A simple knit diaper cover, a soft wrap, a tiny bonnet that frames rather than hides the face, these build a photograph rather than crowd it. For parents in family images, coordinate rather than match. Think cream, oatmeal, soft gray, muted sage. These in-terms of colors choices let your skin glow and keep attention where it belongs. Avoid glitter, logos, or tight collars that can press into tender skin when you cuddle.
I always photograph tiny fingers and toes, lashes and lips. These are the images you’ll hold up to a teenager one day and be in awe of how small you were. For these, I angle the light to skim softly across texture, which makes the lines of skin and the curve of a nail glow without harshness. I keep wipes nearby for milk dribbles, and I’m never above a gentle pat to bring out a perfect little burp. Parents laugh when they see how much choreography goes into what looks effortless.
Conclusion
One day, sooner than you think, tiny fingers won’t curl around your thumb quite the same way. The newborn smell will fade, the swaddle will be replaced by a favorite stuffed animal, and the nursery will gather new treasures.
Photographs let you time-travel. They let you feel again the weight of a five-pound miracle asleep on your chest, the curve of a cheek pressed against your collarbone, the way your world changed the first time you held your newborn baby. My work as a newborn photographer isn’t about creating a perfect baby photo for Instagram. It’s about preserving the heartbeat of a moment so you and your child can return to it whenever you want.
If this guide made you curious to learn more, whether you’re an expecting parent planning DIY newborn photos safely at home, or a photographer ready to master a full newborn session from prep to delivery, I’d love to welcome you to ROXAMINA Photography Academy.
The Full Newborn Shoot Day Course lets you watch an entire day unfold, hiccups and all. The Sitter Session Course helps you capture the sparkle at six to nine months, and for those hungry for the complete path, my Baby and Newborn Photography Masterclass is everything you need to know about photographing newborns and babies.
Common Questions Parents Ask
What if we wait past the newborn window, will we regret it?
Regret shows up most loudly a few months later when parents realize how few photographs exist from those earliest days, especially where both of them are in the frame. That said, later sessions can be beautiful in a different way. If we schedule after twenty-one days, expect calmer wakefulness, swaddled comfort, and expressive eyes rather than ultra-curled newborn poses. At four to six weeks, babies lengthen and stretch, which invites simple, sculptural portraits and cozy parent images that feel intimate and modern.
DIY vs professional, can I do this myself?
You can absolutely create beautiful photos at home, and you should! Use soft window light, turn off overheads, keep the room warm but not hot, and swaddle with breathable fabric so hands can peek near the face. Record a few seconds of gentle video as well, later you can pull stills to catch that split-second smile. DIY is perfect for milestones, everyday cuddles in the nursery, and the tiny changes you’ll want to remember.
A professional session adds different value. Safety-first posing on a structured surface. A watchful eye on breathing and color. An editing approach that keeps skin honest yet tender. And most of all, everyone gets to be in the story at once.

How do I know a photographer is safe and healthy enough for my newborn?
Ask real questions and look for real answers. How are wraps and props sanitized between sessions? Do you hold current newborn safety training and infant CPR? Are you up to date on the vaccinations that matter for working closely with days-old babies? A professional won’t be offended by these questions, we welcome them because your peace of mind is part of our work. You should hear specifics, not general reassurances. Clean is weighed, washed, and wiped. Posing is supported, spotted, and never rushed. Safety is explained, not assumed.
How do skin tones, wrap colors, and props change for different babies?
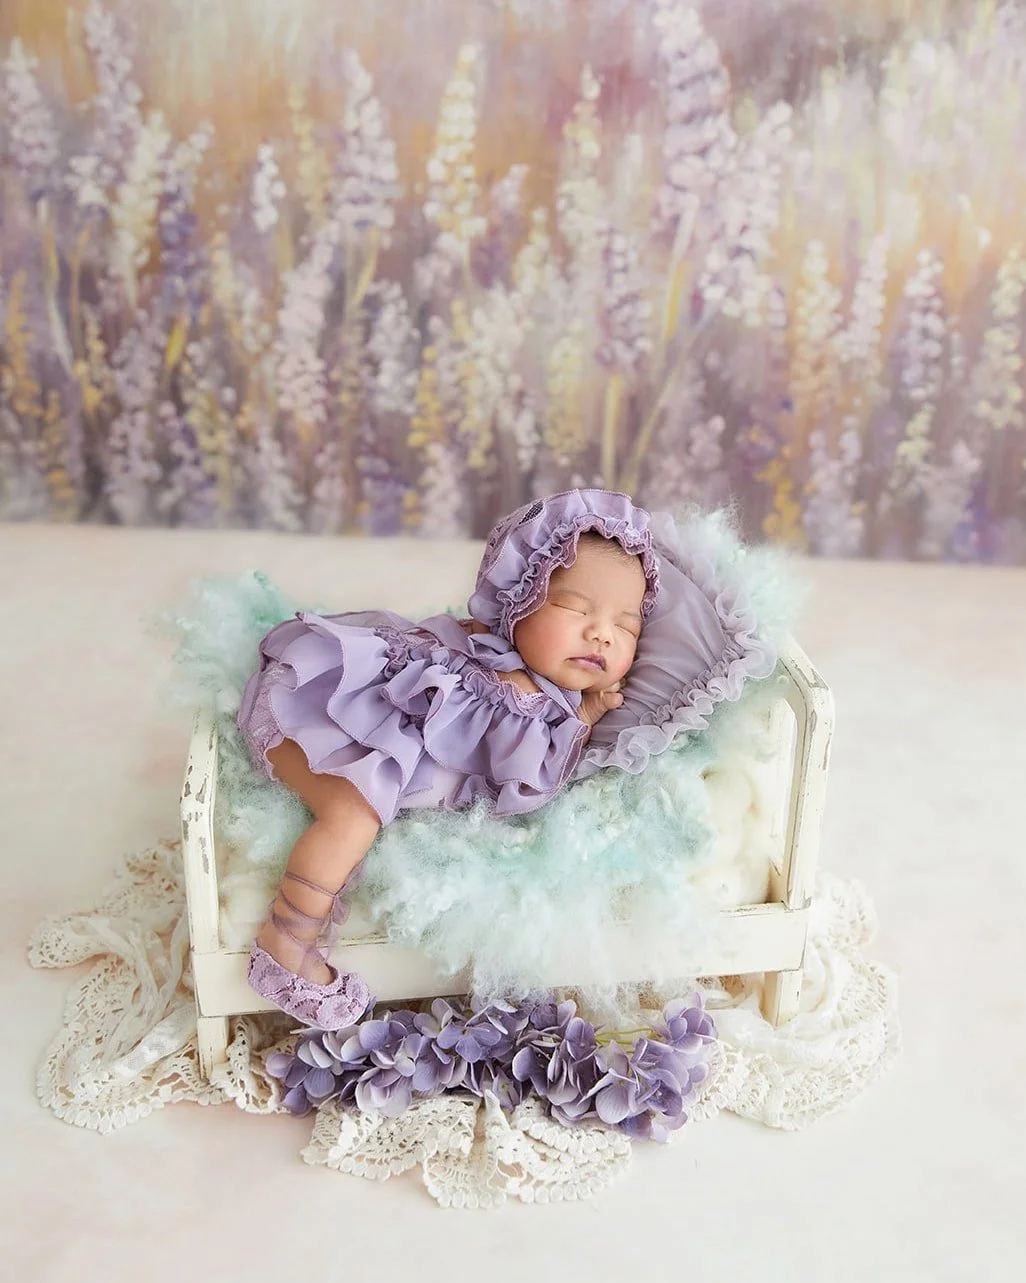
Cream and oatmeal are beautiful starters, but temperature matters. A buttery cream warms cooler, pink-peach skin. A gentle stone or taupe calms golden undertones. Rich cocoa, sandy caramel, and soft almond knits bring out the glow in deeper complexions while keeping contrast kind and flattering.
I like wraps and bonnets that sit a shade deeper or lighter than the backdrop so the baby’s face remains the quiet brightest point. Wooden props are gorgeous when matte, because gloss steals attention with reflections. If you bring an heirloom, an embroidered blanket, a lace shawl, a tiny hat, we build the palette around it with intention. Choose colors that let your baby’s features breathe so the photograph feels timeless next year and in ten.
About Ramina Magid
Ramina Magid is an award-winning newborn photographer, celebrated for her organic, timeless approach to capturing life’s earliest moments. Originally from Baku, Azerbaijan, Ramina built her dream newborn photography studio in Beverly Hills, where she has photographed more than 800 newborns and families over the past eight years.
Her gentle, safety-focused style and natural light aesthetic have made her one of the most sought-after newborn photographers in California. In 2024, her work was recognized with awards for Best Newborn Photographer in both Beverly Hills and Los Angeles. Ramina’s portraits have reached millions worldwide through social media, admired for their warmth, simplicity, and emotional honesty. See her courses here.
Source: Ramina Magid