14 Tips for Taking DIY Newborn Photos at Home
My top tips for taking DIY newborn photos at home! Capture precious newborn moments with a beautiful lifestyle newborn photoshoot.
Over the past 8 years I’ve photographed more than 800 newborns, built a successful newborn photography studio in Beverly Hills, and have been honored as Best Newborn Photographer in Los Angeles in 2024. More importantly, families trust me because I’m licensed, insured, trained in newborn safety, and obsessed with making sure every newborn photography session is not just beautiful, but also safe and timeless.
If you’ve found this guide because you want to take DIY newborn photos at home, you’re in the right place. This is everything I wish someone would've wrote when I first started.
You don’t need a photography studio to make meaningful newborn images. You need a few props that are soft and safe. You need to know when to take newborn photos and when to stop. And you need the confidence to photograph your baby in a way that feels classic, warm, and real.
We’ll cover the best light, the safest newborn poses for a DIY newborn photoshoot, how to keep baby calm and comfortable, how to include siblings and parents in a family photo without stress, how to handle common newborn skin issues with gentle photo editing.
For parents and photographers who want to learn how to take beautiful DIY photos, see my DIY Newborn Photography Course here.
Tip 1: Choose the Right Time for Newborn Photography
Newborn photography works best when babies are still in that curly, dreamy phase, generally between 5 and 21 days old. During that window, a newborn is more likely to drift into deep sleep after a full feed and stay relaxed while you gently position the baby on a safe, flat surface. The reason this window matters is biological, babies are still adjusting to the world, their startle reflex is strong, and swaddle pressure mimics the womb, which helps with calm and sleep.
If you’re reading this outside that window, keep in mind lifestyle newborn photography thrives at any age. You’ll lean more into awake photos, cuddles on the bed, and documentary moments that show your baby at home, which has its own magic.
Working Around Feeding and Sleep Patterns
For a DIY newborn session, the best scheduling trick is simple, aim for a time of day when your baby usually has a longer sleep after a full feed. For many families, that’s mid-morning. Feed the baby fully, burp until there are no little bubbles, and give ten minutes upright on your chest before you lay the baby down. A well-fed baby is more likely to sink into sleep, and that’s when swaddled newborn poses look effortless. If baby is awake, that’s not a problem.
Pause, breathe, and let your newborn lead. I’ve had sessions where we waited twenty minutes for a yawn and got the most perfect quiet-alert eye contact that became the favorite photograph. In professional newborn photography, patience is a technique.
Tip 2: Use Natural Light Like a Professional Newborn Photographer
Natural light is the heartbeat of newborn photography at home. You don’t need studio strobes, you need to learn how to read a window. Walk around your home at different times of day and simply look at how light falls across a bed or couch.
North-facing windows tend to produce soft, consistent light throughout the day. East-facing windows are lovely in the morning, west-facing in the afternoon. If your home is small or dim, don’t worry.
One medium window can give you the best photos if you place the baby close enough to the light and turn off overhead fixtures that create odd color casts. If the sun is blasting directly through the glass, diffuse it with a sheer curtain or even a white bedsheet clipped in place. Soft light wraps around a newborn face and brings out detail without harsh shadows.
How to Position Your Newborn in Relation to the Light
When you take photos of your newborn, imagine the direction of light like a gentle waterfall. You want the light to flow from the top of the head toward the toes at a slight angle, not directly into the face from the front. Side-light from forty-five degrees helps define tiny features like the ridge of the nose and the curve of the lips. Front-light can flatten features, and strong back-light can make the face too dim unless you expose carefully.
Use your own body as a guide, stand where the camera will be and watch how shadows fall across the baby’s cheeks. If one side looks too dark, shuffle the baby an inch toward the window or rotate the setup so the light touches the forehead and drifts softly down. You’ll see the difference immediately in your preview screen.
Tip 3: Build a Cozy, Warm Setup So Baby Is Comfortable
A calm baby is a comfortable baby, and a comfortable baby is easier to photograph. Before your newborn photoshoot begins, warm the area where you’ll photograph. You don’t need to make the whole room hot. Use a small space heater several feet away, never pointing directly at the baby, and keep checking that you’re comfortably warm in a long-sleeve shirt.
If you feel sweaty, it’s too much, dial it down. I love a white noise machine or a simple phone app at a soft volume to help baby settle. Have extra swaddles, burp cloths, a pacifier if you use one, and a second pair of adult hands for peace of mind.
Safe Surface and Simple Setup
Professional newborn photographers often use a specialized beanbag or posing table. At home, choose a safe, flat, low surface like a tightly made bed or a firm couch with cushions blocked by rolled towels so nothing slips.
The baby should always be at least an arm’s length from the edge and never on an elevated, unstable prop. You can create a beautiful, seamless surface with a neutral blanket pulled tight and clipped to the mattress corners so there are no creases.
Place your setup close to the window, but never in direct sun that heats the blanket. This is classic lifestyle newborn photography.

Tip 4: Keep the Baby Safe on Your DIY Newborn Photoshoot
Never leave a newborn unattended on a couch, bed, or prop. If you need to step away to grab your camera or change a lens, someone else must have a gentle hand on the baby. Even a sleeping newborn can startle and roll. In my studio, safety spotters are standard, and at home your partner or a trusted friend becomes that spotter. If you ever feel uncertain about a pose, skip it. There is no photograph worth risking your baby’s safety.
Avoid Advanced Poses Without Training
If you’ve scrolled social media you’ve seen advanced newborn poses that look like the baby is holding their head in their hands or perched upright in a small bucket. Those images are composites made from multiple frames and require training, an assistant, and safety protocols. They are not appropriate for a DIY newborn photoshoot. The same is true for anything that elevates the baby on a narrow prop or strains joints.
For safe professional instruction with demonstrations, see my Newborn Photography Masterclass or spend a day with me in the Full Newborn Shoot Day Course to see exactly how safety and artistry work together.
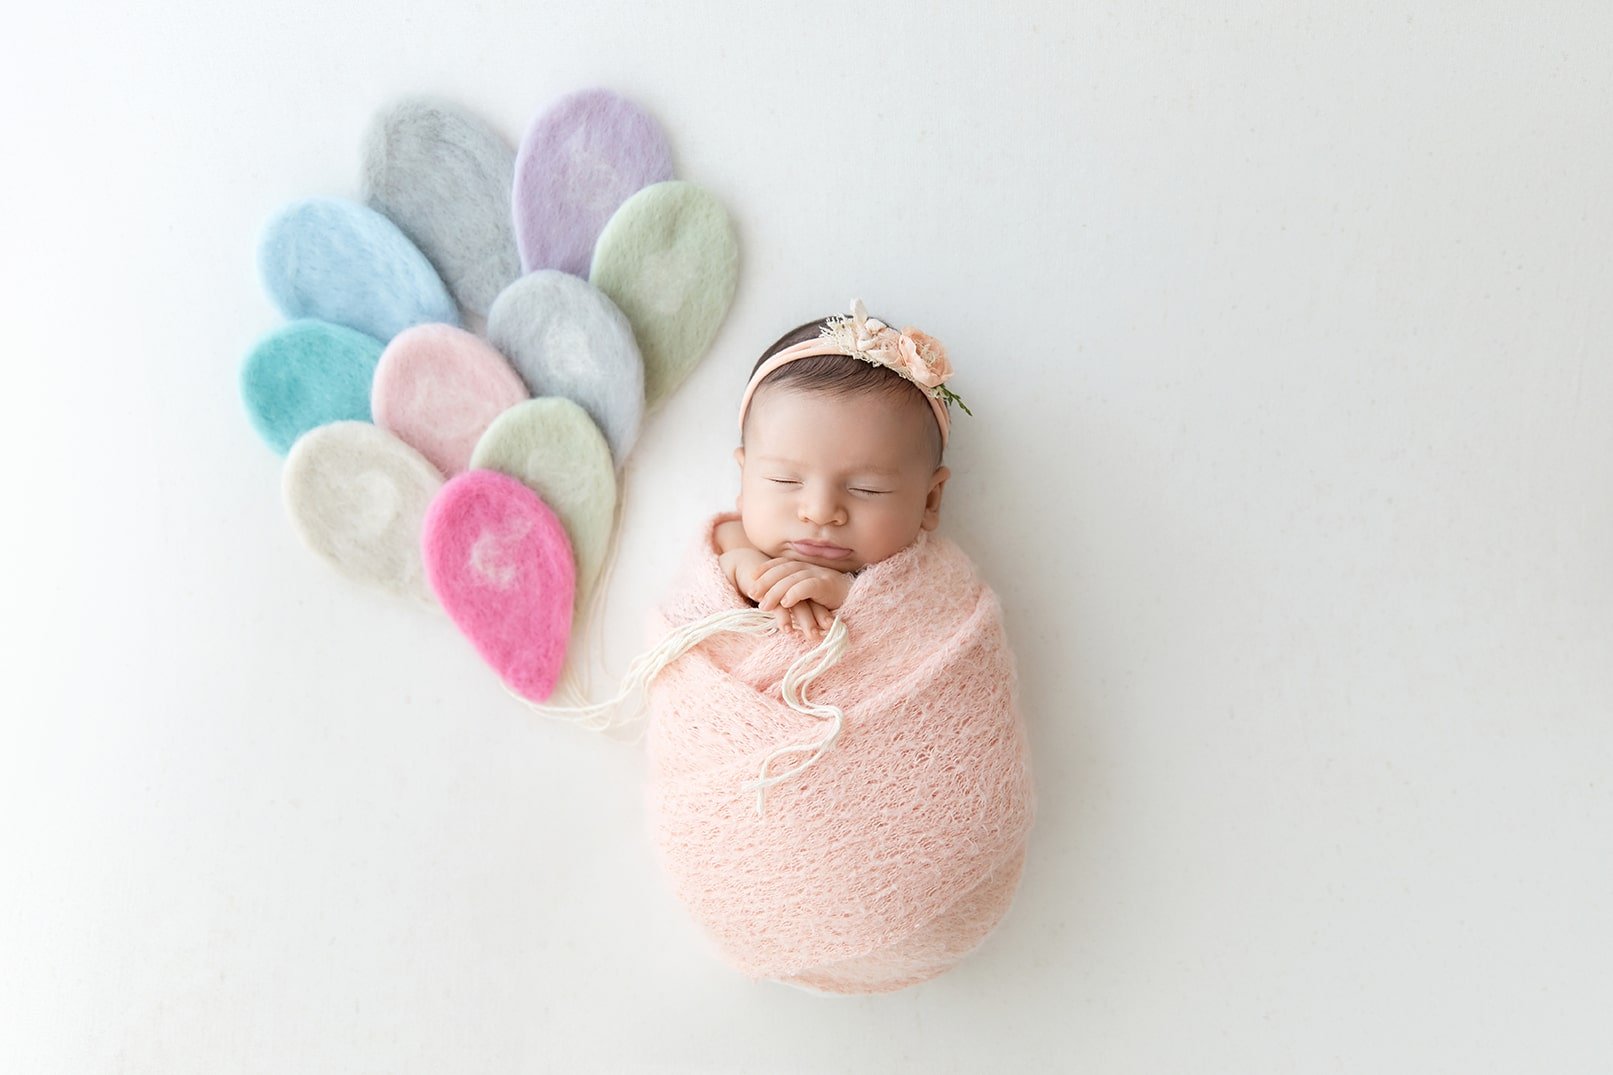
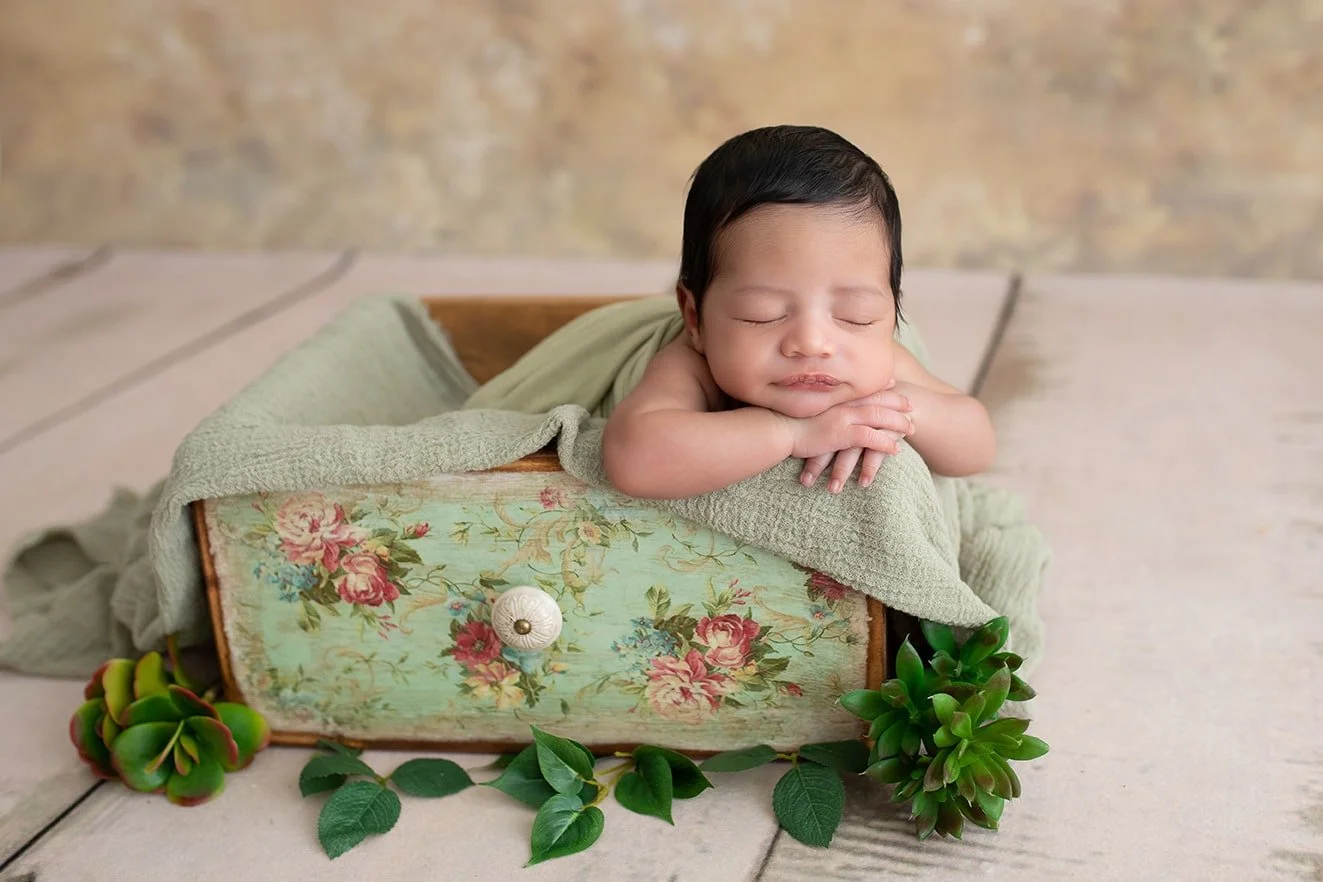
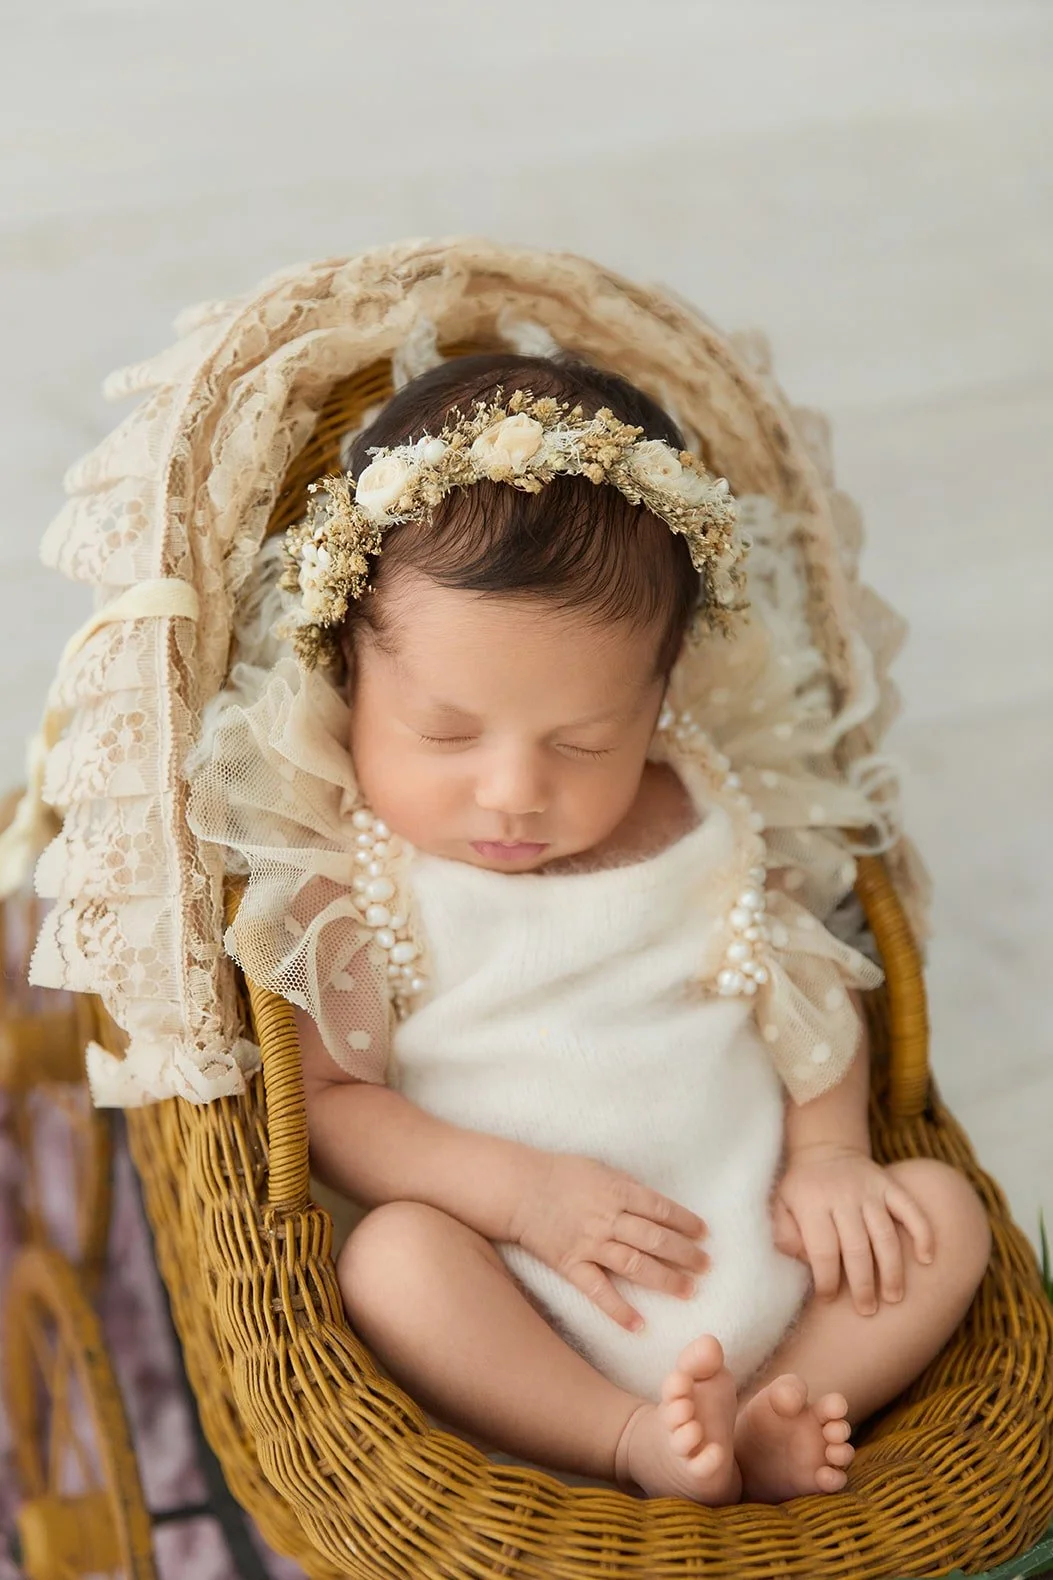
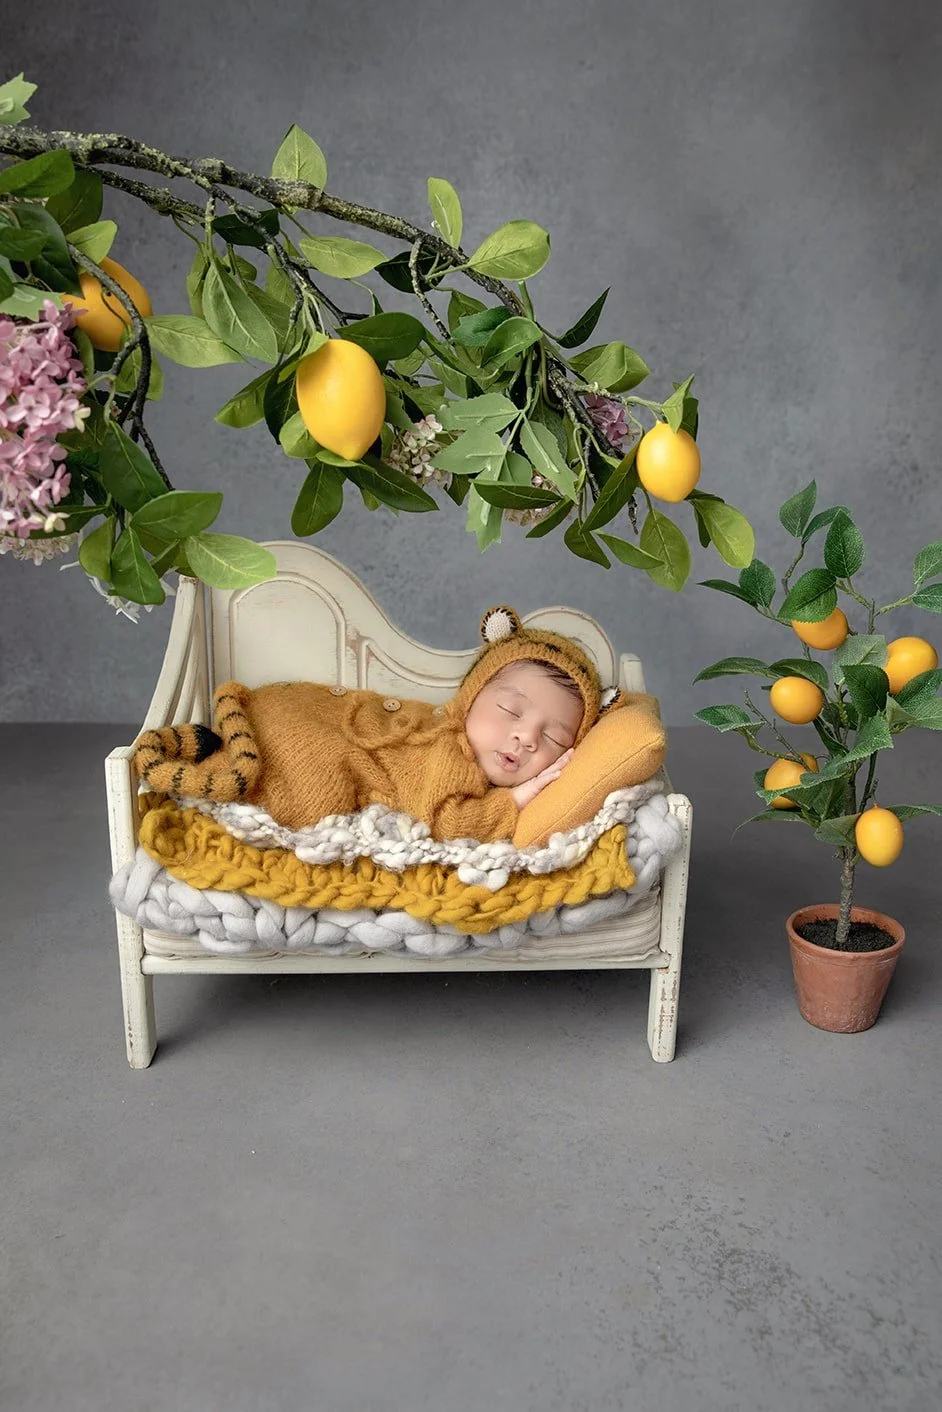
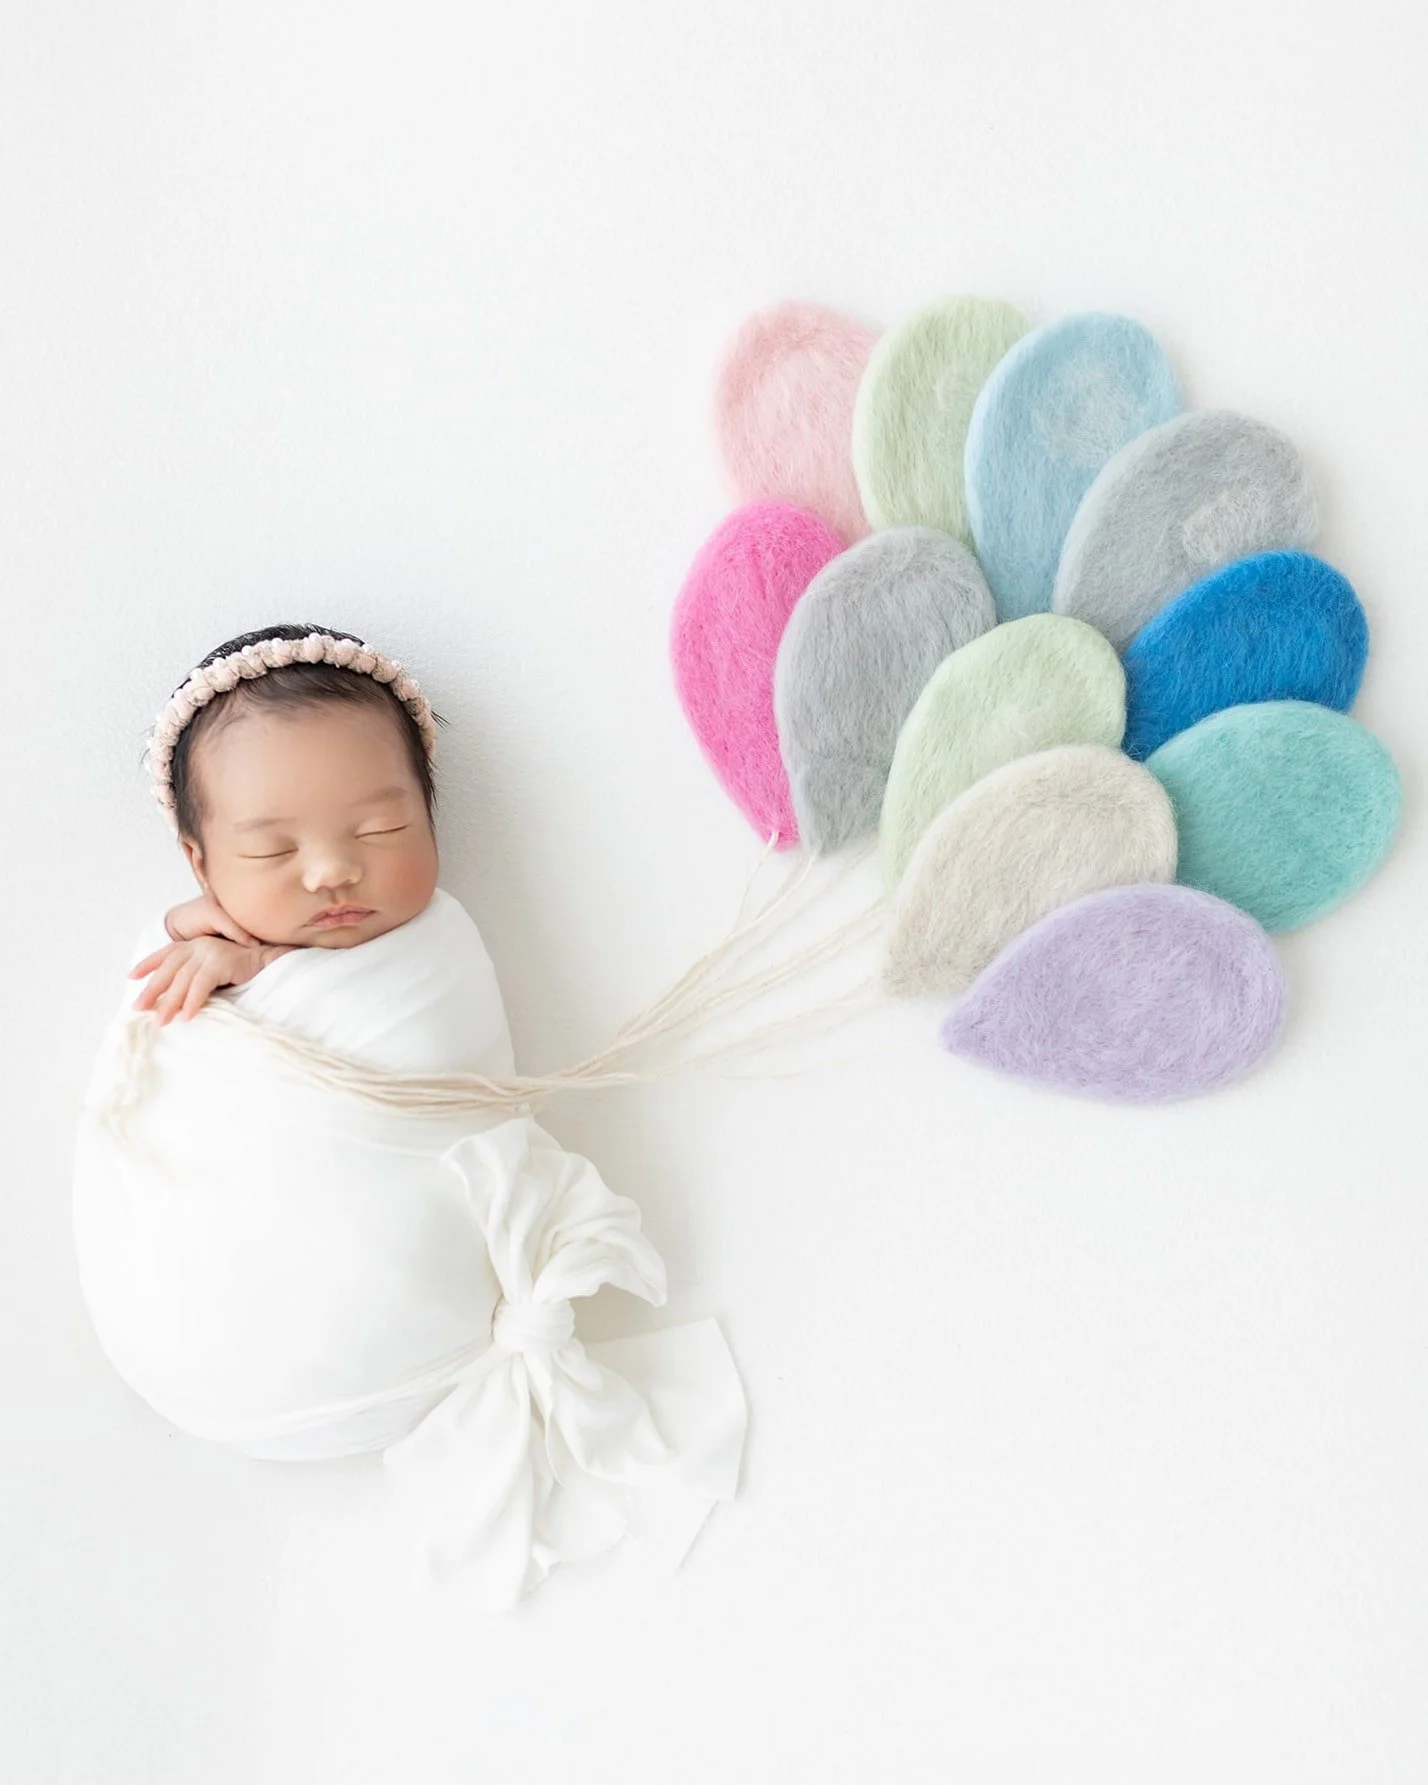
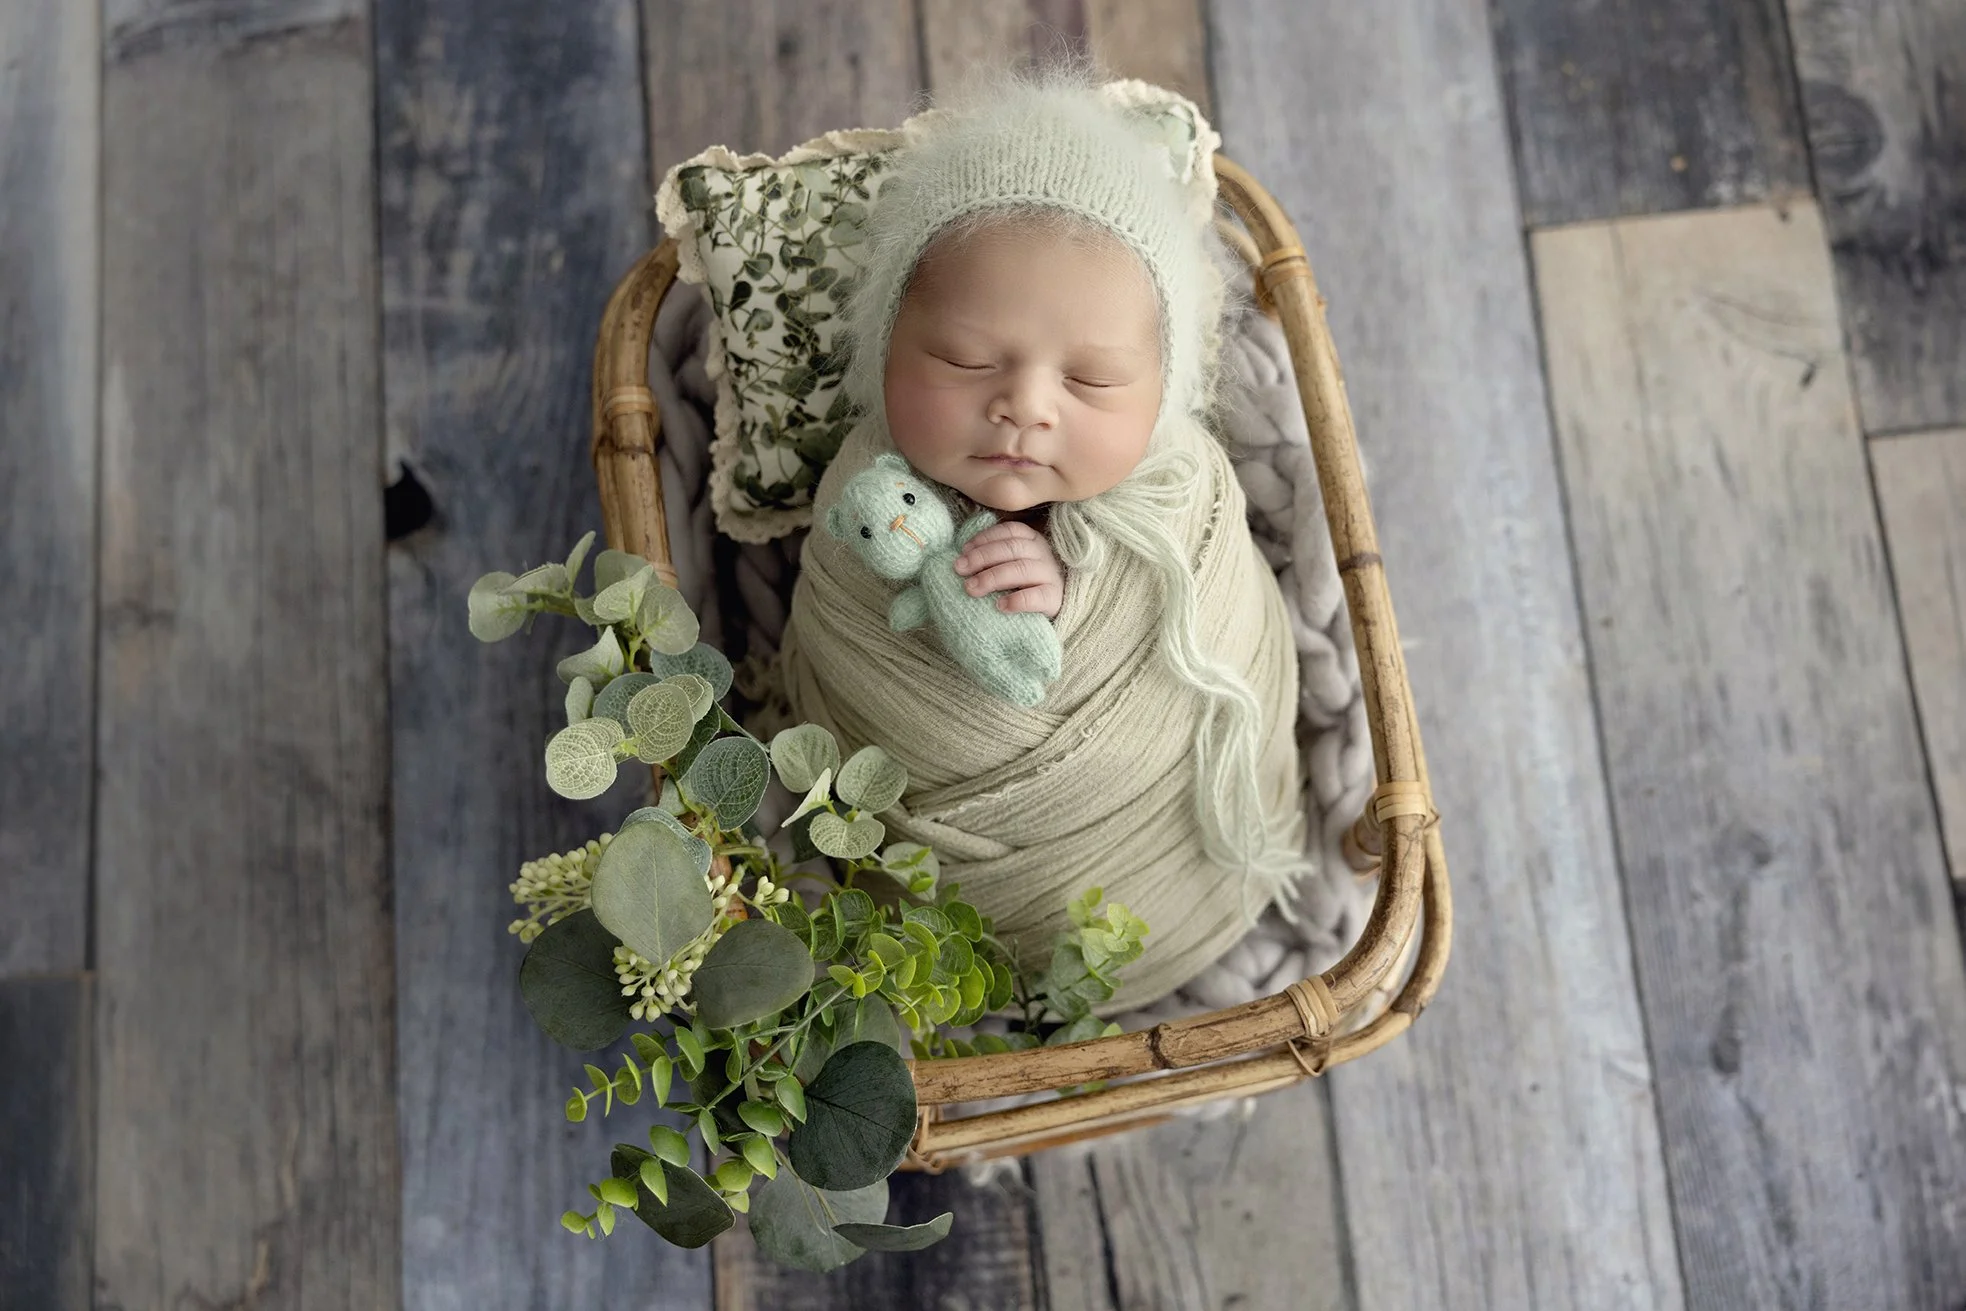
Tip 5: Choosing Props That Support the Story
A prop in newborn photography should act like a frame for the baby, never the star. Start with what you already have like the soft knit blanket from grandma, the neutral crib sheet, a well-loved swaddle, the sweater you wore home from the hospital. Textured cottons and knits photograph beautifully because they don’t shine or cast color on newborn skin. Avoid loud prints, bright reds, and neon tones that fight with skin tones. A simple wrap, a bonnet, or a tiny hat can be adorable, but choose one focal accessory at a time so the eye lands on your baby’s face. You’re creating timeless newborn photos at home, not chasing trends that will feel dated next year.
Color and Texture Choices That Make Photos Feel Professional
Professional newborn photography leans naturally toward soft, neutral palettes because they support emotion and skin tone. Cream, oatmeal, warm grey, muted blush, sage, and dusty blue are forgiving and elegant. Layer textures rather than colors: a waffle knit over a cotton sheet, a light muslin wrap over a tighter stretchy swaddle, a ribbed onesie under a knit cardigan.
When your background is quiet, your newborn images feel calm and intentional. If you’re not sure whether a color will work, hold it next to your baby’s cheek in window light. If the fabric throws a color cast onto the skin, set it aside. The best photos respect skin first.
Tip 6: Swaddle Like a Newborn Photographer
Swaddling is the secret that turns a fussy five-minute window into a dreamy twenty, minute stretch. The secure pressure helps reduce startle reflex, keeps tiny hands from scratching cheeks, and gives your newborn baby that curled, cozy look everyone loves. Always swaddle so the hips are free to move and the airway is clear. The chin should never be pressed to the chest, and the wrap should never ride up over the mouth.
A Simple, Safe Wrap That Works Again and Again
Lay a stretchy wrap on your surface with one corner pointing up like a diamond. Place the baby with shoulders just below the top edge, fold the top down to create a clean neckline, and gently bring one side across the chest and tuck it under the back. Bring the bottom up loosely, allowing leg movement, and wrap the second side across.
If little hands want to be near the face, let them be there. You can create a half-swaddle by leaving the feet out so tiny toes peek through, which is beautiful for detail shots. If your baby fights swaddling at first, keep your touch calm and steady, hum or shush softly, and give it thirty seconds.
Many babies relax once the wrap is secure. If yours truly hates it, honor that and move to a onesie or simple sleeper, lifestyle newborn photos thrive on flexibility.
If you’d like to watch me wrap step by step, my Newborn Wraps Course with teach you everything you need to know.

Tip 7: Pose the Baby Safely and Comfortably
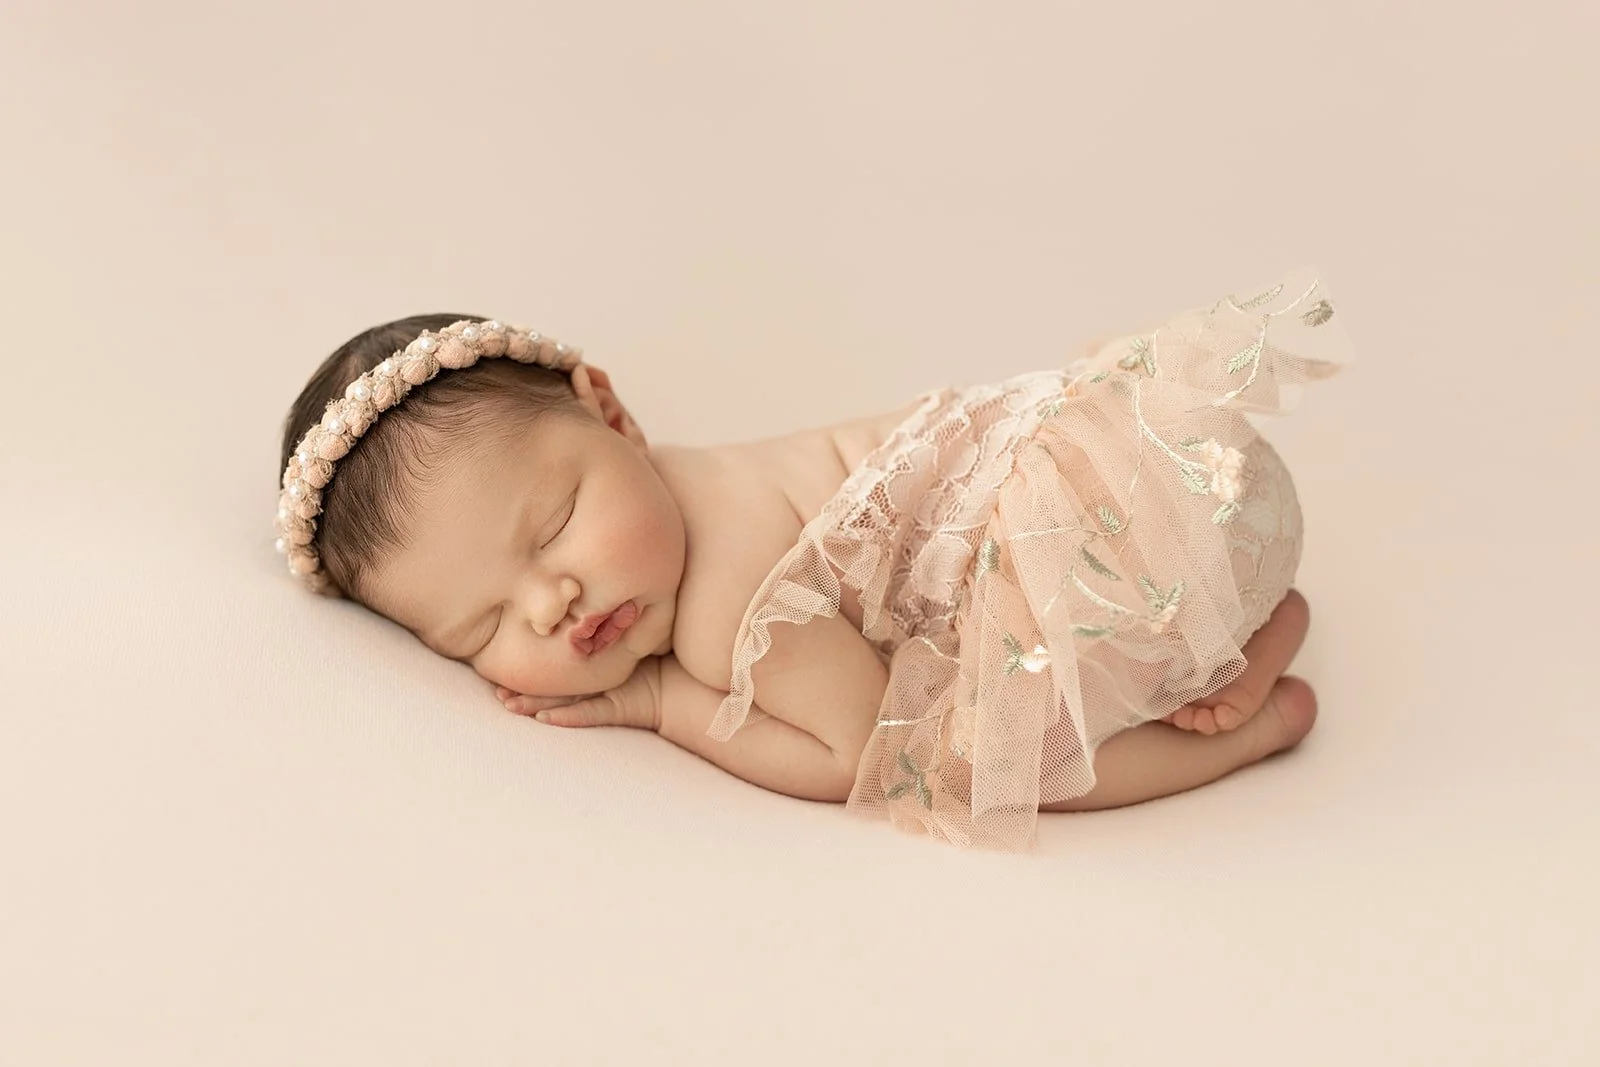
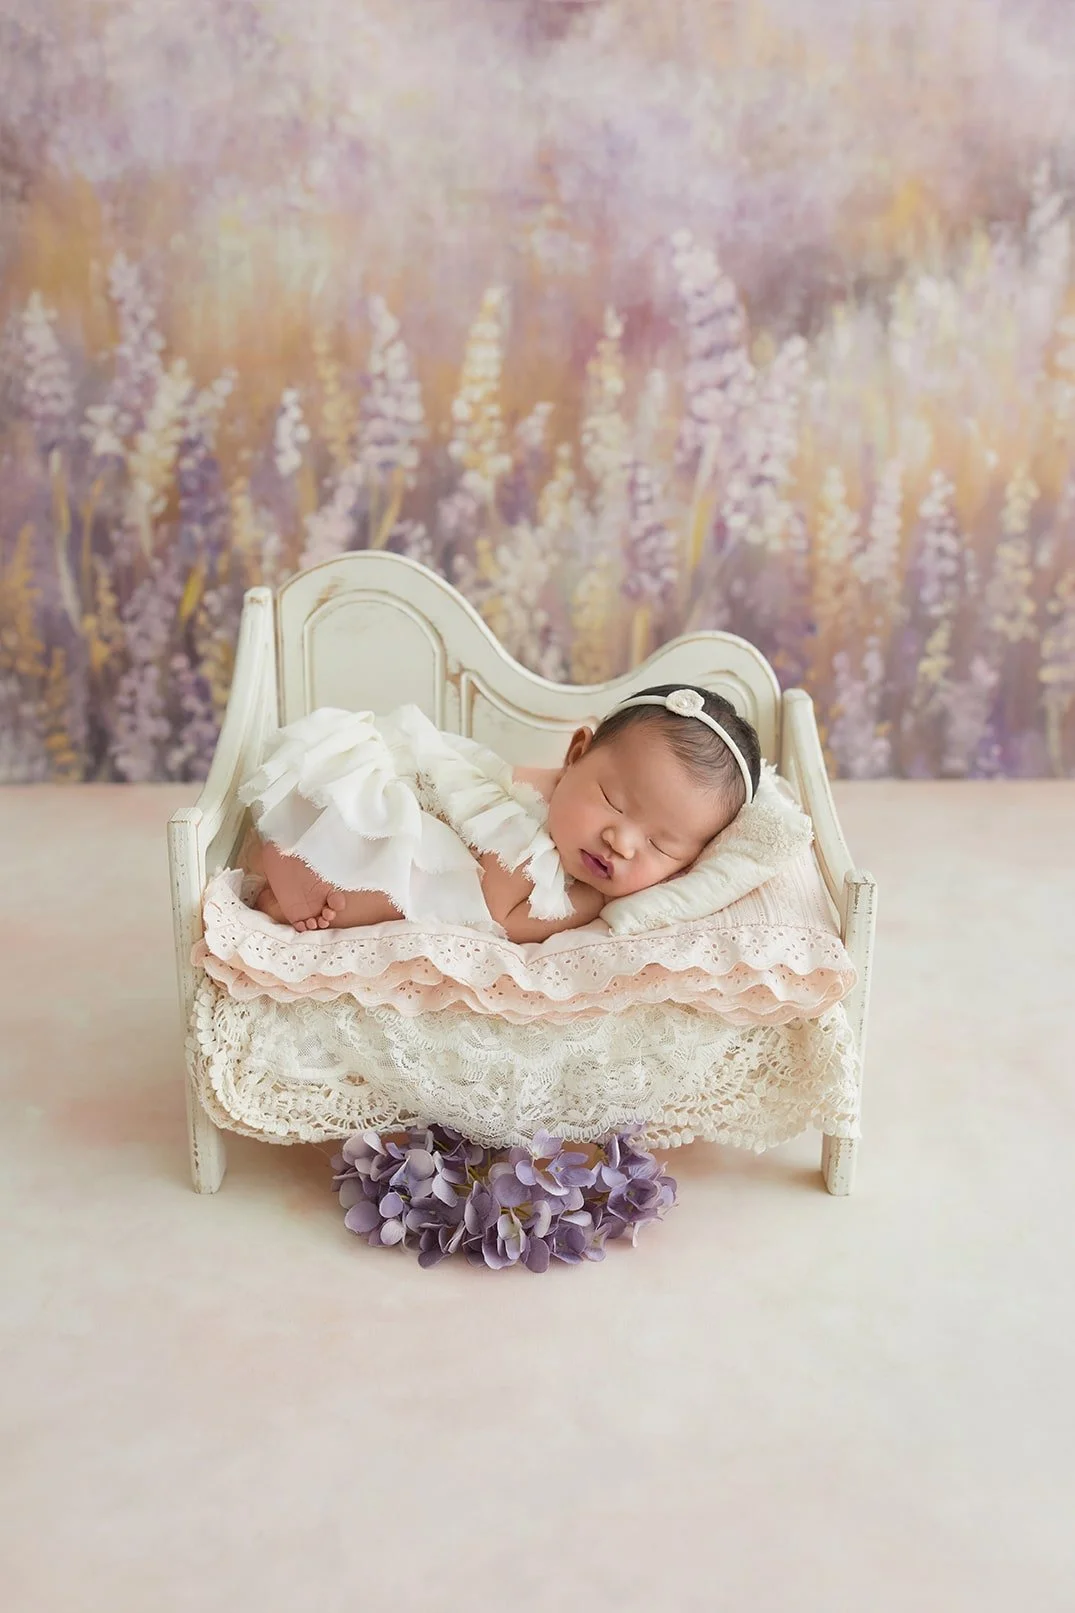
A great newborn photo session at home can live entirely in three safe positions: on the back, slightly turned to the side, or on the side with support. For a back-lying pose, place a small folded receiving blanket under the shoulders so the head tilts slightly toward the light. You’ll see more of the facial features and less double chin. Tuck the blanket far from the neck and jaw to keep everything breathable and comfortable.
For a gentle side pose, create a stable little “nest” with rolled towels under the blanket so the baby’s spine rests securely and the chest turns a touch toward the window. The face should tilt slightly up to the light, not down into shadow. In every position, you should see the tip of the nose, the upper lip, and the eyelash line. That trio is a professional newborn photographer’s quick safety-and-beauty check.
Hands, Feet, and the Language of Tiny Details
Hands are emotional in baby photography. A small palm resting on the belly, fingers curled around a parent’s finger, or one hand tucked gently under a cheek changes a newborn photo from a record to a feeling. If hands keep flying up to the face and blocking features, pause, resettle, and let the baby bring a hand close without covering the nose or mouth.
Sometimes the best trick is to let the hand be there and simply rotate the baby a breath toward the light so the hand becomes part of the composition. For feet, a half-swaddle with toes peeking is irresistible. Photograph the wrinkles, the overlap of tiny toes, and the heel pressed lightly against the wrap. These are the newborn images you’ll trace with your finger years from now.

Tip 8: Capture Close-Ups and Tiny Details
The newborn stage is a series of details that chaneg overnight. When you take photos at home, treat details like love letters to your future self. Move close. Focus on the lashes. Shift to the curve of the ear. Slide down to the dimpled knuckles. Photograph a parent’s hand holding the baby’s foot to show scale. These images feel like poetry in an album and balance the wider, styled frames.
If you’re using a smartphone, tap to focus and slide your finger to lower exposure a touch so highlights don’t blow out. Stabilize your elbows against your body or rest your forearms on the mattress. Move your feet rather than pinching to zoom. Aim the camera so the light skims across the detail rather than hitting it straight on, you’ll see texture bloom.
If you have a camera with interchangeable lenses, a macro or a 50mm lens works beautifully. Keep your shutter speed fast enough to avoid motion blur, especially when photographing that perfect yawn or eyelash flutter.

Tip 9: Photograph Awake Babies
Not every newborn will sleep when you want them to, and that’s okay. There’s a magical stage called quiet-alert when the baby is awake but calm, eyes wide, arms relaxed. Save a little time in your newborn photo session for this window. Pull the swaddle slightly looser so the chest can move naturally, keep the setup simple, and position the baby at a slight angle to the light so the eyes catch a spark. If your baby makes little expressions or stretches, let it happen.
The goal is not to control the moment, but to receive it. Trust me, that photograph of your newborn baby locking eyes with the camera will live in your heart.
What to Avoid With Awake Babies
Avoid overstimulation. If baby is flailing, blinking hard, or fussing, they may be overwhelmed. Lower the light by pulling the sheer a bit more across the window, wrap the baby securely, and use white noise to reset the nervous system. If baby is wide-awake and hungry, stop and feed.
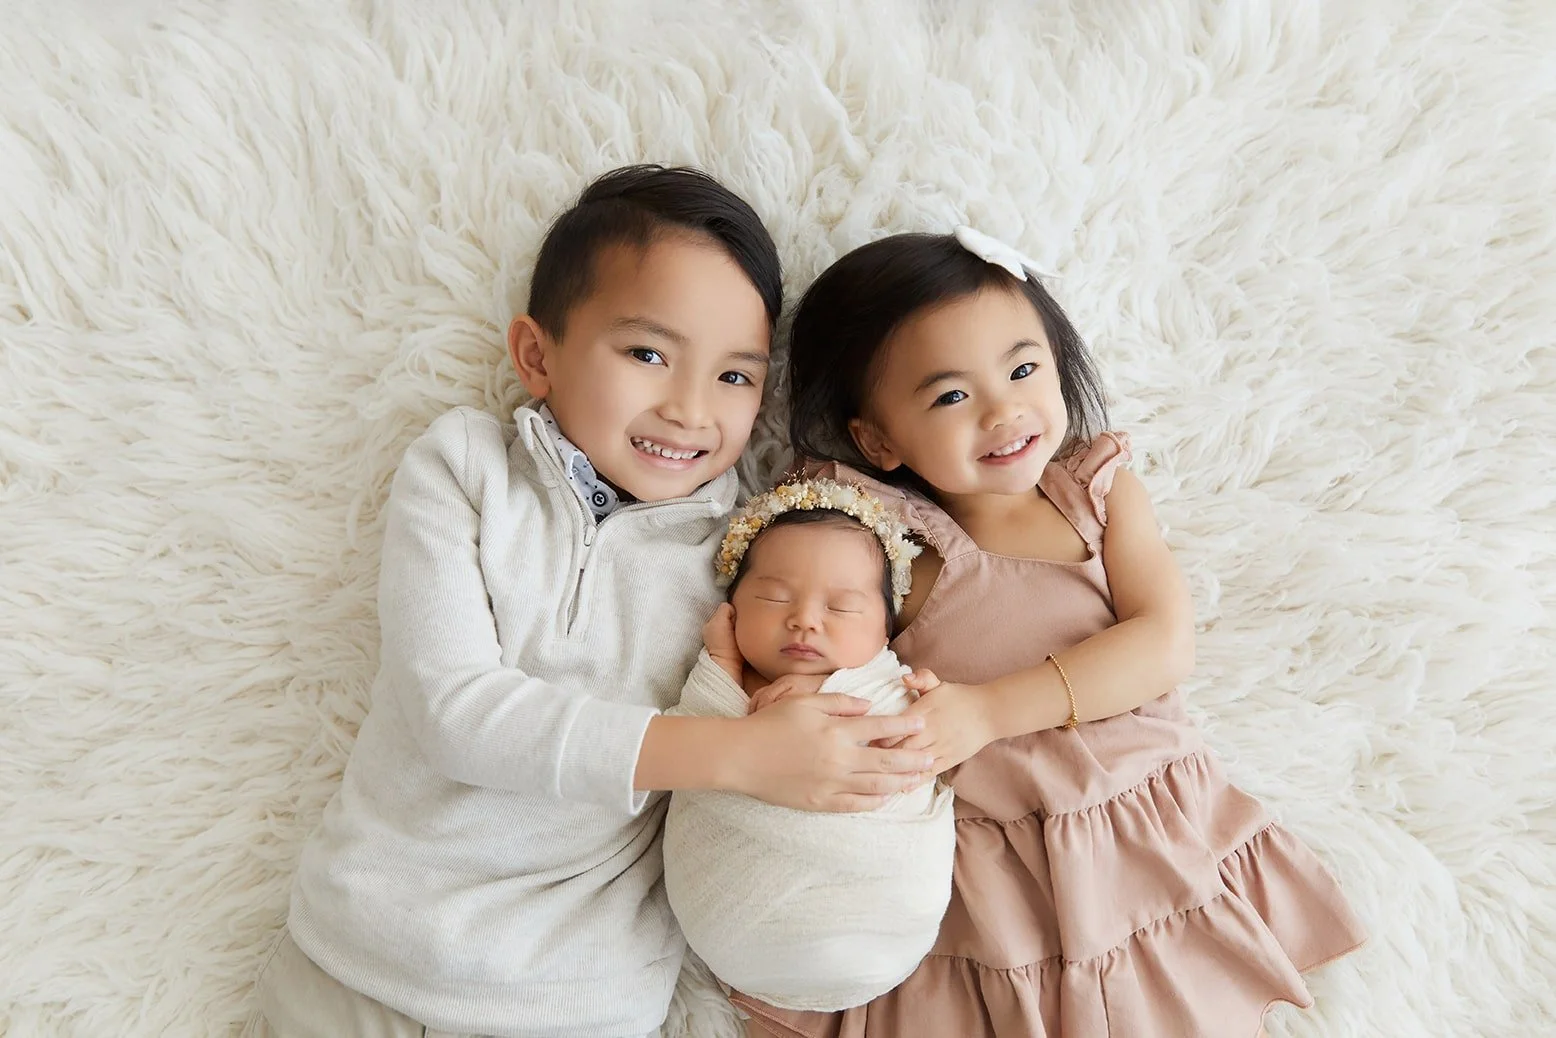
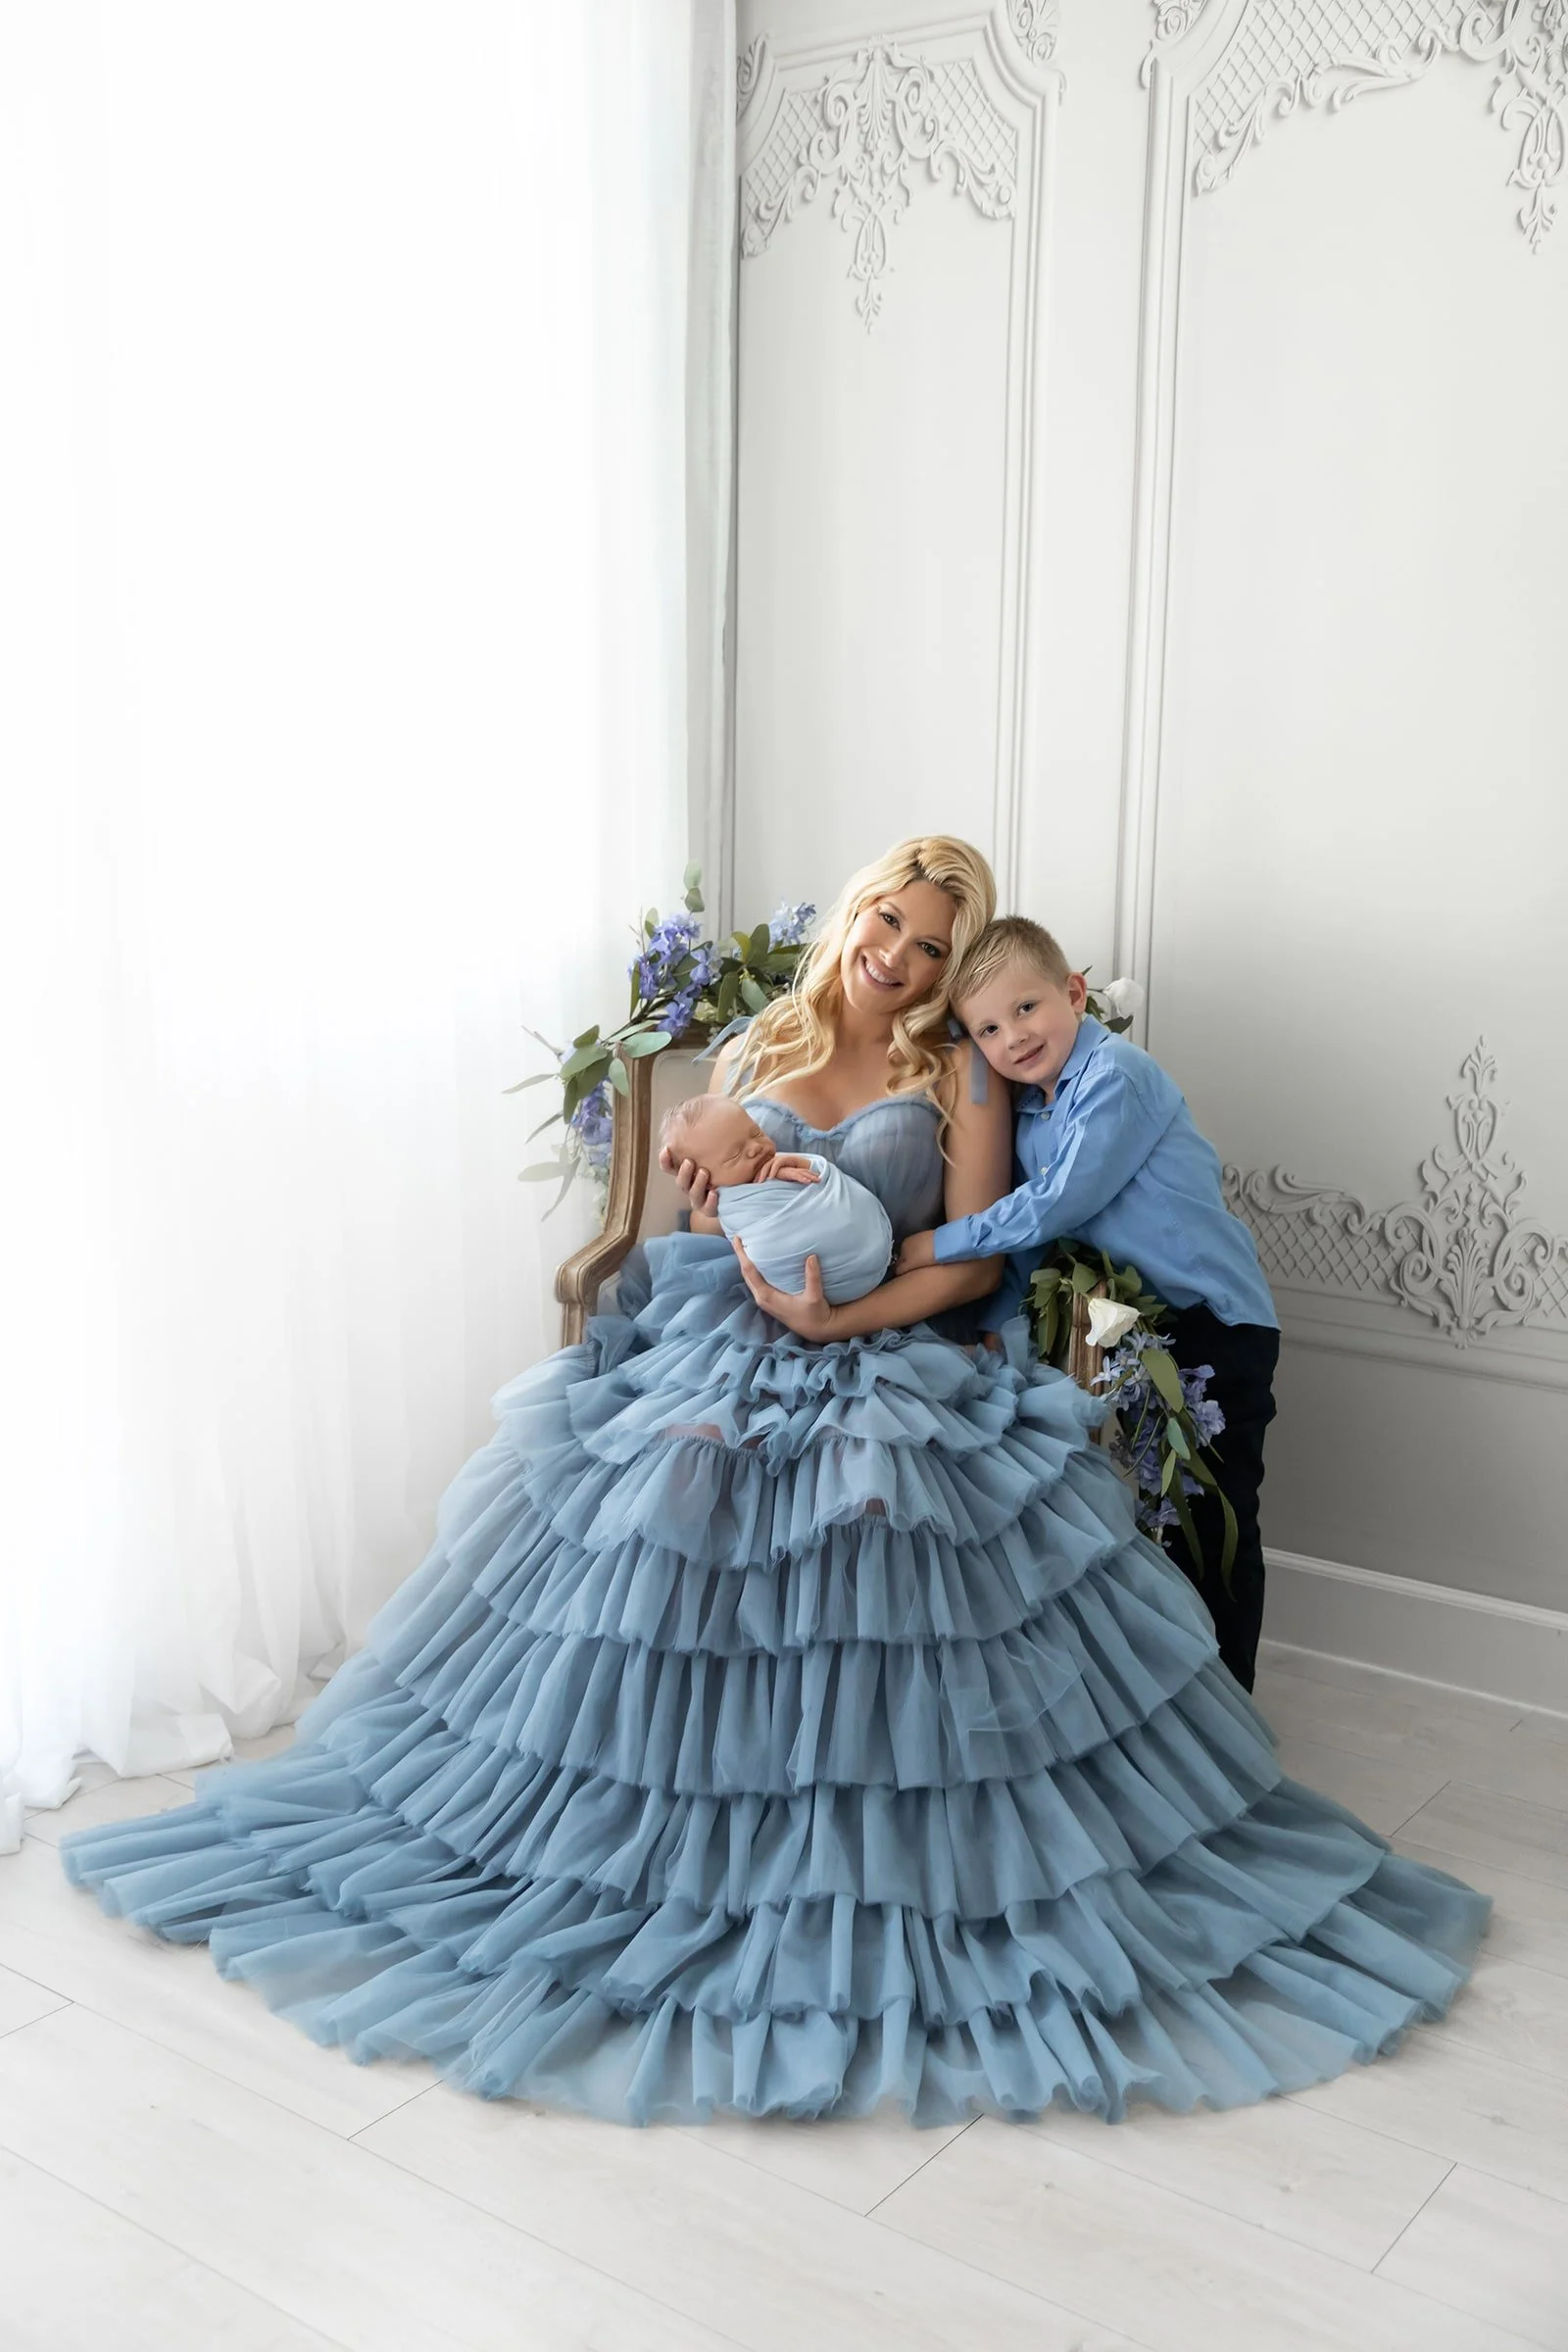
Tip 10: Including Siblings
When you include siblings in newborn photos at home, photograph them first. Their patience is the shortest, and their excitement is freshest. Keep the session playful, tell them they’re the helper, and let them feel proud. Use a bed or couch, never a chair or a standing pose that risks a fall. Lay the baby swaddled and secure, then invite the sibling to lie down facing the baby, touch noses, or rest a hand on the wrap. If the sibling is very young, seat a parent behind them, just outside the frame, to stabilize. Your goal is not a perfect pose, your goal is warmth and safety.
The Only Sibling Pose You Need at Home
There is one pose that works again and again. Make a wide, safe area on the bed with a tight blanket. Place the swaddled baby on their back angled toward the light. Sit the sibling close with their legs tucked under, and guide them to place a gentle hand on the baby’s belly. Photograph from the window side so both faces catch light. If the sibling is unsure, move to a side-by-side lying pose where everyone is supported.
If you want more ideas and a full walk-through, my 1 Month Old with Sibling Course dives into sibling dynamics with lots of examples.
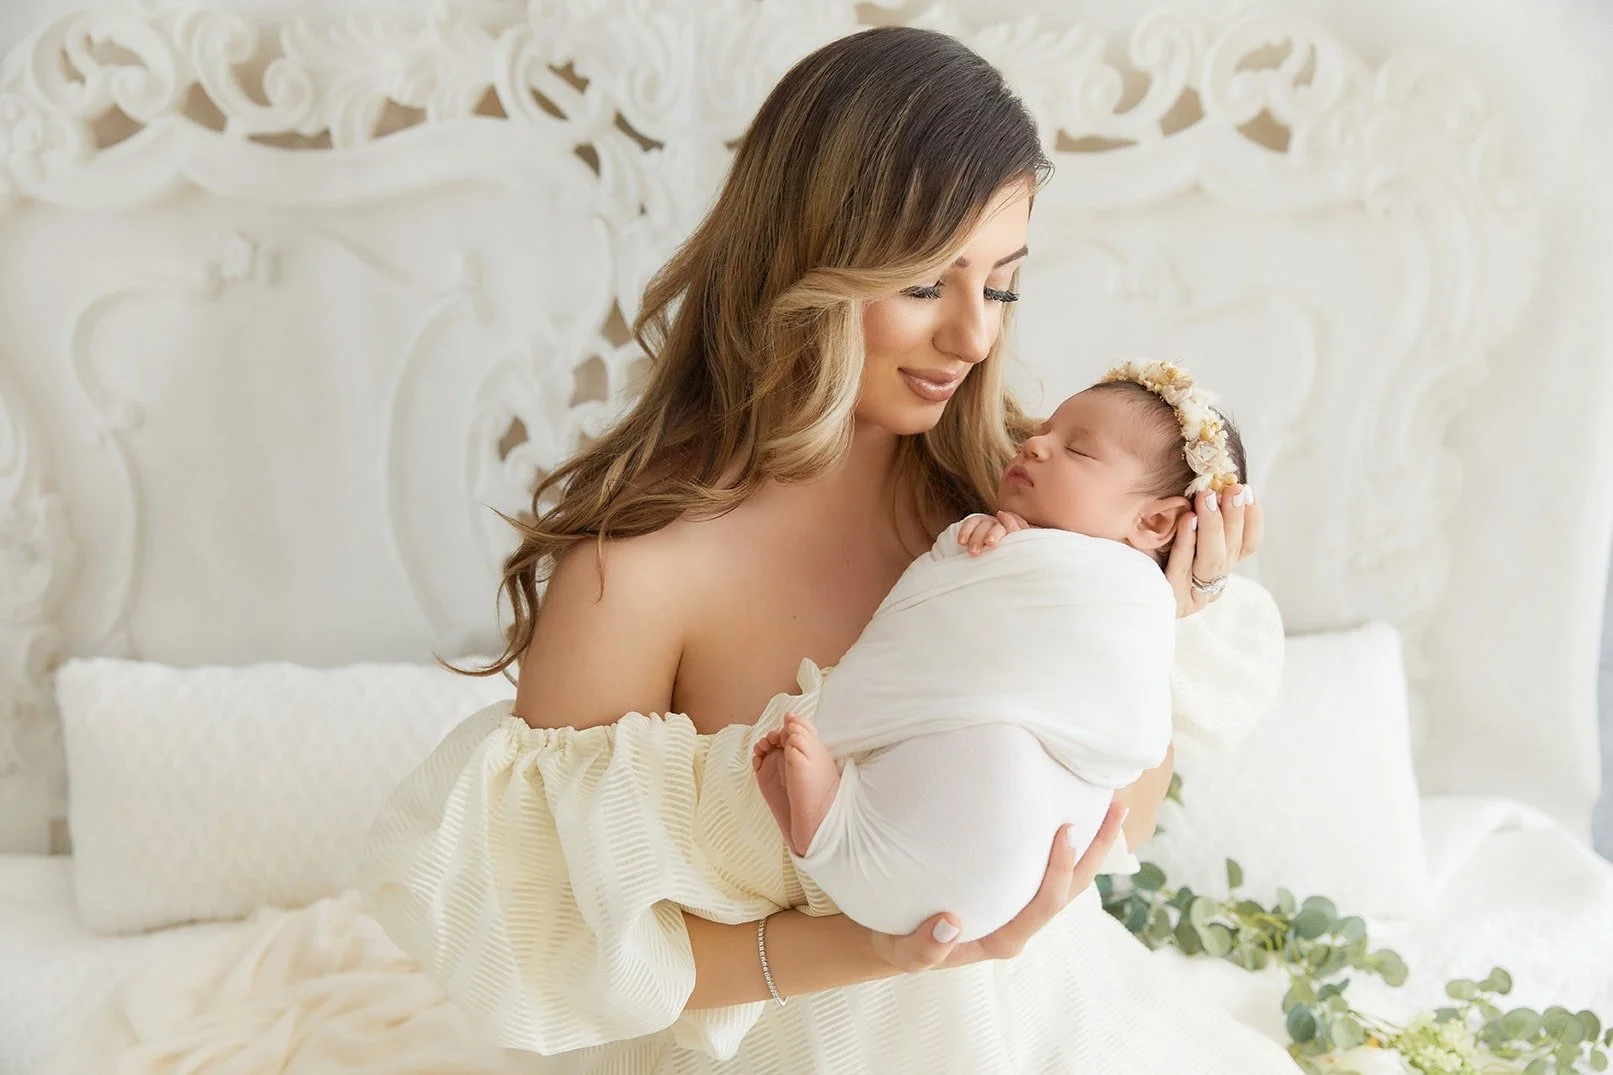
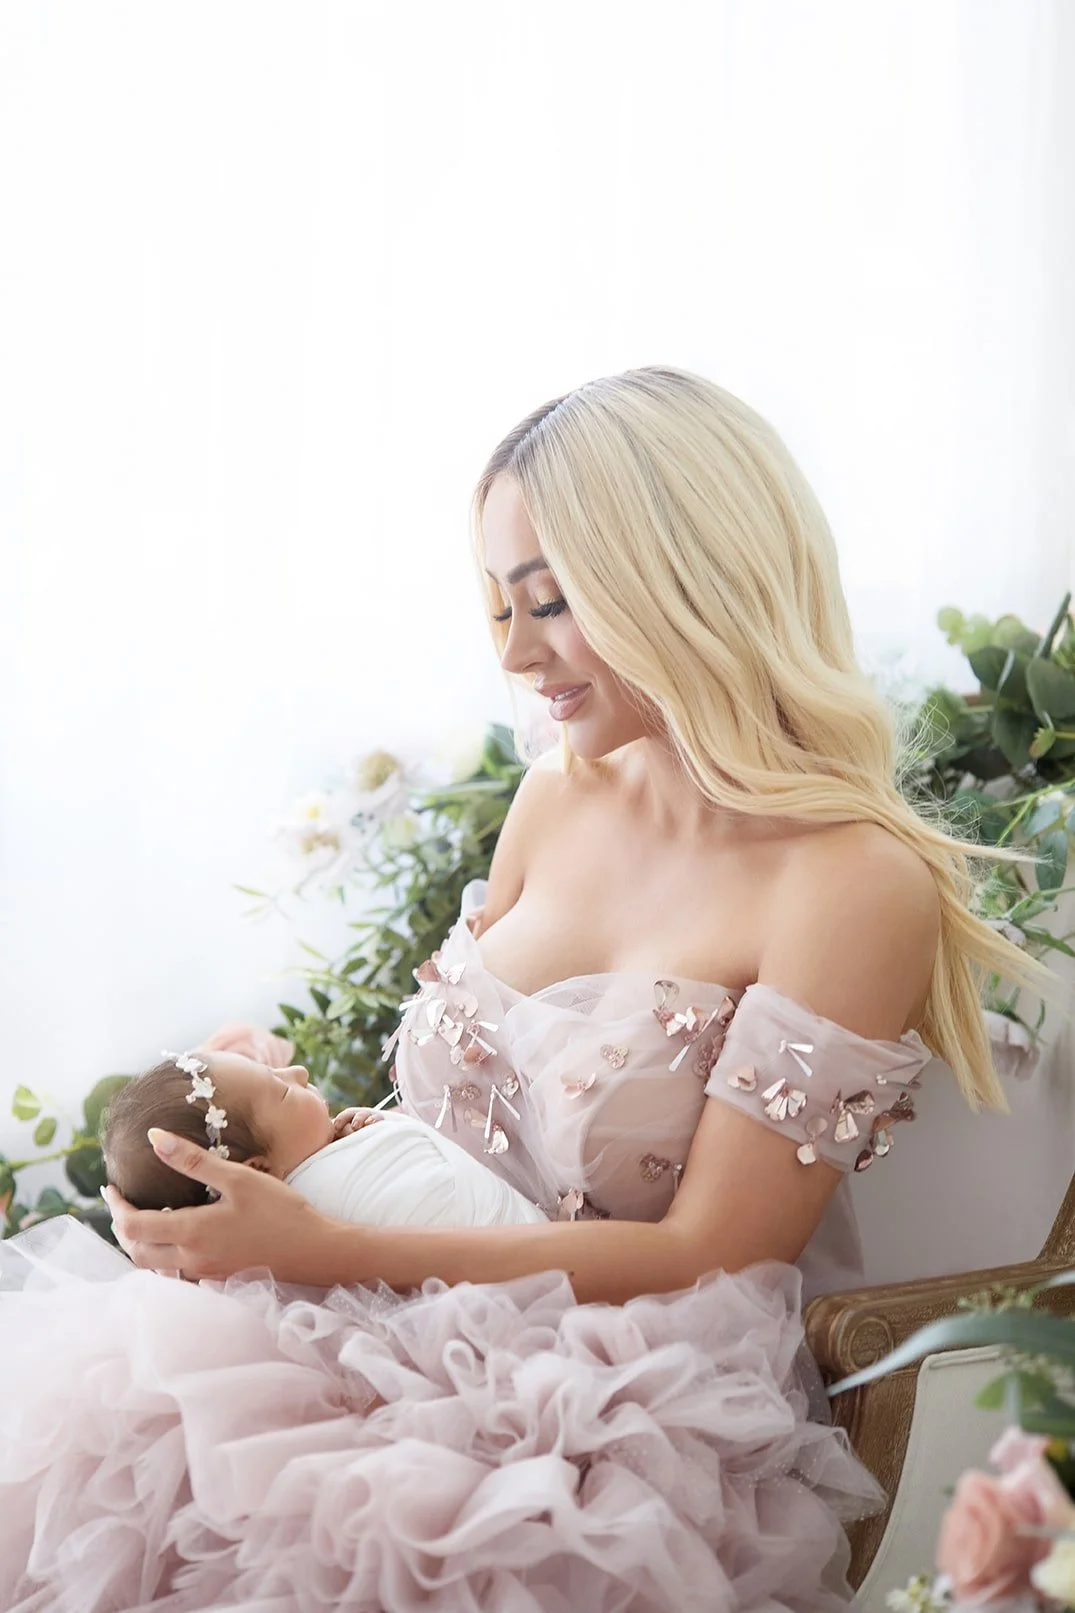
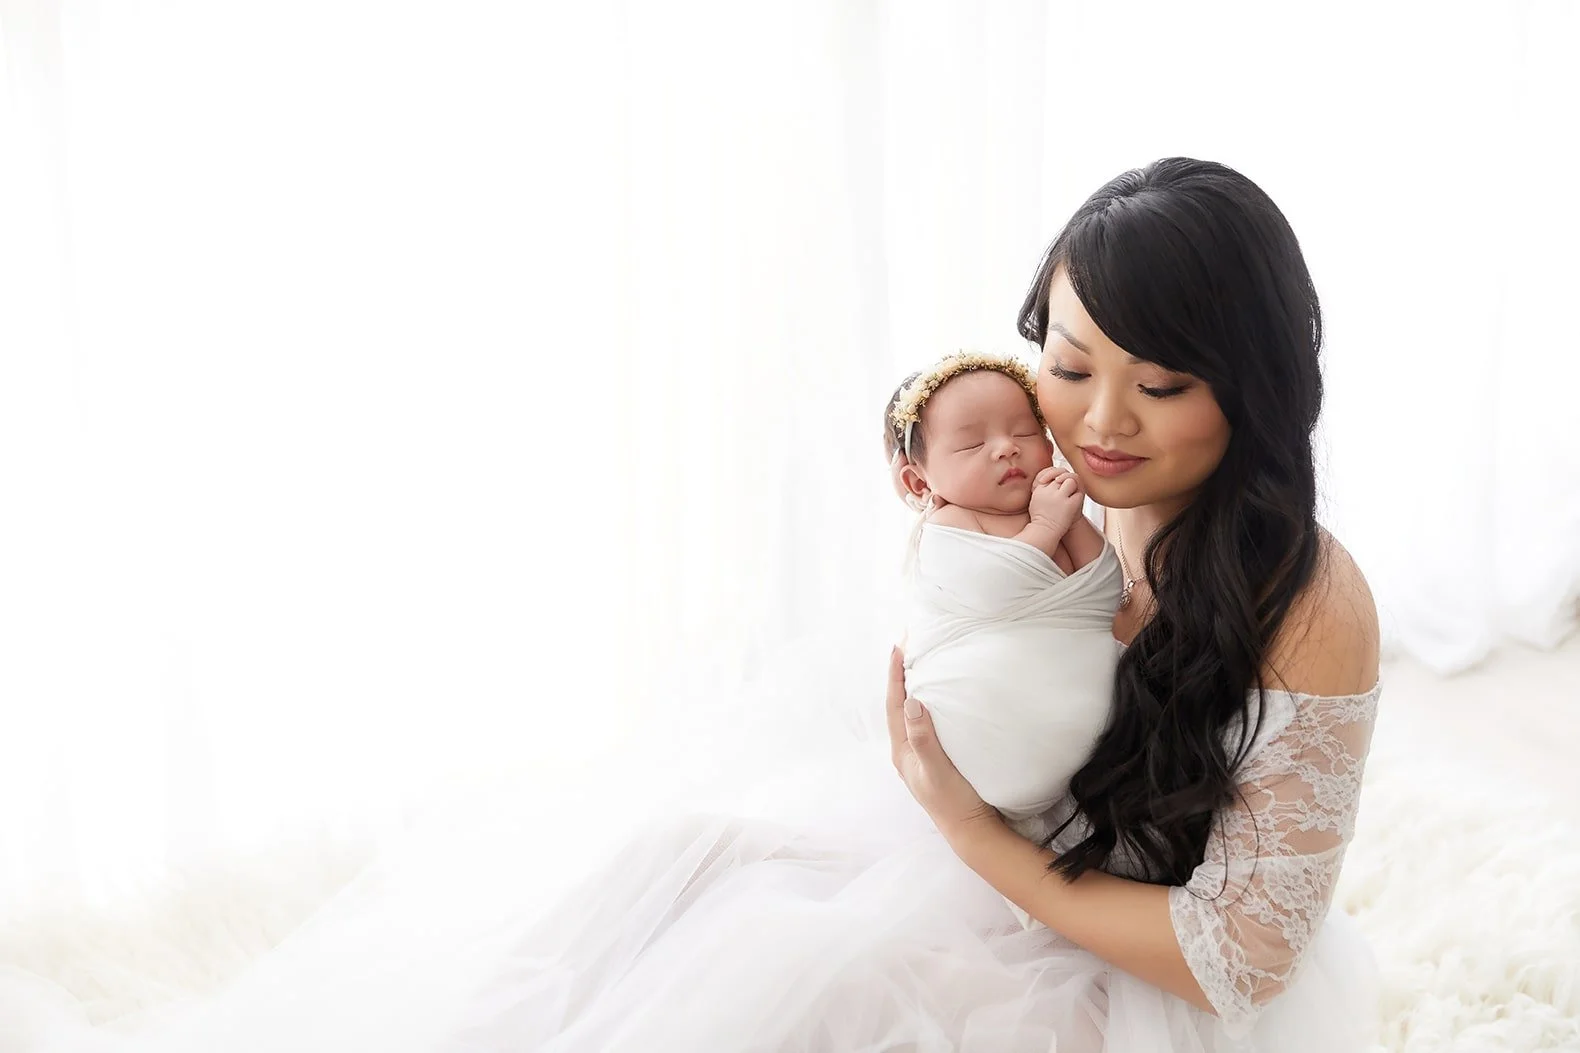
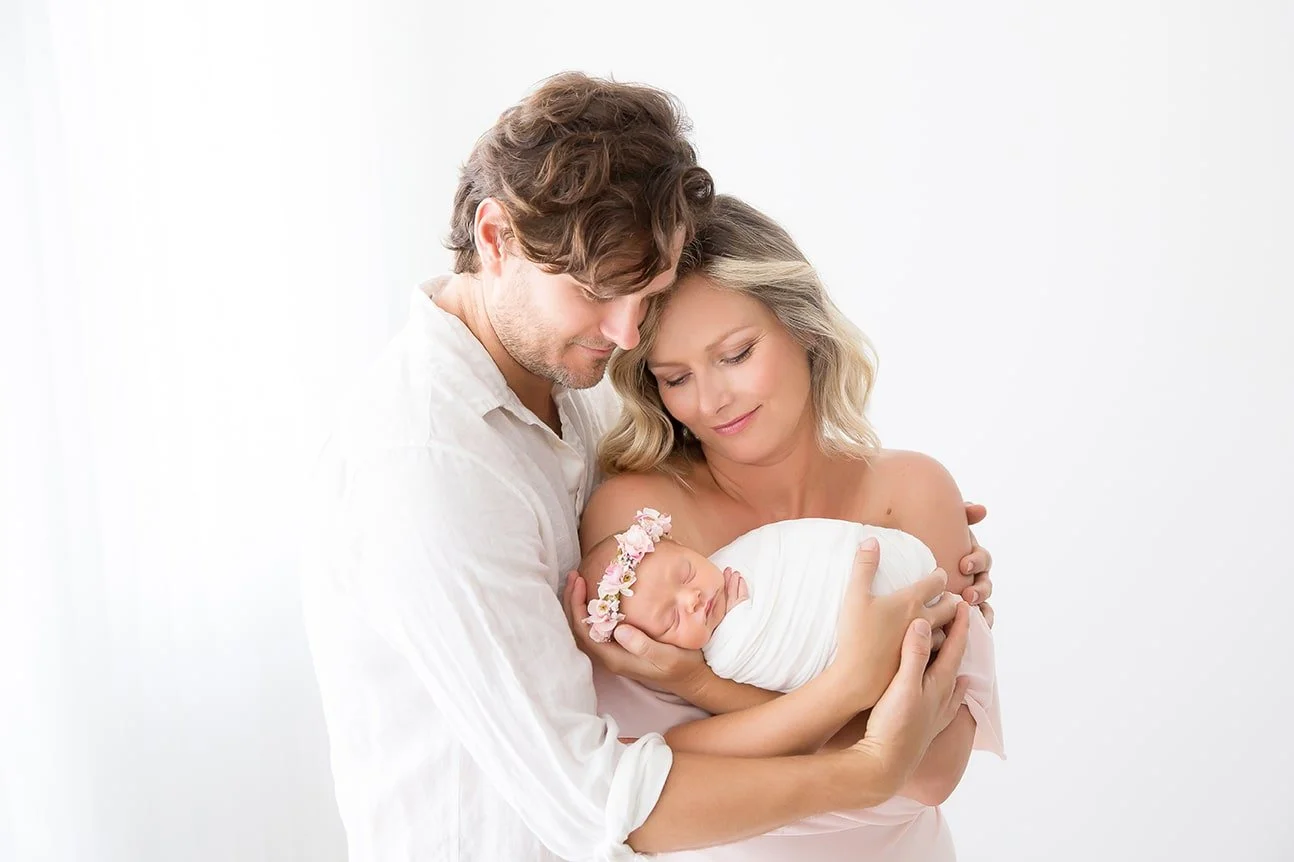
Tip 11: Include Parents Without Feeling Awkward
New parents often tell me they don’t feel photo-ready. You don’t need full-face portraits to be included in newborn photos. Hands holding the baby, a kiss to the temple, foreheads touching, a chin resting lightly on a tiny crown, these are powerful and forgiving angles. Hold the baby like you would hold a warm loaf of bread fresh from the oven, one hand under the head, one under the bottom, elbows close so the body creates a cradle.
Stand near the window with the light coming from the side and slightly above. Turn your body in tiny increments until the baby’s face glows and your features are softly lit. If you’re still healing, sit on the bed and have your partner pass the baby to your arms once you’re settled. I love photographing the moment the baby’s hand curls around a parent’s finger. It’s pure storytelling.
Tip 12: Clothing and Textures for Baby and Family
For baby and family, keep clothing simple and soft. Neutrals and muted tones let skin tone shine and keep the focus on the baby. Avoid logos, busy patterns, and anything reflective that can throw strange colors onto cheeks. A onesie in a warm neutral, a soft cardigan, bare feet, and gentle fabrics are perfect. For lifestyle newborn photos, robes and knits can be a dream. If you want skin-to-skin images, warm the room, sit safely on the bed, and drape a neutral blanket over your shoulders like a shawl. These frames are intimate and timeless, and they fit beautifully in an album next to swaddled portraits.
Tip 13: Gentle Photo Editing That Respects Real Skin
There may be redness around the nose, a little jaundice warmth, flaky texture on the forehead, or tiny baby acne that arrives overnight. When editing, begin with exposure so the skin is not too bright. If your baby’s hands look purple or red from circulation, a small reduction in reds in selective color or a brush tool can help. If you’re using a phone, most editing apps let you warm or cool the image and desaturate reds.
Avoid heavy smoothing or plastic skin. When you over-edit, the image loses life. If you see a scratch that feels distracting, you can tap it down carefully, but leave the rest. A soft contrast curve, a small lift in shadows, and a gentle nudge of clarity for the wrap texture are usually enough.

Tip 14: Know When to Pause and When to Stop
If your baby is more likely to settle after another feed, feed. If your baby is asleep and content, keep going quietly. If your baby is telling you they’re done, arching, crying that doesn’t settle, overheating or getting chilly, that’s the moment to stop, cuddle, and call the session complete.
You can always take some pictures tomorrow, newborn photoshoots do not have to happen in a single hour. Professional newborn photographers pace sessions around the baby’s cues, and you should too. The baby is safe, the baby is well-fed, and the baby is comfortable. Those are your three green lights. Everything else can wait.
Frequently Asked Questions
My House Isn’t Pretty, How Do I Still Get Great Photos?
You don’t need a perfect house, just good light and a clean surface. Pull the bed tight with a neutral sheet, place the setup near the best window, and crop in. Frame tighter than you think. Let the edges fall away and focus on the baby’s face, hands, and connection. Lifestyle newborn photography celebrates authenticity, and a simple corner can become a beautiful studio if the light is right.
My Baby Won’t Sleep, Now What?
Try the triangle, warmth, full feed, gentle swaddle. Hold the baby upright on your chest for ten minutes after feeding to help digestion and reduce gas. Use white noise. If baby still wants to be awake, celebrate that. Photograph quiet-alert expressions, soft eye contact, and the way the baby turns toward your voice. The best newborn sessions include both sleeping and awake images, they feel like a day in your life.
The Skin Looks Red or Blotchy, How Should I Edit?
In camera, expose for the highlights so you don’t lose detail in the cheeks and forehead. In editing, warm or cool until skin looks true, then subtly reduce reds around the nose and fingers. If flakes are prominent, leave them; they are part of the newborn stage and look beautiful in print. If something is truly distracting, you can soften it slightly, but avoid heavy smoothing that removes texture.


Sibling Meltdowns, Can We Still Get Something Good?
Yes. Photograph the sibling first, keep it short, and make them the helper. If nothing works, switch plans and photograph the sibling alone holding a favorite toy near the baby in the background, then composite them in a print layout as a storytelling spread. There is always a way to include everyone safely and kindly.
For more sibling strategies with a newborn, my 1 Month Old with Sibling Course breaks this down and is easy to follow.
My Phone Photos Look Flat, How Do I Make Them Look Professional?
Stand closer to the window, turn off overhead lights, and aim for side light at forty-five degrees. Tap to focus on the eye, lower exposure a touch, and shoot slightly above the baby’s face so the chin lengthens and the features are defined. Edit gently, a small boost to exposure, a tweak to white balance, a hint of contrast, and a careful desaturation of reds will lift the image instantly.
Is It Okay to Use a Basket or Bucket Prop?
If it is low, wide, stable, padded, and on the floor with constant adult hands within inches, a simple basket can work for a swaddled newborn lying on their back. Avoid upright positions and never perch a baby on the edge. If it’s not obviously safe from every angle and every surprise wiggle, don’t do it.
How Do I Avoid Double Chins and Odd Shadows?
Raise the baby’s shoulders slightly with a folded cloth under the blanket so the face tips up to the light. Shoot from the head side, not the feet, and angle down so you see the eyelashes, nose, and top lip. If you see a shadow under the eye that feels heavy, rotate the baby a tiny bit toward the window. One inch can transform the photograph.
A Sample Flow for Newborn Photos at Home
Begin mid-morning when the natural light is soft. Tidy one corner of the bedroom or living room, pull a neutral blanket tight on the bed or couch, and place it near the window with the light coming from the baby’s head side. Warm the area to a comfortable level, cue white noise softly, and prepare two wraps, one textured blanket, and a clean burp cloth.
Feed the baby fully and burp them with patience. Swaddle securely while maintaining hip movement and an open airway. Lay the baby on their back with a small support under the shoulders. Start with a wide frame to establish the scene, then move in for hands, lashes, lips, and toes. Rotate slightly and capture a side-lying variation with the face toward the light.
Loosen the wrap for a half-swaddle and document the stretch and yawn. Invite a parent into frame for hands-only connection shots. Pause when the baby stirs, resettle, feed if needed, and then try an awake set with gentle eye contact. If siblings are involved, photograph them at the very beginning or after a snack break, on the bed with a parent spotting just out of frame.
A Note on Booking a Professional Newborn Session
If you’re reading and thinking you’d love the experience of a professional newborn photographer at some point, book a newborn session in advance if you can. In both my Beverly Hills natural light studio and my Dubai newborn photography studio, I provide everything, props, wraps, bonnets, floors, accessories, and everything is sanitized and safe for the baby.
I usually photograph at 10 a.m. or 11 a.m., and I ask that only parents attend to keep the environment calm. Even if you plan to take DIY newborn photos first, having a professional newborn photo session later can be a beautiful complement, especially for heirloom portraits and large prints.
Keep Learning at ROXAMINA Photography Academy
Teaching parents and photographers to photograph the baby with confidence is one of my favorite parts of this work. If you want guided lessons that go deeper than an article, the DIY Newborn Photoshoot Course shows lighting setups in real rooms, safe swaddles in detail, and simple editing steps.
The Full Newborn Shoot Day Course walks you through a complete professional newborn photography session from start to finish so you can learn how to pace, pose the baby safely, and work with natural light like a pro.
The Newborn Photography Masterclass builds the whole skill set, and if you’re specifically navigating the dynamics of siblings, the 1 Month Old with Sibling Course is incredibly practical.
For families planning ahead, the DIY Maternity & Newborn Photography Course Bundle ties your story together from bump to baby. Whether you’re a parent creating newborn photos at home or an aspiring professional newborn photographer, I’m here to help you take newborn photos that feel like your family and stand the test of time.

Conclusion
One day, you will forget how small this felt. Your newborn’s eyelashes will lengthen, their cheeks will change, and the way their hand fits your finger will be different. Newborn photography is not just about pretty pictures, it’s about preserving the heartbeat of a moment. With safe setups, gentle swaddles, thoughtful natural light, and patience, you can create great photos in an in-home newborn setting that will mean everything to you later.

About Ramina Magid
Ramina Magid is an award-winning newborn photographer, celebrated for her organic, timeless approach to capturing life’s earliest moments. Originally from Baku, Azerbaijan, Ramina built her dream newborn photography studio in Beverly Hills, where she has photographed more than 800 newborns and families over the past eight years.
Her gentle, safety-focused style and natural light aesthetic have made her one of the most sought-after newborn photographers in California. In 2024, her work was recognized with awards for Best Newborn Photographer in both Beverly Hills and Los Angeles. Ramina’s portraits have reached millions worldwide through social media, admired for their warmth, simplicity, and emotional honesty. See her courses here.

Source: Ramina Magid