12 Expert Tips for Setting Up a Newborn Photo Shoot
Capture stunning newborn baby photos. Learn to pose your newborn, find perfect lighting & create popular newborn photography looks. Beginner-friendly DIY tips!
Newborn photography is equal parts artistry and caretaking. Every image holds a heartbeat, every pose a story. You’re not just taking photos of a baby, you’re protecting someone’s entire world while capturing its first chapter.
If you’ve ever wrestled with a wrap that somehow unties itself the second you step back to shoot, or adjusted your light only to realize the baby’s turned their face and your perfect soft glow is now a full spotlight, or wondered why a baby who was perfectly sleepy five minutes ago is now wide awake and furious… We’ve all been there, standing over a beanbag, quietly praying the baby stays asleep for just one more frame.


1. Prepare Your Newborn Photography Studio Like a Sanctuary
When a family walks into your newborn photography studio, they should feel calm before they even notice the light. The air should be warm but gentle, the room uncluttered, and every sound soft and steady. Newborns sense atmosphere instantly, if you’re calm, they relax, if you’re rushed, they tense. Think of your studio as a sanctuary, where peace sets the tone for the whole newborn session.
Keep your palette simple with creams, oatmeals, and muted grays. These tones flatter every newborn baby and create that timeless, organic look parents love. Use north-facing windows if you can, natural, even light is far more flattering than overhead sources. Diffuse sunlight with sheer curtains or a thin panel to create that signature soft light newborn photographers use to shape gentle shadows instead of harsh highlights.
Preparation makes the day flow effortlessly. Everything a baby touches, wraps, beanbags, props, and blankets, should be sanitized ahead of time and laid out within arm’s reach. Nothing disrupts a sleepy moment faster than searching for a prop. I always keep a small used bin nearby so anything that’s been touched or dampened doesn’t accidentally go back into rotation.
A sturdy posing beanbag or padded dog bed works beautifully for most newborn setups. Use small rolled towels or posing pillows beneath the blanket to lift shoulders or tilt the pelvis, tiny adjustments that keep the chin clear and the airway open. Check your backdrop from camera height because what looks smooth while standing may wrinkle at lens level. Secure fabric tightly with soft clamps to avoid those subtle ripples that distract from an otherwise perfect frame.
The details matter. Keep the space heater far enough away to warm the air, not the baby. A small white noise machine, clean pacifiers, and warm wipes nearby all add to the sense of care. When the baby is relaxed and peaceful, that emotion translates straight into the photographs.
For a full walkthrough of my layout and prop organization, see my Full Newborn Shoot Day Course here.
2. Master the Magic of Light (Natural, Soft, and Always Gentle)
Light makes or breaks a newborn photo. The goal is gentle illumination that flatters soft skin and highlights tiny details without losing dimension. I schedule newborn photoshoots mid-morning when sunlight is strong but still kind, around 10 or 11 a.m., because both the light and the babies tend to be at their best.
Natural light gives that dreamy glow every professional newborn photographer chases. One layer of sheer curtain diffuses nicely, two create the creamy, even light perfect for delicate features. Add a reflector opposite the window to lift shadows and balance the face. Position the baby so the light falls from the crown of the head toward the nose, this direction sculpts gentle highlights across the cheeks and lips without creating deep under-eye shadows.
Lens choice defines the mood. A 35mm lens captures lifestyle newborn setups with context, a parent’s embrace, a cozy wrap. A 50mm lens gives flattering proportions for classic portraits, while an 85mm lens softens features beautifully for close-ups on the beanbag. Whichever you use, shoot at f/2 to f/2.8 for that creamy blur that isolates baby’s face while keeping both eyes sharp.
If the light shifts or clouds roll in, supplement with a continuous soft light that matches the window’s color temperature (around 5600K). The goal is balance, light that feels natural, never forced. Watch for catchlights in the baby’s eyes and subtle shadows beneath the chin, those nuances add life and texture.
When photographing, keep your shutter around 1/200 for sleeping babies and slightly higher for awake ones. Don’t fear a little grain, modern digital photography handles it gracefully, and it adds warmth to your tones. Always protect your highlights, because once skin detail is blown out, it’s gone. Soft light, warm tones, and patience with positioning transform a technically good photograph into one that feels like love.
3. Keep the Baby Warm, Safe, and Peaceful
Comfort drives every newborn photo session. When a baby feels cozy, everything else falls into place. Keep the studio warm, around 78–80°F, so the baby stays sleepy and relaxed. Use a space heater from a safe distance and always test the air at baby height with your hand. If your cheeks feel hot, it’s too warm. A slightly humid environment also helps keep newborn skin from drying out, so consider running a humidifier away from the set.
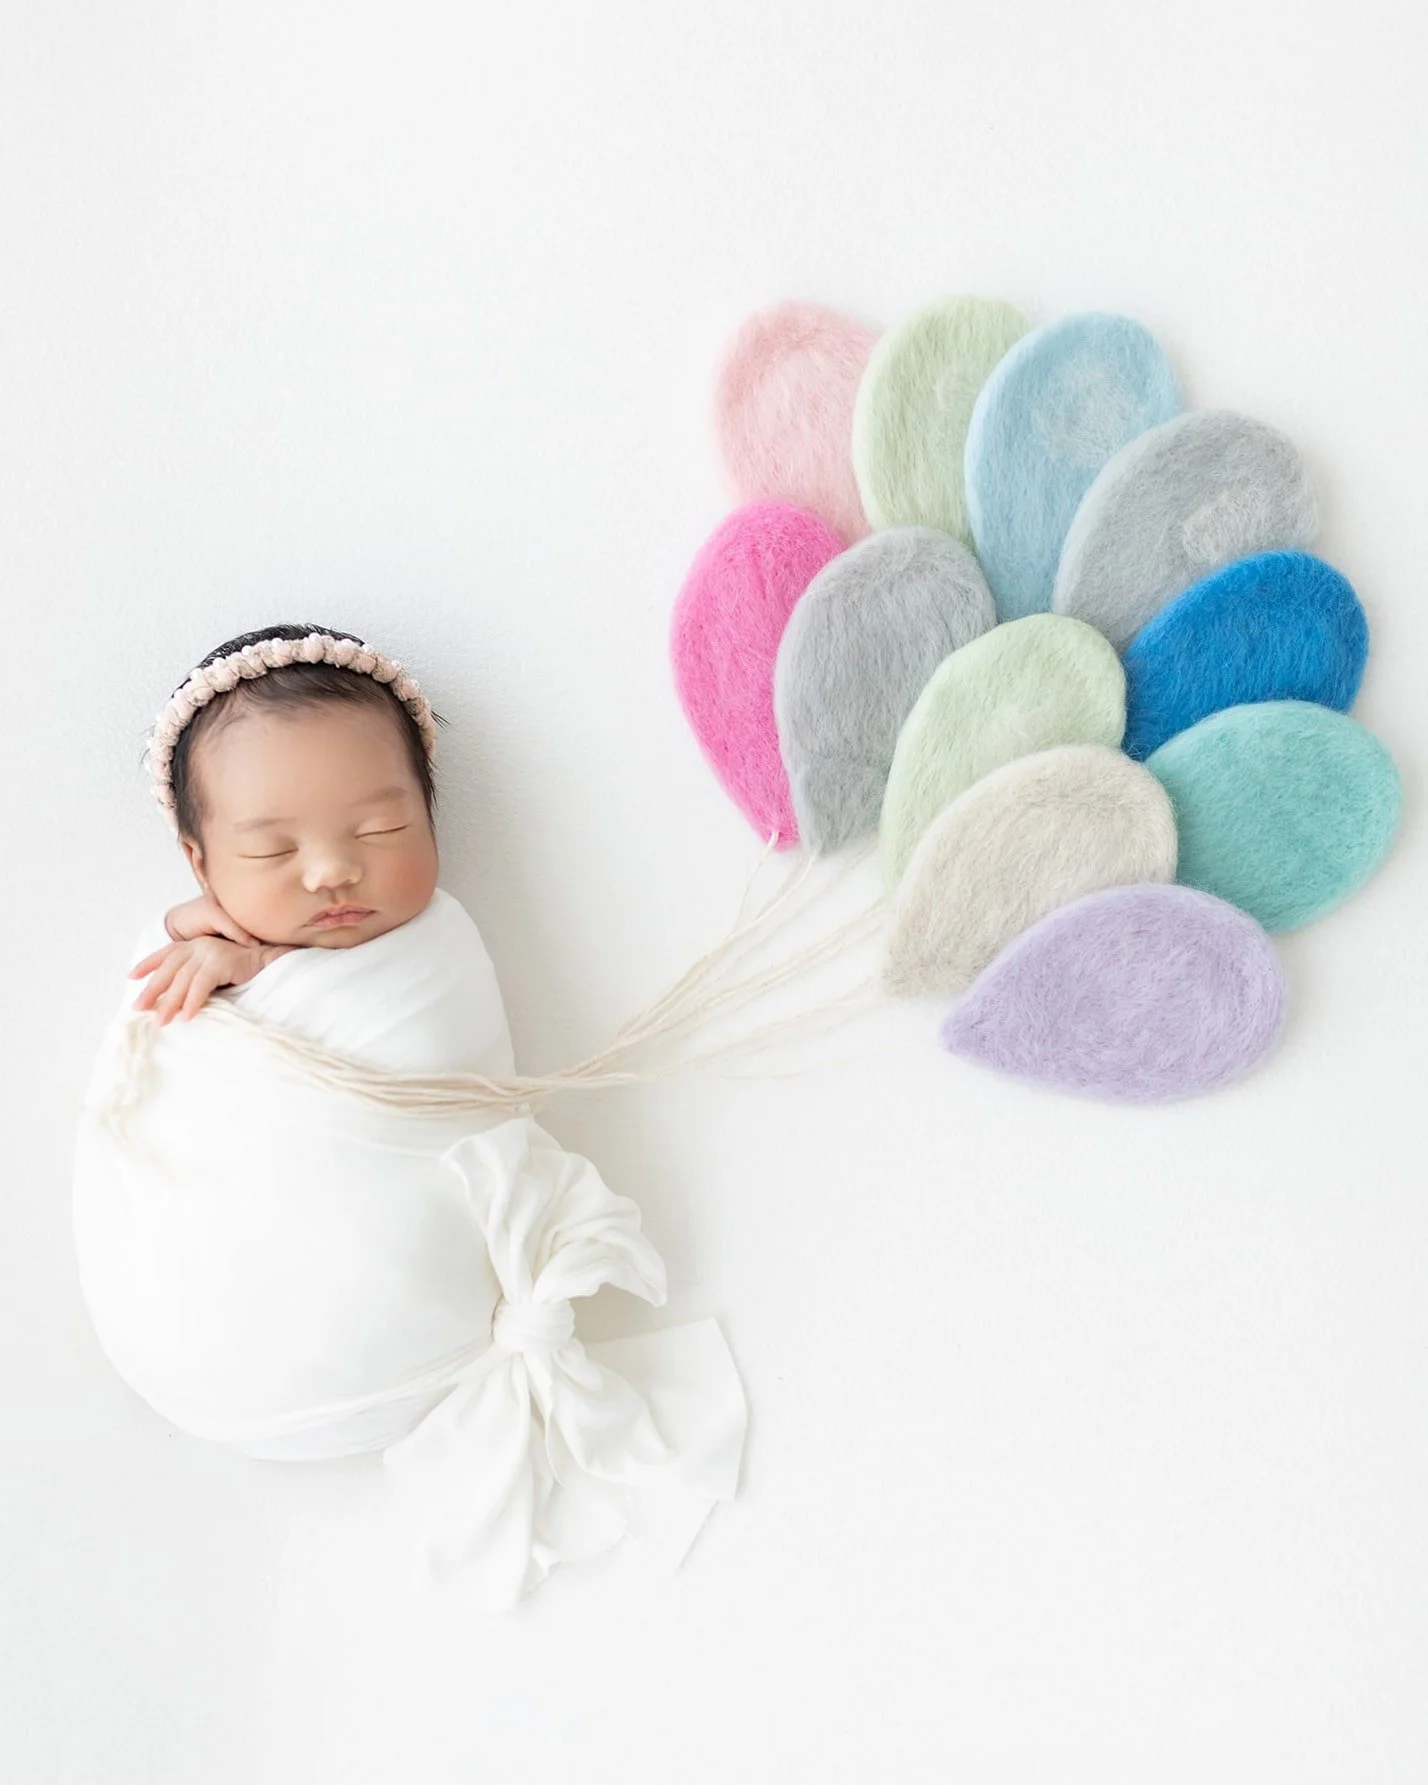
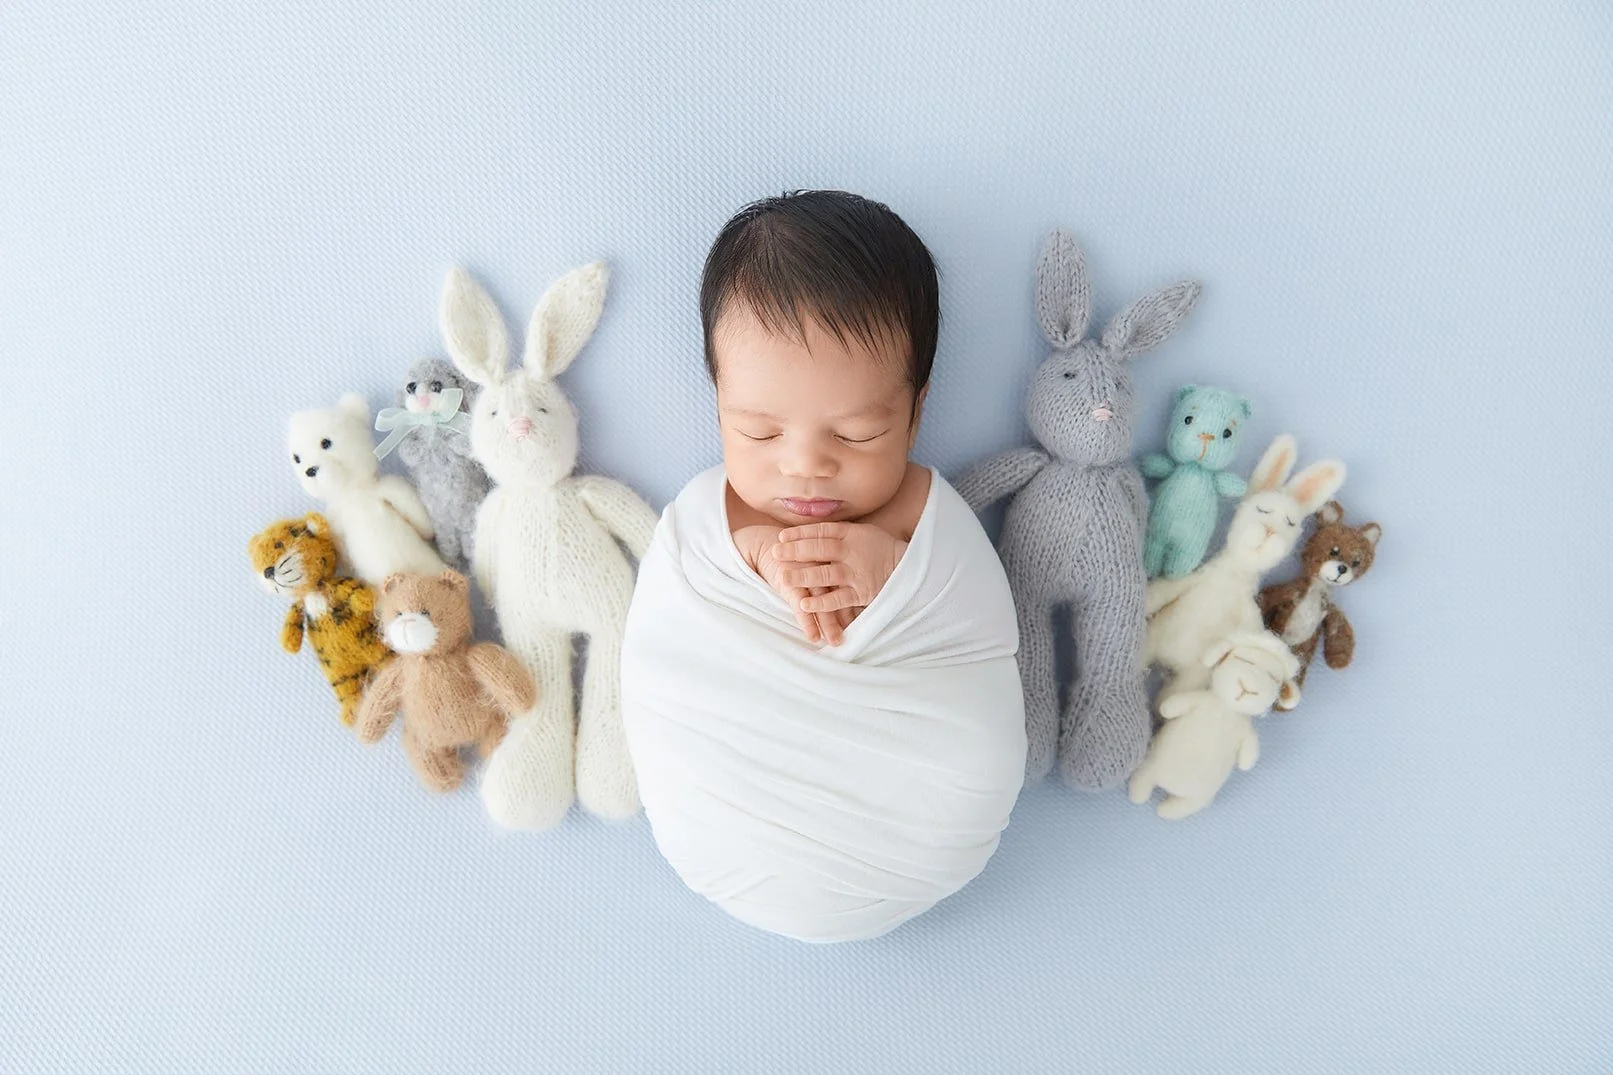
Swaddling is the ultimate comfort cue. Use two wraps, a stretchy one for structure and a softer one for texture. Always leave room for natural breathing and circulation. A properly swaddled baby feels secure without restriction. If the baby starts to stir, gentle rocking in small, slow motions and a quiet “shhh” near the ear often works better than rushing. Every move should be deliberate and calm.
White noise helps maintain peace. A soft heartbeat sound or low whoosh behind the posing area mimics the womb and keeps babies settled. Plan your session flow around sleep windows also tackle detailed newborn poses like hands-under-chin when the baby is in that deep post-feeding rest.
Gentle Handling and Timing
Diaper-free photos can be beautiful, but start with a loosely wrapped diaper setup so you have safe, clean frames first. When you go diaper-free, use an absorbent pad under the top blanket, quick swaps save you from mid-session chaos. Warm wraps kept nearby under a towel add instant comfort between transitions.
Every adjustment should respect the baby’s limits. Never push a pose. If the baby resists, simplify it. Some newborn poses require more flexibility than others, and every baby is unique. Keep a parent close as a spotter for any raised prop. Check hands, feet, and skin tone often, ensuring warmth and healthy color.
Gentle awareness is what separates a caring newborn photographer from someone just taking photos. If a baby stays fussy, pause and let them feed or cuddle. There’s no rush, the best photos come from patience. A quiet, comfort-first rhythm is the essence of professional newborn photography.
If you want to see this entire comfort-first rhythm from the first hello to the final frame, I walk through my real-time process in my Full Newborn Shoot Day Course here. You’ll see exactly how I swaddle and how I sequence a newborn photo session so the baby, and the parents, feel safe, cared for, and quietly celebrated.
4. Safety Is Not Optional
There’s something sacred about holding a newborn. This is a brand-new human, not a prop. Safety is the foundation of everything. You can’t create art if the baby isn’t safe, comfortable, and fully supported.
Every professional newborn photographer should treat safety training as seriously as any medical professional would treat certification. It’s what separates someone who takes baby photos from someone who practices professional newborn photography.
Safe Posing Practices
When posing a newborn, always move slowly, supporting every joint and keeping the head stable. The neck is delicate, and that weightless wobble, though adorable, is a sign to support.
Simple poses often photograph the best because they highlight what’s real. The “taco” pose, where the baby’s feet rest near the face, looks impossibly cute but requires care. Always tuck one leg naturally over the other, never pressing the thighs to meet if the baby resists. Learning the difference between a baby stretching and a baby straining takes practice. Watch the toes and eyebrows, when they flex tightly or the forehead wrinkles, stop.
See my Newborn Wraps Course here and learn five versatile wrapping styles: Egg, Bow, Criss-Cross, Macro, plus a Bonus Wrap.

Props and Supports
Always have a beanbag, soft pillow, or even a clean, cushioned dog bed beneath your layers of blankets. These are your secret support systems. A beanbag distributes weight evenly and lets you make small tilts or height changes without moving the baby. Underneath, small rolled-up blankets act as subtle shaping tools for shoulders or hips.
Every backdrop should be clamped securely. I use strong, padded clamps so fabric never slips or droops mid-session. The fewer mid-session adjustments you make, the less you disturb the baby.
And no matter how skilled you are, always have a spotter nearby. Professional newborn photographers carry insurance and safety certifications for a reason, it’s not bureaucracy, it’s proof of respect for the tiny humans we photograph. Parents trust you with what’s most precious to them. Earning that trust means making safety your art form, too.

5. Plan Every Detail Before the Session
Newborn photography is 80% preparation and 20% magic. The most seamless sessions are the ones that look effortless but are meticulously planned behind the scenes. Babies don’t like surprises, and neither do exhausted new parents. The smoother the setup, the calmer everyone feels, and calmness of course photographs beautifully.
Pre-Session Communication
Communication starts before the camera ever comes out. Always let parents know exactly what to expect. Ask them to feed the baby right before arriving so the baby arrives full and sleepy. Tell them to dress the baby in something loose, ideally a button-up onesie, so you don’t have to pull anything over the head and wake a peacefully sleeping baby.
Encourage parents to keep the diaper slightly loose, too, those little elastic marks on the skin can linger for an hour and distract from an otherwise perfect close-up. Ask in advance if the baby has reflux, skin sensitivities, or preferred soothing methods. Some babies love pacifiers, others don’t. Knowing before the shoot saves time and reduces stress.
Parents often worry about how long the newborn photoshoot will take. Set realistic expectations. A full newborn session typically runs two to three hours, with plenty of feeding, burping, and snuggling breaks. This reassures them that you’re not rushing and that every pause has a purpose.
Scheduling for Sleepiness
The sweet spot for newborn photography is when the baby is between 5 and 21 days old. During this window, they’re still in that dreamy, curled-up state from the womb. They sleep deeply, and it’s easier to pose without startles. After three weeks, babies begin stretching out and becoming more alert, still lovely, but a different kind of session.
Every baby has their own rhythm. Some sleep through every pose like tiny clouds, others stay awake and watch you with ancient eyes. If a baby decides it’s a wide-awake day, embrace it. Photograph those open eyes, the little frowns, the curiosity. A calm, awake baby can give you some of the most heartfelt portraits you’ll ever take.
Adaptation is key. Keep the environment consistent, warm and let the session flow naturally. A relaxed photographer creates relaxed parents, which creates relaxed babies. That’s the real domino effect of a successful newborn session.
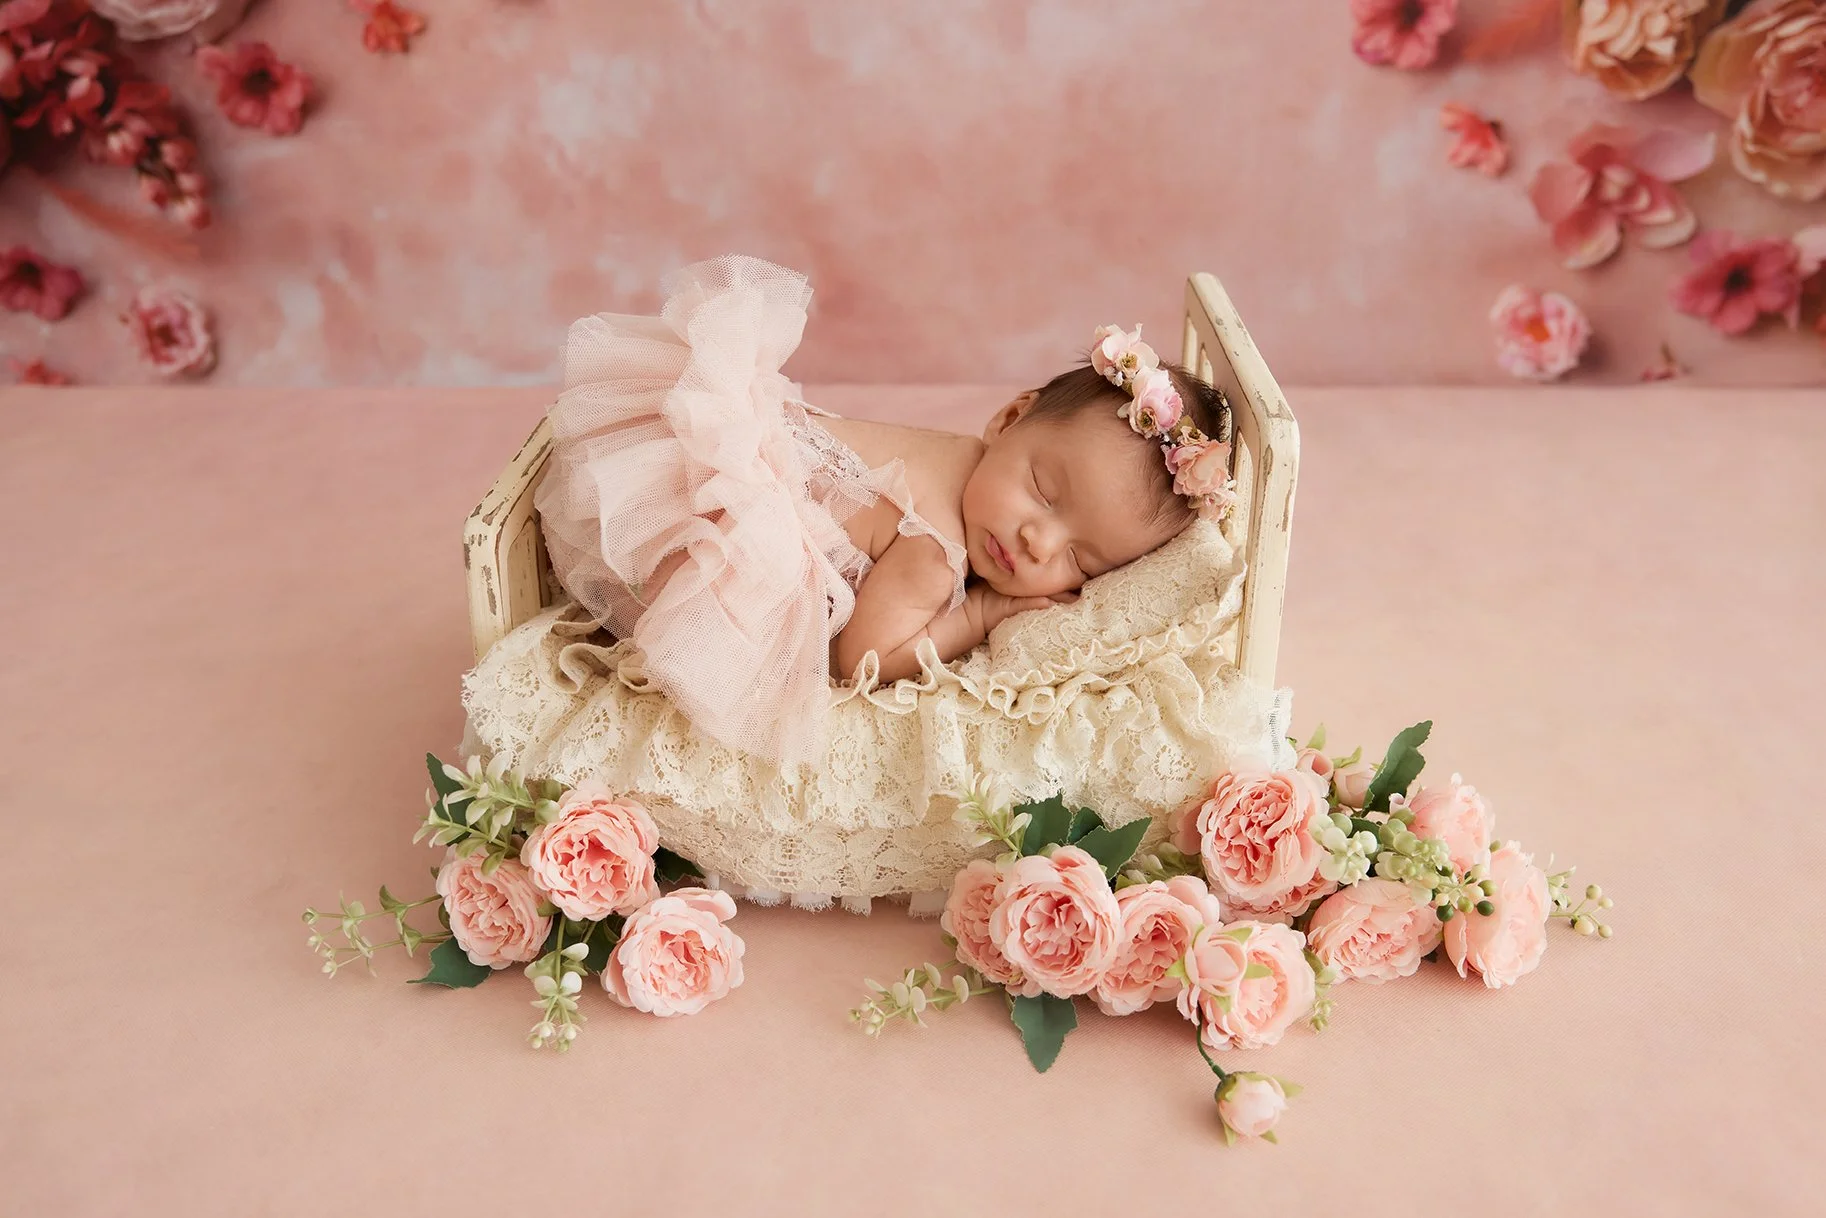
6. Create the Perfect Setup with Props, Wraps, and Backdrops
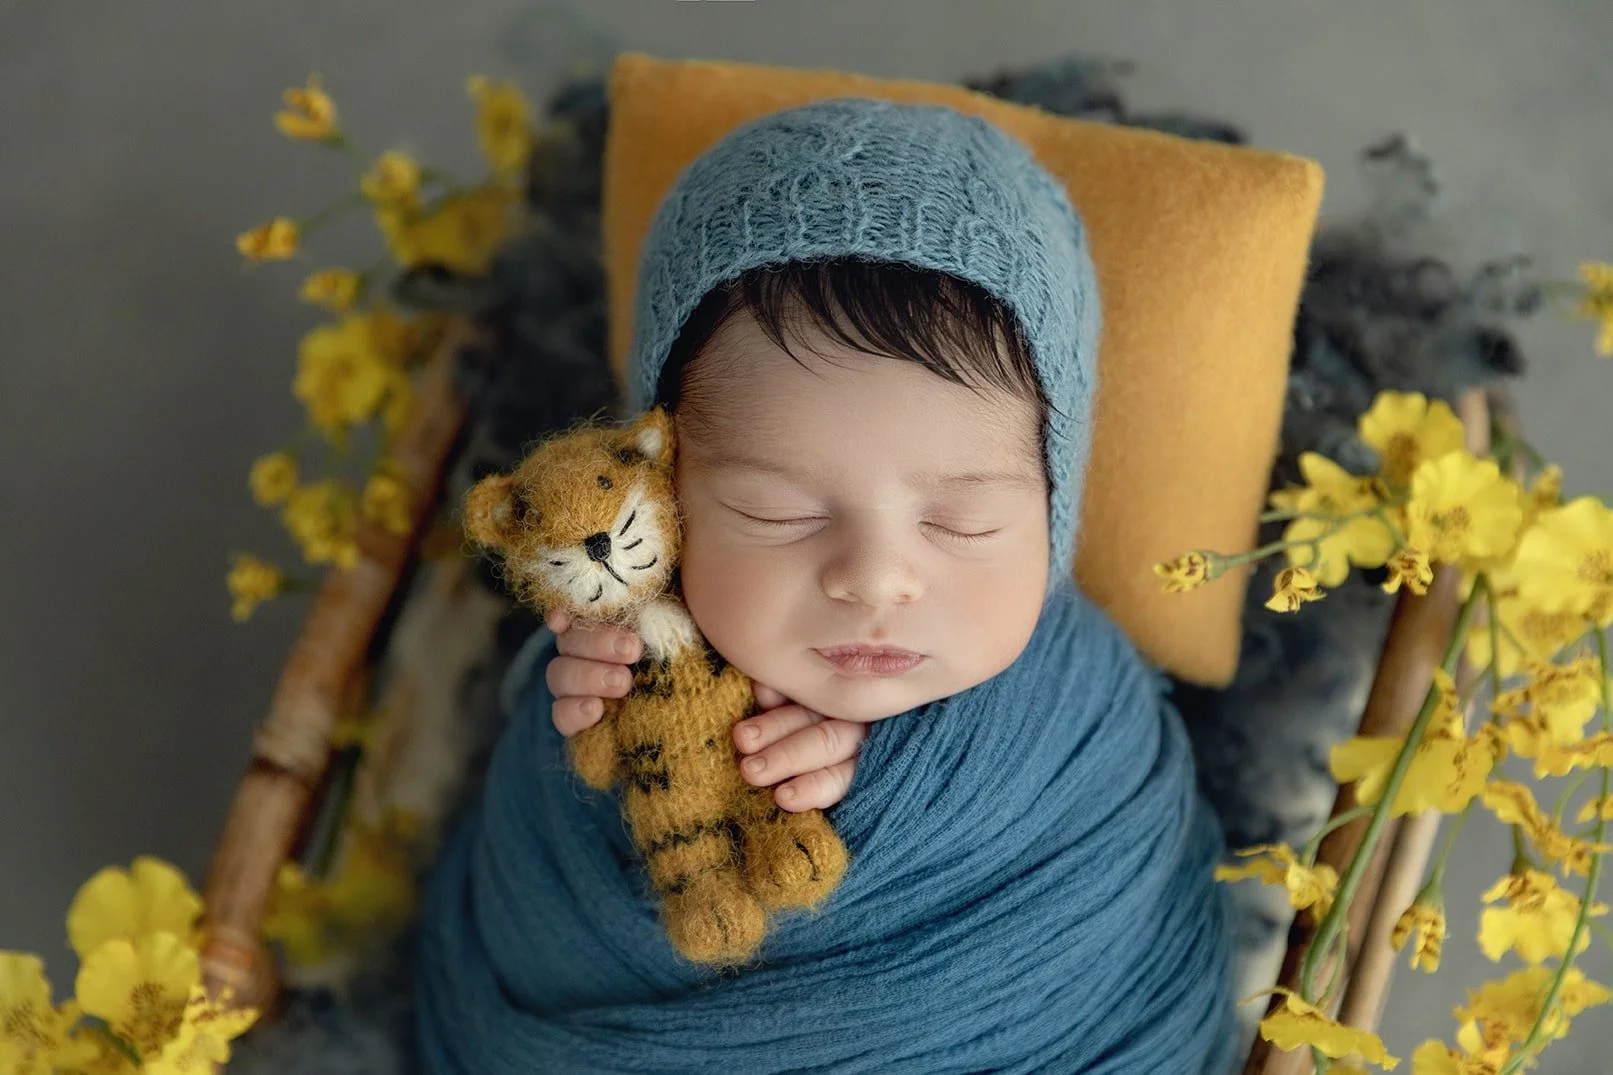
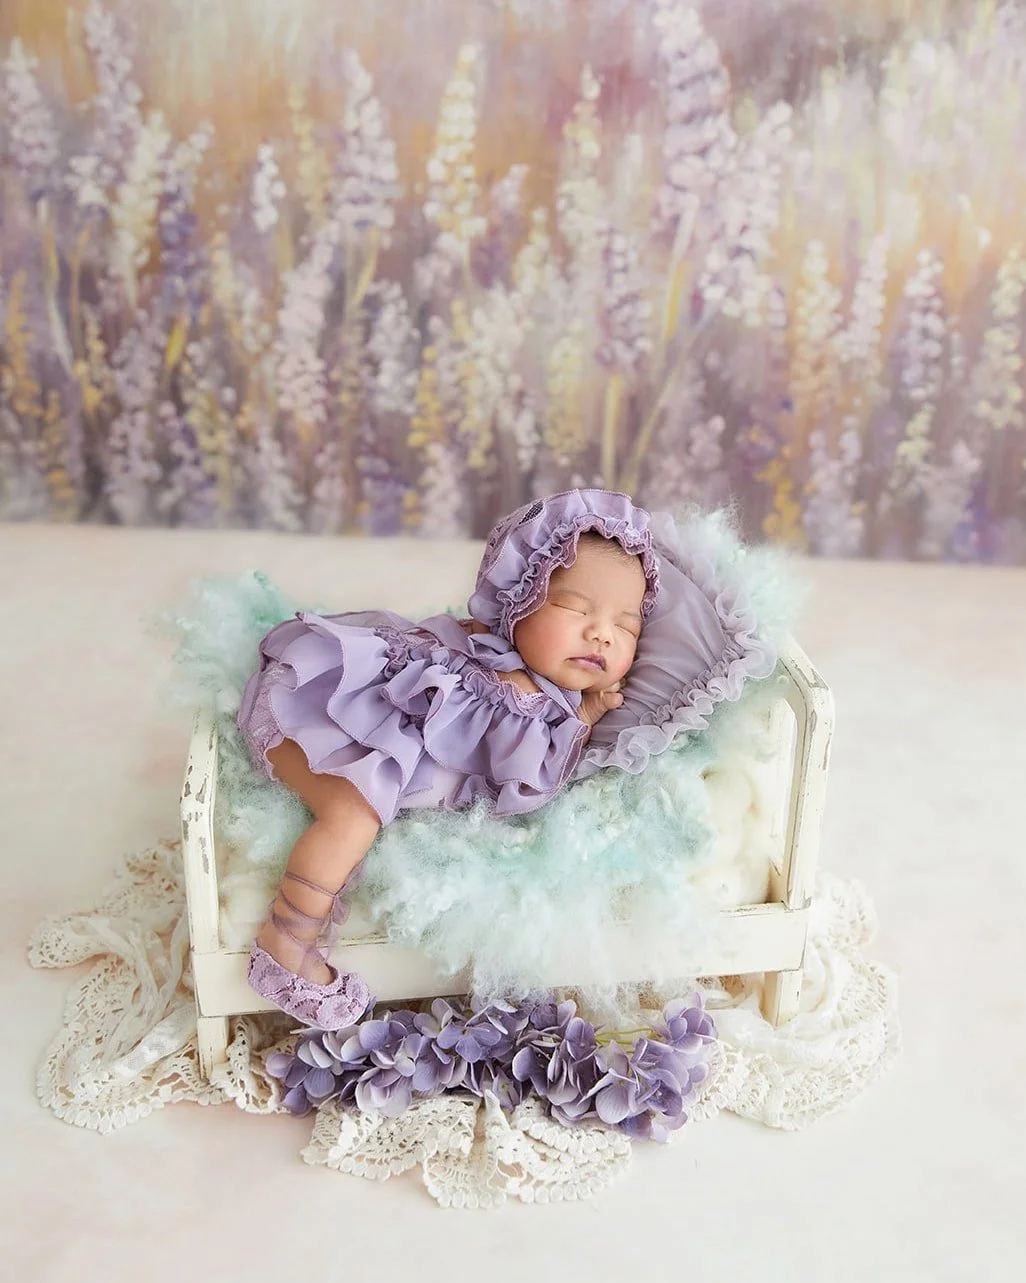
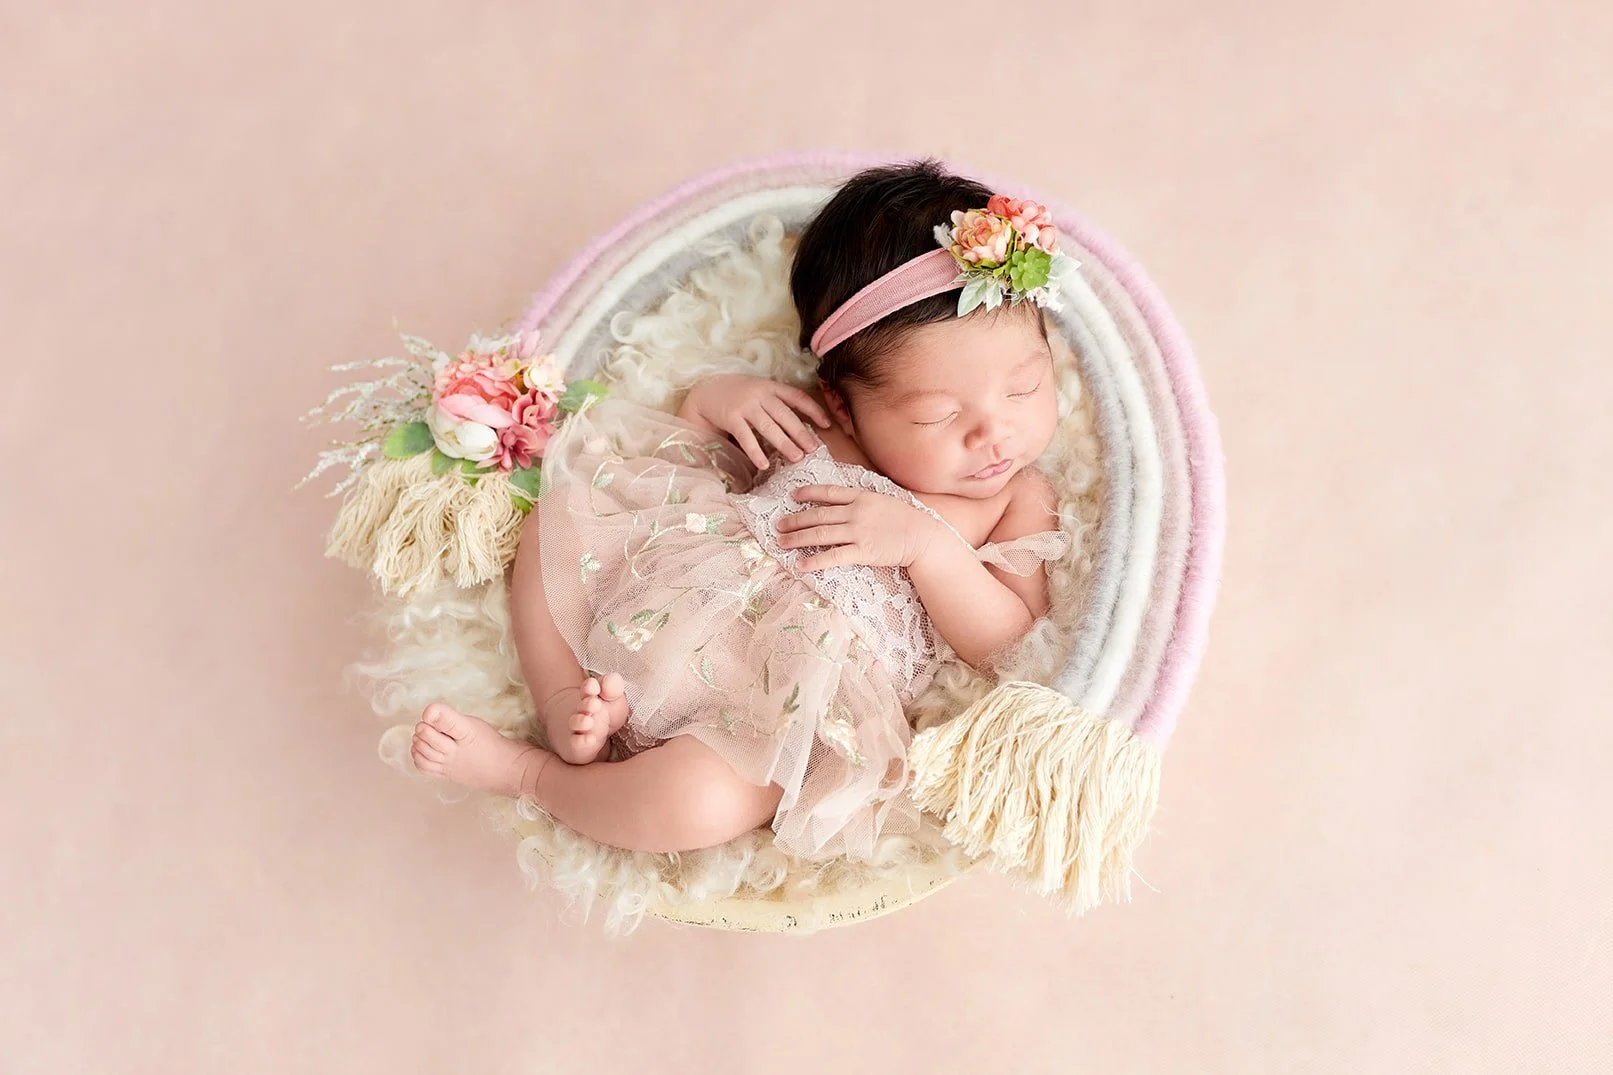
Start with one idea, not ten. Choose one color family, maybe soft beige, blush or dusty blue and build from there. Keep textures varied but harmonious like a knitted bonnet, a muslin wrap, a wool layer underneath. Try to avoid shiny fabrics, matte, natural materials photograph beautifully and keep the look timeless.
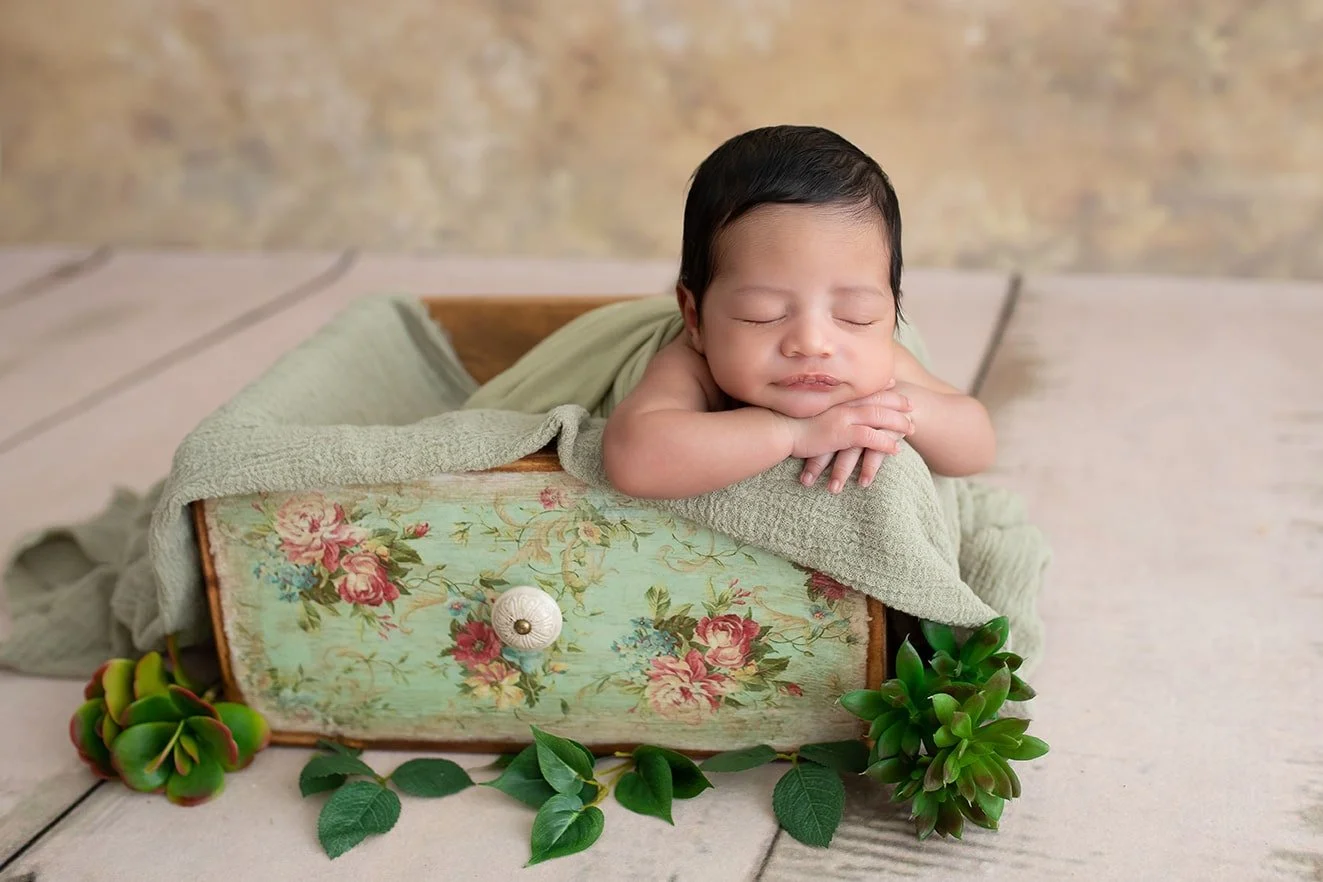
Also, a cluttered backdrop or too many accessories will distract from the subject. Think of your newborn photography studio as a painter’s canvas, every addition needs purpose. One favorite technique of mine is layering, for example, a neutral blanket as the base, a textured wrap for depth, and a small prop (like a wooden bowl or basket) that complements the tones. Simplicity lets emotion breathe.
Props and Accessories
Professional newborn photographers use a mix of handpicked, baby-safe props, wooden bowls, vintage crates, knitted hats, soft blankets, and minimalist wraps. Props should feel organic, not like a toy catalog exploded.
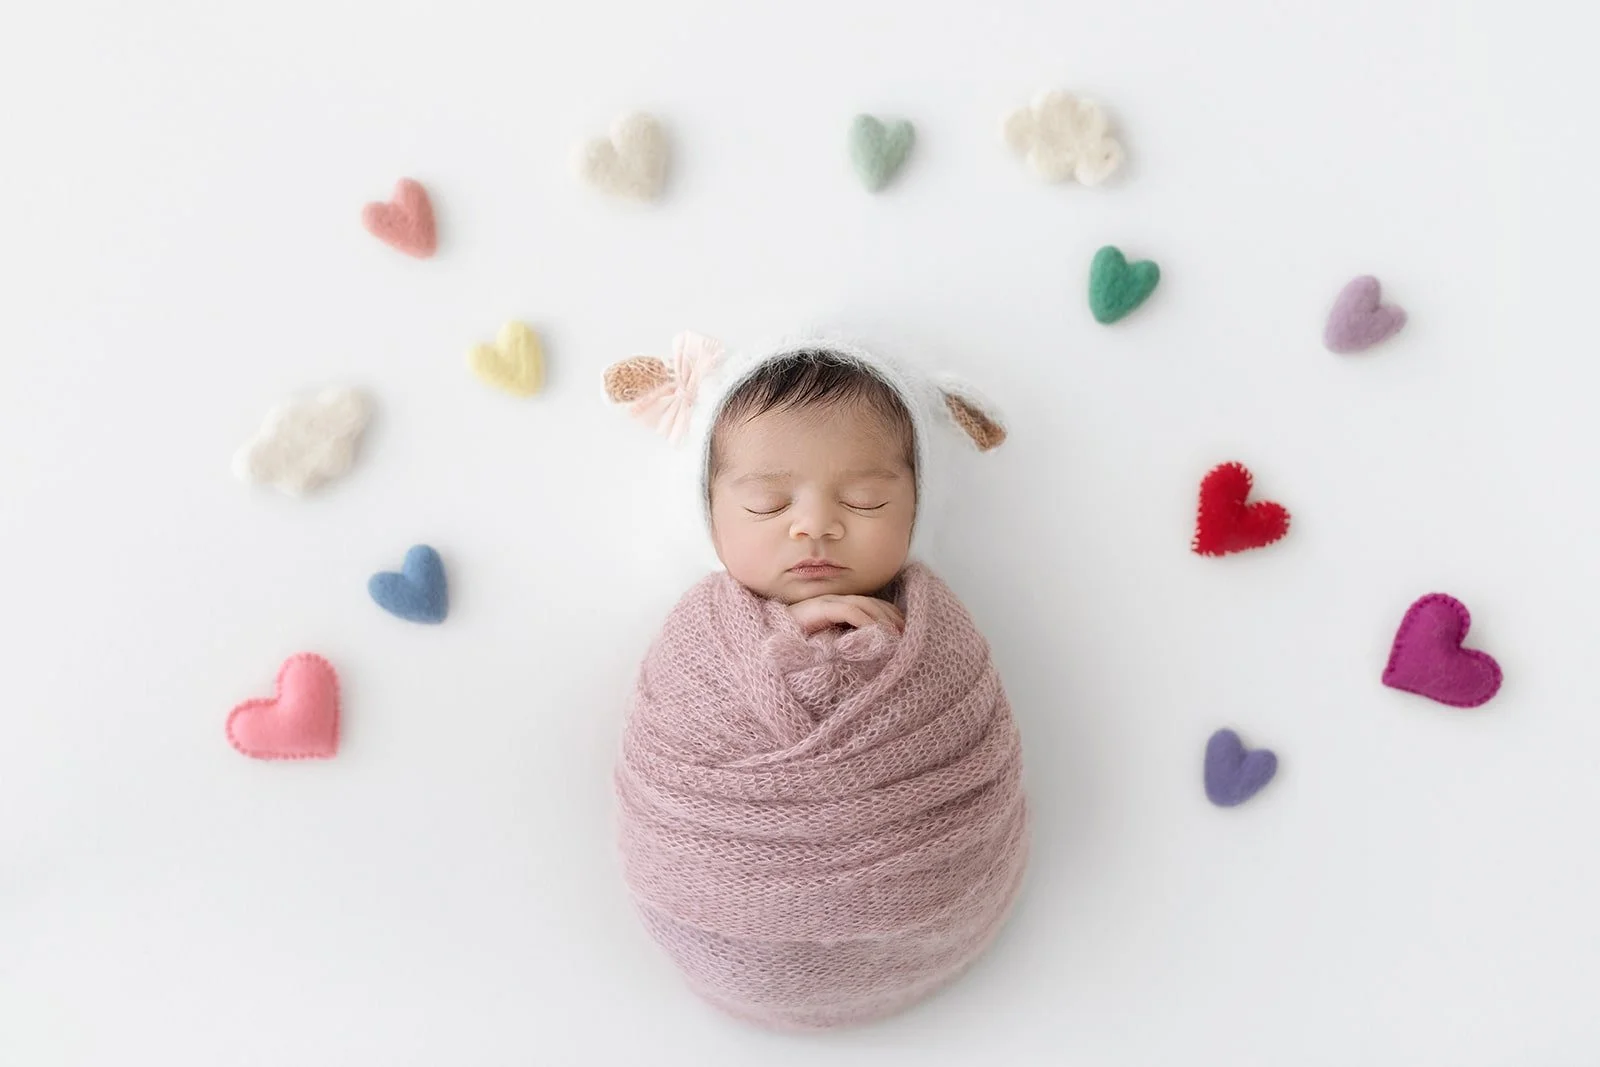
Layering blankets matters. Start with a waterproof pad under your posing surface, then layer the main blanket and one or two aesthetic layers on top. Use wraps to gently swaddle the baby,never too tight, never across the neck or hips in ways that restrict movement. The wrap should feel like a warm hug, not a straightjacket.
DIY Note
For beginners trying DIY newborn photos, start small. You don’t need a warehouse of props to create beautiful images. One good blanket, natural light, and a peaceful baby are enough. Focus on light, safety, and comfort before buying every accessory on the internet. The goal is to photograph love, not inventory.
7. Perfecting the Pose
Newborns speak through movement. When they tense their legs or furrow their brows, it’s their way of saying “not this.” When their shoulders drop and hands soften, that’s your cue to continue. Watch the breath, the rhythm tells you everything. If it’s shallow or fast, pause. If it slows and deepens, you’ve found calm.
A good photographer doesn’t rush between poses. Instead, they move like a slow dance, adjusting the fabric, tilting the head by a fingertip, smoothing the wrap, waiting. Patience becomes part of the pose itself.
Classic and Lifestyle Newborn Poses
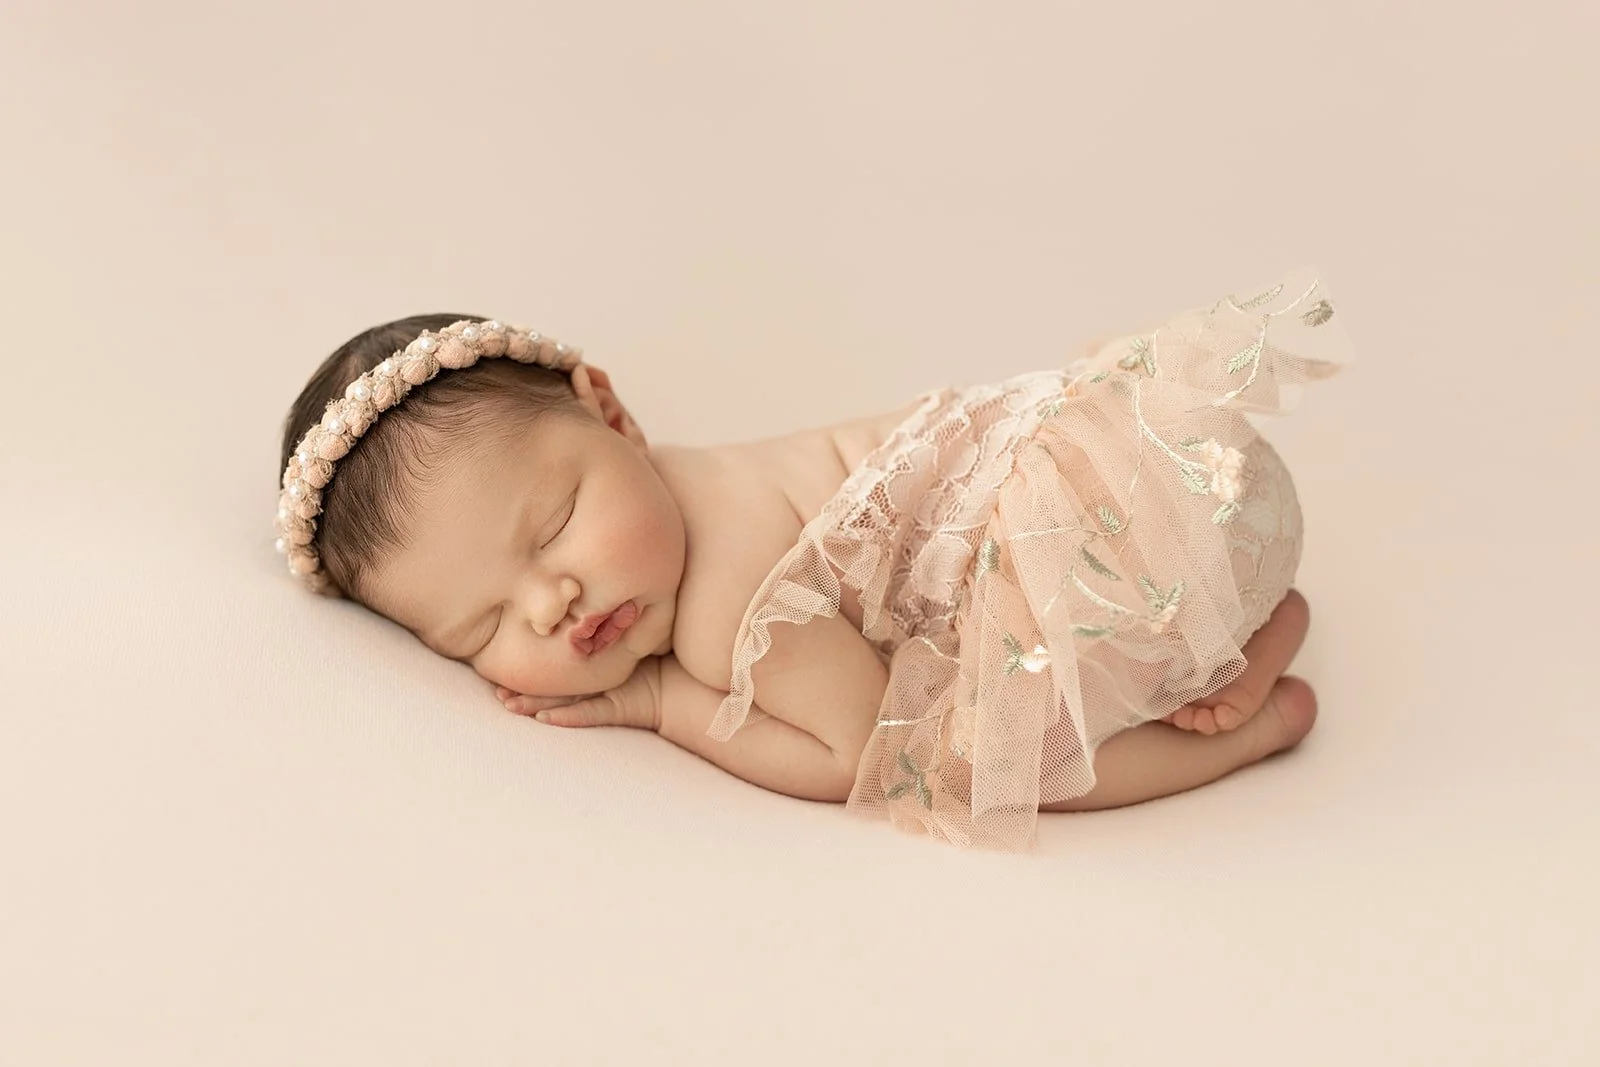
Classic studio poses like “tucked side,” “chin on hands,” and “bum-up” emphasize those tiny, curled shapes that melt hearts. Lifestyle poses like the baby sleeping on mom’s chest, fingers clutching dad’s thumb, family snuggling under a blanket capture raw connection.
Pay attention to the smallest details. A baby’s hands relaxed near the face, fingers slightly open, can make a photo sing. The baby’s face angled just enough for a gentle shadow across the cheek brings dimension and softness. Tiny wrinkles on the back, a wisp of hair on the foreheadm these are the details parents will cherish forever.
For a full walkthrough of posing flow and how to photograph each pose safely and beautifully, see my Newborn Photography Course for 7 days old newborns here and my newborn photography course for newborns that are around 18 days here.
8. Angles and Composition
The best photographers move themselves, not the baby. Once the baby is positioned safely, shoot from multiple angles, above, eye-level, and slightly to the side. A shift of just a few inches can change the entire emotion of the image.
From above, you capture symmetry and scale, the tiny size of the baby against soft textures. From the side, you can frame those perfect profiles, the curve of the lips, the gentle rise of the chest. At eye level, you create intimacy, drawing viewers into the newborn’s little world.
Keep movements slow and deliberate. Cameras make noise, shutters click, and each sound can startle a baby out of dreamland. Muffle with a silent shutter mode or wrap the camera strap around your wrist to minimize small noises.
9. The Art of Photographing Awake Babies
Not every newborn photoshoot unfolds like a lullaby. Sometimes the baby has other plans, and that’s okay. Awake photos can be powerful, soulful, and incredibly expressive.
When photographing an awake baby, patience becomes your superpower. The key is to stay calm and move with the baby’s rhythm. Keep the newborn photography studio warm, use soft natural light, and wrap gently to help the baby feel secure.
Avoid overposing. Instead, let the baby lead. A newborn kicking their legs or waving their arms is pure magic when captured with intention. Keep your shutter speed slightly higher (around 1/250 or faster) to freeze small movements, and open your aperture to preserve that dreamy blur behind them.
Capturing Personality
Every newborn already has a personality waiting to shine through. Look for it. Maybe it’s a curious gaze, a pouty lip, or the way one hand always curls near the ear. Those traits tell the baby’s story more than any prop ever could.
Use gentle, even lighting so eyes sparkle without reflection. Catchlights (those tiny gleams in the eyes) make awake photos come alive. Adjust your angle to place them high in the eye for a natural, lifelike glint.


10. Parents in the Frame
Including parents in newborn photos transforms the session from beautiful to unforgettable. The newborn stage is a blur for most families, and photographs become proof of what they were too tired to remember. Your goal is to make parents feel at ease so their connection with their baby shines naturally.
Start by helping them feel confident. Many new parents are nervous about being photographed, they’re sleep-deprived, emotional, and unsure how to “pose.” Reassure them that these aren’t glamour shots. Guide them into natural positions like holding the baby against their chest, kissing the forehead, resting their cheek near the baby’s head. The less they think about where to look or what to do with their hands, the more real the images feel. Encourage deep breaths and gentle stillness, it slows the heartbeat and helps them relax into the moment.
Photographing new parents with their newborn baby is about creating quiet intimacy. Encourage small gestures like mom’s fingers tracing baby’s hair, dad’s hand cupping those impossibly tiny feet. Capture the weight of love in those touches.
When photographing a family portrait, focus on the in-between moments, the soft glances, the laughter that slips out when the baby sneezes, the gentle swaying that happens unconsciously. Those natural movements make an image feel alive.
These same principles apply beautifully to maternity and family photography. Keep the connection front and center, emotion first, composition second. Frame the hands, the cuddles, the kisses. Parents should feel like they’re being guided through a moment of love, not a performance.
For photographers wanting a deeper understanding of these transitions, from baby-only sessions to sibling and family portraits, my 1 Month Old with Sibling Course offers full demonstrations of how to balance multiple subjects while preserving tenderness and authenticity.

11. Handling Setbacks and Staying Calm
Every newborn photoshoot will test your patience in some way. There will be crying, feeding breaks, diaper explosions, and moments when nothing goes according to plan. That’s normal. Babies are tiny humans with moods, not models. The key is how you handle those moments.
When something unexpected happens, stay composed. Your calm presence is the anchor in the room. A baby senses anxiety immediately, your energy travels through your hands, through the air, through the sound of your breath. Keep your tone gentle, your pace slow, and your smile steady.
If the baby starts crying, pause. Don’t push through it. Hand them to their parent, suggest a feeding, dim the lights a bit. Babies often just need a small reset. If an outfit change or prop setup gets messy, laugh lightly, wipe it clean, and move on. The mood you create shapes the session far more than the hiccups that happen.
Flexibility separates beginners from professionals. A seasoned photographer knows when to adapt the plan without losing the vision. If the baby refuses one pose, find another. If they won’t settle, switch to a wrapped setup that feels cozier.
Empathy is your best skill in this profession. Parents are often anxious, they want everything to go perfectly. When they see you relaxed and patient, they relax too. Keep humor handy, nothing disarms stress like a quiet laugh shared between poses. Every newborn session is a dance between control and surrender. The technical mastery matters, yes, but it’s your mindset that turns chaos into art.
12. Editing and Delivering the Final Art
After the lights dim and the last prop is folded away, the artistry continues. When editing, keep skin tones natural and soft. A newborn’s skin changes minute to minute, one second rosy, the next a little blotchy. Gently even out tones without erasing their newborn texture. Milk spots, flakes, or faint redness are signs of life, minimize them subtly, don’t remove them completely. Over-editing steals the character that makes every baby unique.
Maintain consistency across the gallery. Your color tones, your whites, your shadows, they should all feel like part of one cohesive story. Use soft light and warm highlights to emphasize that signature organic look that parents love. Avoid filters that flatten depth or mute emotion. Every photograph should breathe.
When it’s time to deliver, present the images in a way that feels like a story unfolding. Group photos in sequence, from the close-ups of tiny fingers and toes to the family cuddles. Each set should flow naturally, almost like a quiet film of that day.
For photographers who want to refine their craft, see my Master Newborn Photography Course Bundle here.

Newborn photography isn’t simply a career, it’s a privilege. Every session invites you into a moment that will never happen again. You get to witness the start of everything, the way a baby fits perfectly into their parent’s hands, the way light grazes their cheek, the quiet miracle of new life.
What makes this work extraordinary isn’t equipment or props or even perfect posing. It’s the care, intuition, and respect that go into every frame. Each image is a piece of time, sealed forever. When parents look back years later, they’ll see not just their baby’s face but the feeling of those early days, the softness, the love, the awe.
Keep learning, experimenting, and refining your craft. Be patient with yourself the way you are with the babies you photograph. Every newborn will teach you something new if you listen.
And one day, when you look back at the hundreds of newborn pictures you’ve created, you’ll realize you’ve built more than a portfolio, you’ve built a legacy of love and memory that families will hold onto for a lifetime.

About Ramina Magid
Ramina Magid is an award-winning newborn photographer, celebrated for her organic, timeless approach to capturing life’s earliest moments. Originally from Baku, Azerbaijan, Ramina built her dream newborn photography studio in Beverly Hills, where she has photographed more than 800 newborns and families over the past eight years.
Her gentle, safety-focused style and natural light aesthetic have made her one of the most sought-after newborn photographers in California. In 2024, her work was recognized with awards for Best Newborn Photographer in both Beverly Hills and Los Angeles. Ramina’s portraits have reached millions worldwide through social media, admired for their warmth, simplicity, and emotional honesty. See her courses here.


Setting up a Newborn Photo Shoot FAQ’s
1. What’s the best age for a newborn photo session?
The ideal window to photograph a newborn is between 5 and 21 days old. During this time, babies are still very sleepy, flexible, and love to curl up into those cozy, womb-like positions that define popular newborn photography. Once they hit the three-week mark, they start stretching out and waking up more, which is beautiful too, just a little trickier for those classic poses. Every baby is different, so always ask parents about their baby’s feeding and sleep patterns before booking.
See my new born photography course for 7 days old babies here and for 18 days old babies here.
2. Can I do DIY newborn photos at home?
Yes! A DIY newborn photoshoot can be sweet and meaningful if you focus on comfort and safety first. Choose a warm room, use natural light, and skip any complex poses that require training. Lay the baby on a flat, secure surface, like a firm beanbag or bed with plenty of padding underneath. Use a wrap to keep the baby feeling snug, and take your time.
If you want step-by-step demonstrations, my DIY Newborn Photoshoot Course walks through it all safely.
3. What kind of setup do I need for a newborn photoshoot at home?
A calm, uncluttered space with good light is everything. You don’t need a full newborn studio, just a big window with soft, indirect light and some cozy accessories and props like neutral wraps, small pillows, and clean blankets. Keep the room warm (around 78°F) with a space heater, but never aim it directly at the baby. Babies lose heat quickly, so maintaining that gentle warmth helps keep them sleepy and settled.
4. How do I safely pose a baby without a diaper?
If you want photos of a baby without a diaper, do it toward the end of your newborn photography session after you’ve captured enough safe, wrapped poses. Always have absorbent pads and clean blankets ready for quick changes. Keep poses simple, a gentle tuck, a side-lying pose, or the baby resting naturally on their back. The goal is to photograph the baby comfortably, never force a shape or position.
5. How do I get different angles when photographing a newborn?
Once the baby is asleep, you can safely get different angles by shifting your position, from above for symmetry, from the side for softness, or slightly toward the feet for dimension. Changing your height and perspective adds variety without disturbing the baby’s peaceful state. Use a 35mm or 50mm lens if you shoot Canon (or any brand) for flexibility in tight spaces.


Source: Ramina Magid